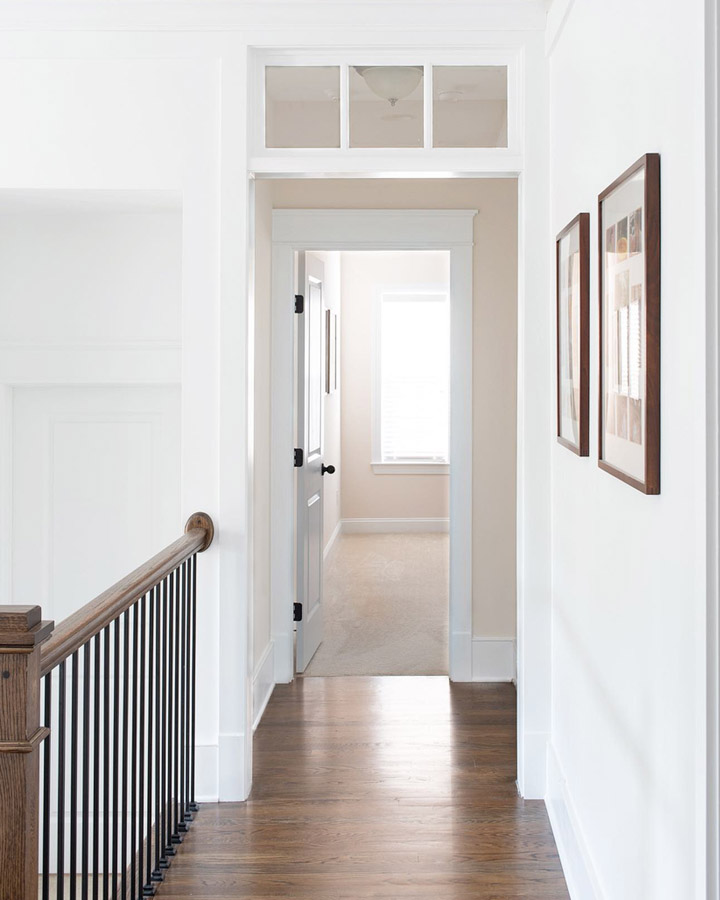
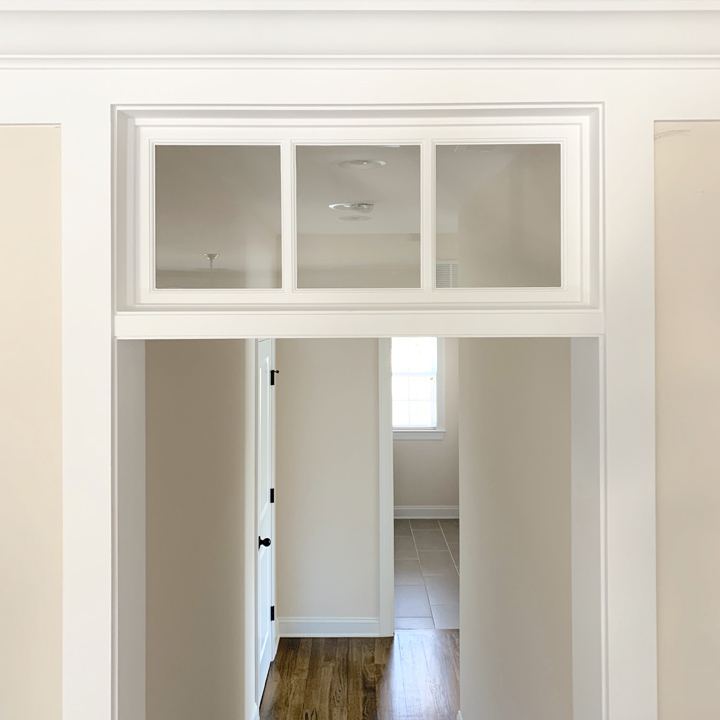
One of the first things we did when we moved into our spec home was to identify areas were we could easily change the whole feel of the house by adding some transom windows to cased openings. We now have a total of seven transoms that I have added. In a non-load bearing cased opening this process is fairly straight forward and I want to teach you how to do it!
Tools and Supplies (click for links)
- Matte Knife
- Crowbar
- Small sledge hammer
- Reciprocating saw
- Table saw
- Miter saw
- Nail gun
- Razor scraper
- 1×8 pine trim board
- Pine lattice molding
- Custom transom window
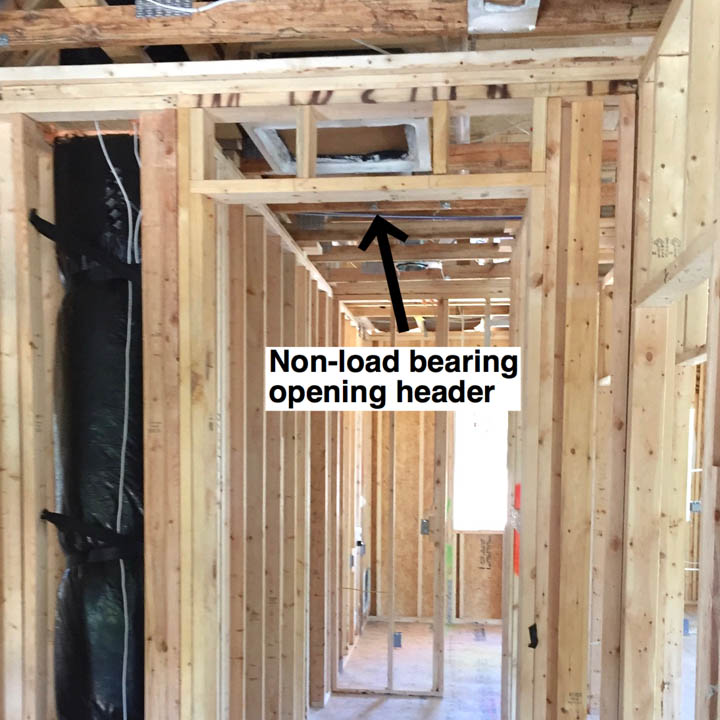
First you have to find out if the opening where you want to add the transom is load bearing or not. If you have open wall pictures (like the one below) you can easily tell if the wall with the opening is load bearing or not: a load bearing wall will have a thick structural header above the opening to transfer the load across the opening gap. A non-load bearing wall will just have a single 2x material spanning the gap (as in the picture below).
If you have any question about whether or not the wall is load bearing, contact a professional for an assessment. Once confirmed that it is not load bearing, you can measure and purchase your transom. I measured the exact width of the cased opening between the trim and subtracted a quarter of an inch. The height of the casing depends on your ceiling height and how low you want the bottom of the transom to be as you walk under it. I suggest that you keep at least 7 feet to the bottom of the transom. I purchased my transoms at Transoms Direct and they have full instructions on their site on how to get the measurements exact. They did a great job of making high quality transoms and shipping them to me quickly. There are so many styles to chose from!
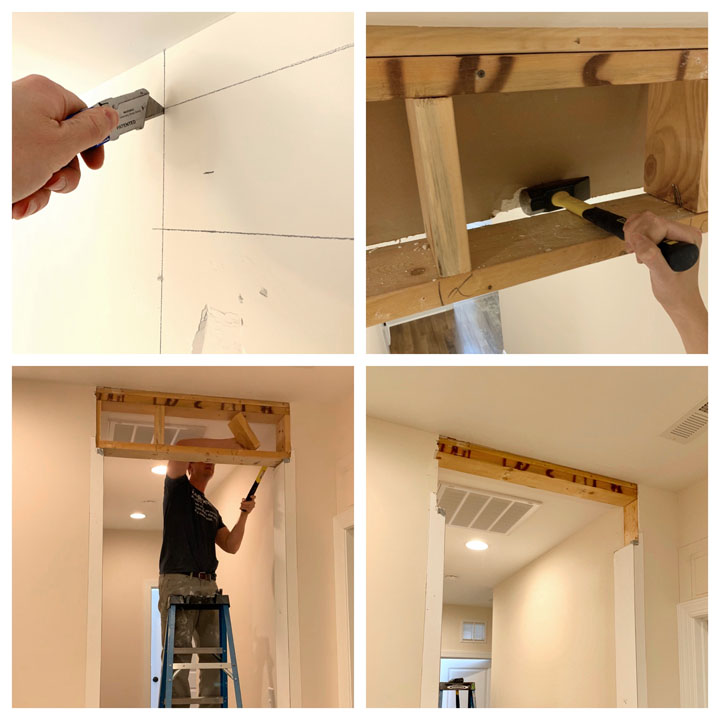
After that it is time for some demo! I started by taking off the casings from the front and back of the opening. Then I removed the casing jamb. I saved all of these pieces because most of them can be used again. Then I cut back the drywall on both sides with my matte knife to expose the 2×4 framing that I needed to remove to install the transom. I used a reciprocating saw and small sledgehammer to remove the framing. Depending on the final maximum height of the transom you may or may not have to add a horizontal framing piece back in after you remove the verticals.
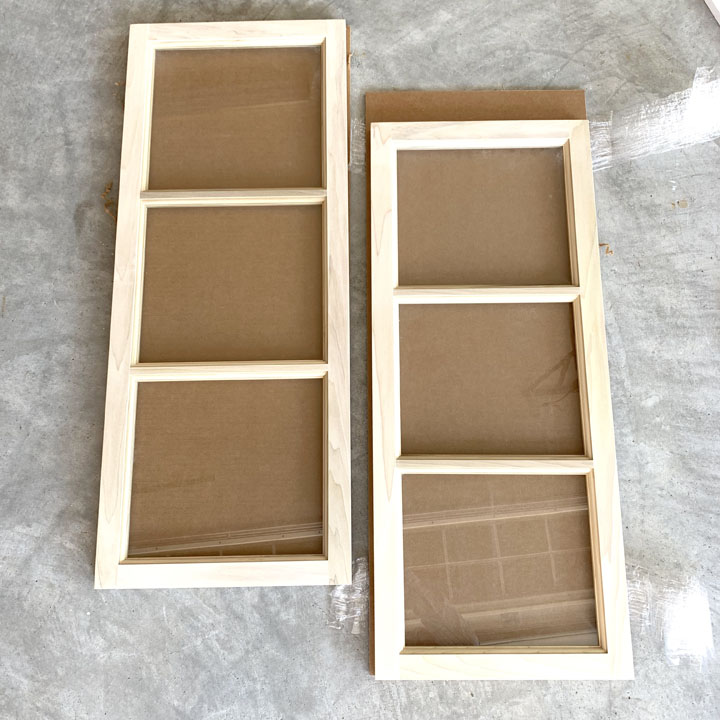
Now you have to make a jamb for the transom to sit in. The jamb supports the transom from both size and the way it constructed will change the overall feel of the transom. My construction of the jamb was as simple as possible. I started by ripping 1×8 pre-primed pine down to the width of the opening (in my case 6″) on the table saw. I then used the miter saw to cut pieces to make a box that fit the outside dimensions of the transom. I used wood glue and my 18 gauge nail gun to secure the box. A window stop molding is needed to hold the transom in place inside of the jamb. I used the table saw to rip down 1x material into window stop strips that were 3/4″ x 1/2″ on the sides. I made pencil outlines all around the inside of the jamb to indicate where the transom would sit (in my case exactly in the middle) and this allowed me to know where to install the window stop.
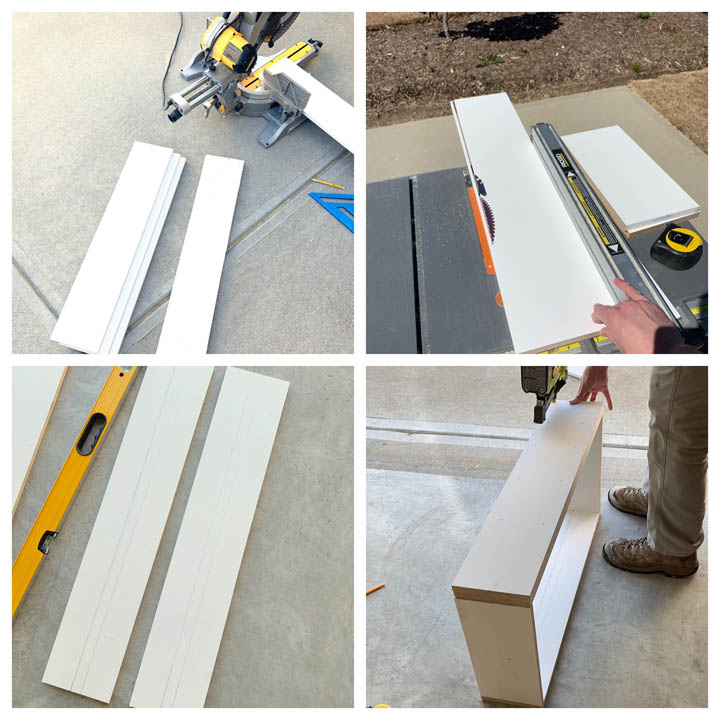
I used my nail gun to install the window stop all the way around on one side, mitering the corners. After it was in all the way around, I dropped in the transom window! With the transom in place I installed the other side of the window stop. Now the transom is supported on both sides and is stable all the way around.
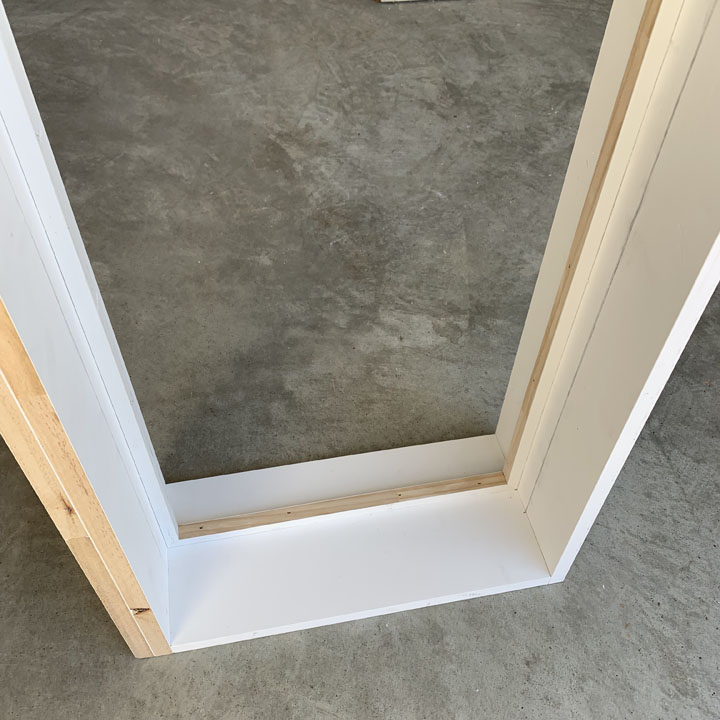
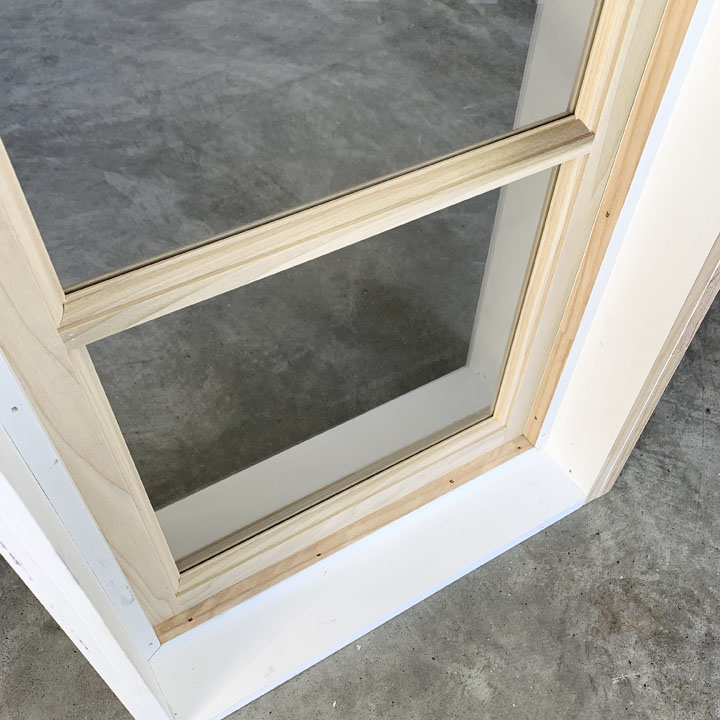
The transom in the jamb has to have something to sit on, so the next step is to make the opening jamb. To determine the height of the opening jamb, subtract the height of the transom jamb from the maximum opening height. I used spacers to keep the opening jamb plumb on both sides while I nailed it into place.
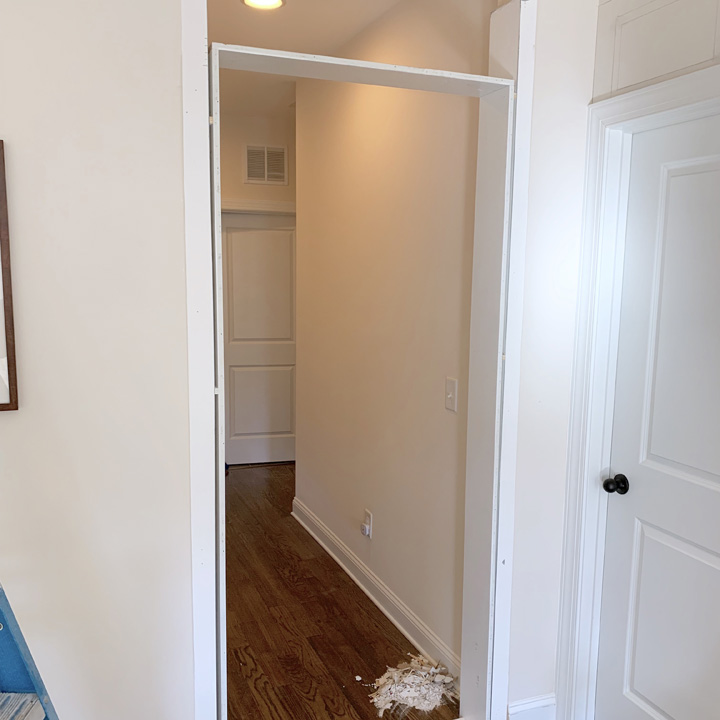
After that you can bring in the transom in the jamb and carefully place it on top of the opening jamb. Line everything up and then nail the transom jamb to the opening jamb and into the walls.
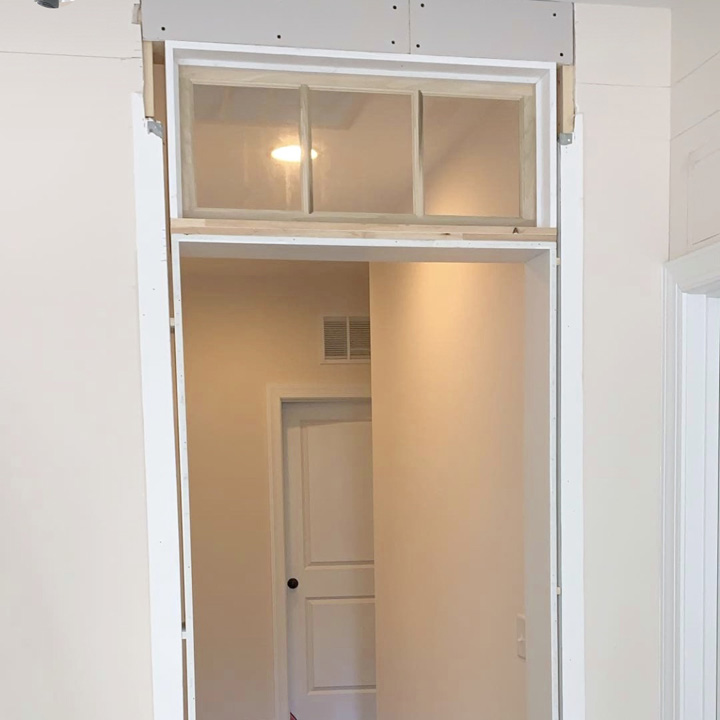
After the jambs are all secured you have to add the casings back to the front and back of the jambs.
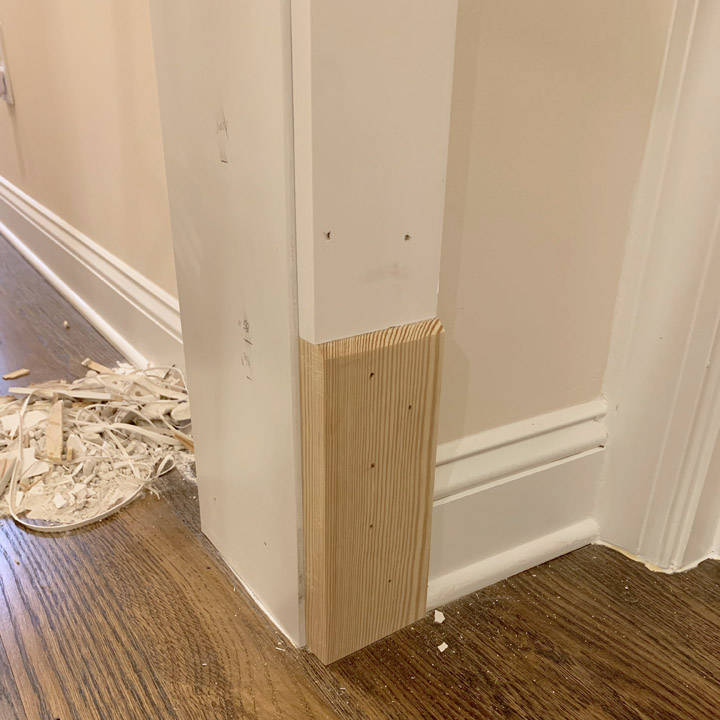
I used a strip of lattice molding (2″x1/4″ actual) to cover the front where the transom jamb and opening jamb came together.
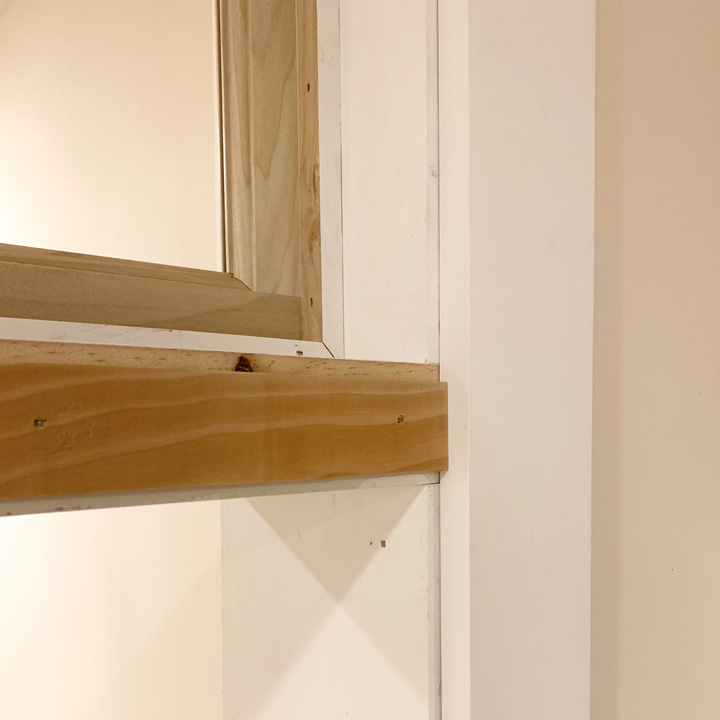
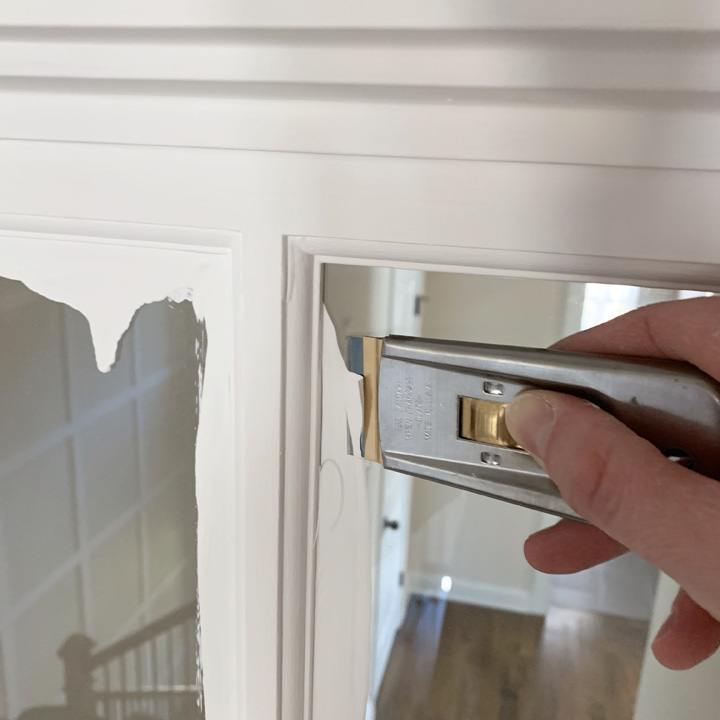
After you fill the nail holes and caulk all the seams you have to paint the trim and the transoms. I always use the same color paint for both. The transoms are actually designed to be painted without taping the glass. The applied paint runs into the tiny gaps between the glass and the wood and makes a secure bond between the two and eliminates any glass rattling.
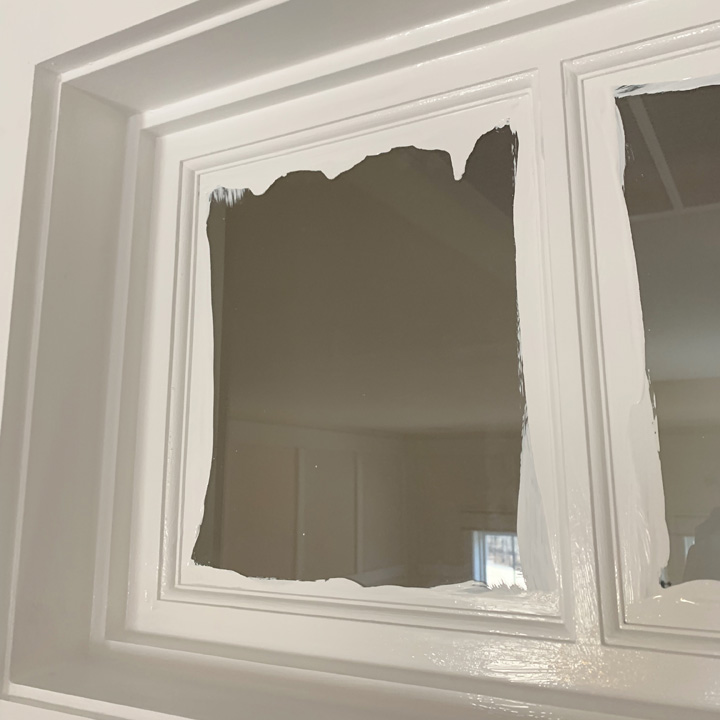
Using a brand new flat razor blade in a razor scraper you can score around the outside of the glass and then scrape off the paint very easily. I did this scraping for this window unit in approximately 20 minutes total.
In one weekend you can completely change the feel of your home adding a transom to a cased opening. Enjoy your new space!
Want to see videos of this process? Follow me on Instagram and click my “Transom Window” story highlight!
I love this so much. A great way to let more light into your house and give a custom feel.
Glad you liked the post! It is a really great way to add more character!