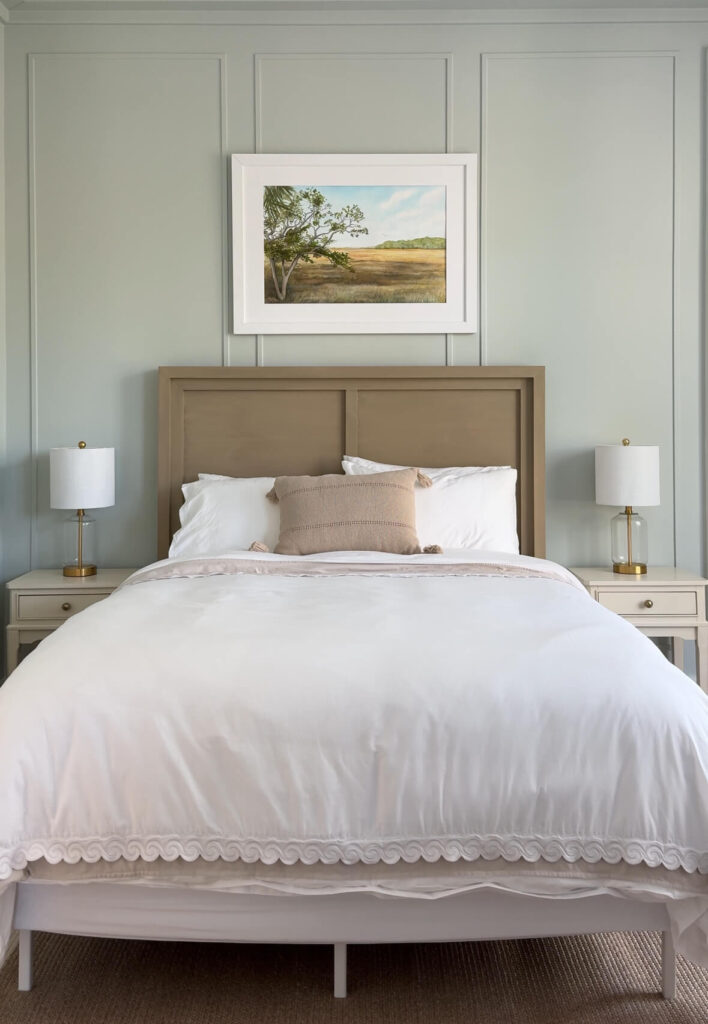
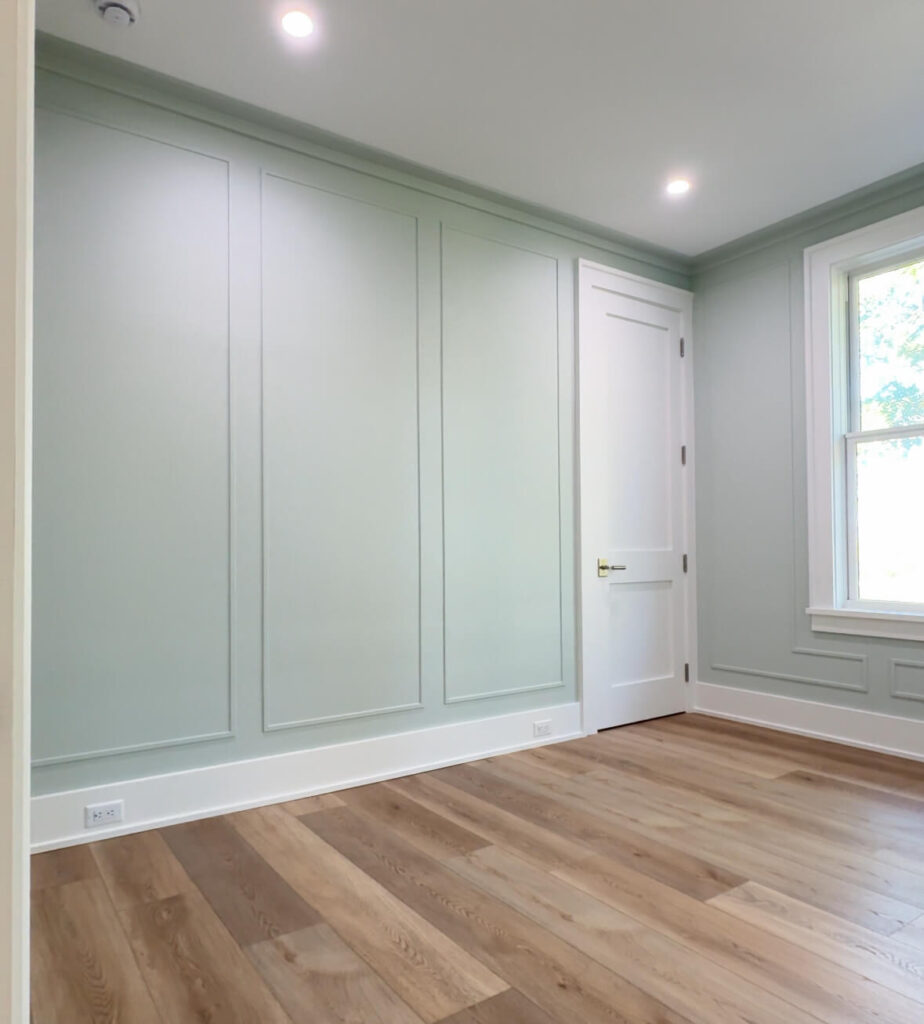
Are you looking to add an elegant, high-impact look to your walls with minimal cost and effort? If so, this DIY wall trim project may be perfect for you. It’s not only fairly easy to do, but it’s also super affordable – the box trim in this bedroom cost me less than $100!
Why Box Trim?
Box trim is a great way to frame out sections of your wall and add texture and dimension to a room. And, it’s an easy way to add style without breaking the bank. Plus, the materials are fairly inexpensive and simple to find, and the whole project can be completed in a weekend.
There are lots of different trim profiles to pick from to create the boxes. They typically cost $5 – $10 for an 8-ft. piece of material. This time, I found a flat rectangular trim profile that was only $3 for an 8-ft. piece. The simplicity of the profile gives a nice contemporary feel to the box moldings. I needed 29 pieces, so it came out to $93 with tax. Some of the links in this article are affiliate links which earn me a small commission (at no cost to you) if you purchase any products.
Materials You’ll Need
- 3/4” x 8-ft lattice trim from Lowe’s (item #96377)
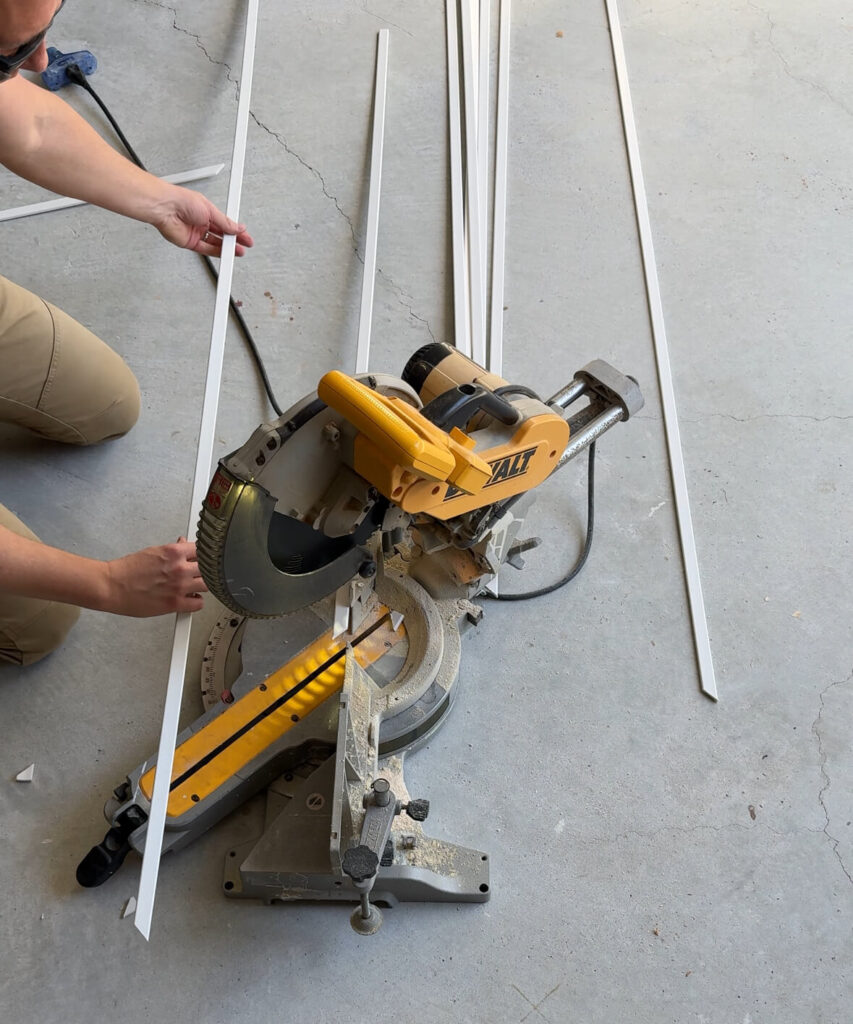
- Miter saw (for 45-degree cuts)
- Nail gun and small finishing nails
- Laser measuring tool
- Laser level (to make sure everything is perfectly straight)
- Trim Super Glue
- Flexible Caulk
- Wood filler
- Paint
Directions: How to Trim Out Your Walls
Determine the spacing between each section of box trim and size of the boxes
Start by measuring the height and width of each wall where you will use box trim . This is key for determining how big your boxes should be. I opted to use boxes of equal size on any given wall. You will find that not all of your walls will be the same width and that is OK!
(Note: One set of walls may have finished boxes that are 29-in. wide and another set of walls may have boxes that are 31-in. wide. The eye will probably not be able to discern the box dimension differences. On the other hand, if you try to make all the boxes on the longer wall 29-in., you will be left with a random skinny box and your eye will definitely see that discrepancy!)
Next, determine the width of each box by first measuring the width of the wall with laser measuring tool. Then, subtract the total amount of desired space between the molding boxes and the space between the molding boxes and the two edges of the wall. (Note: if you use 5-in. as the dimension between each box, you can use a 4-in. mini-roller for easier painting between each box.) Once you get that number, divide it by the total number of boxes you want. This will give you the width of each box.
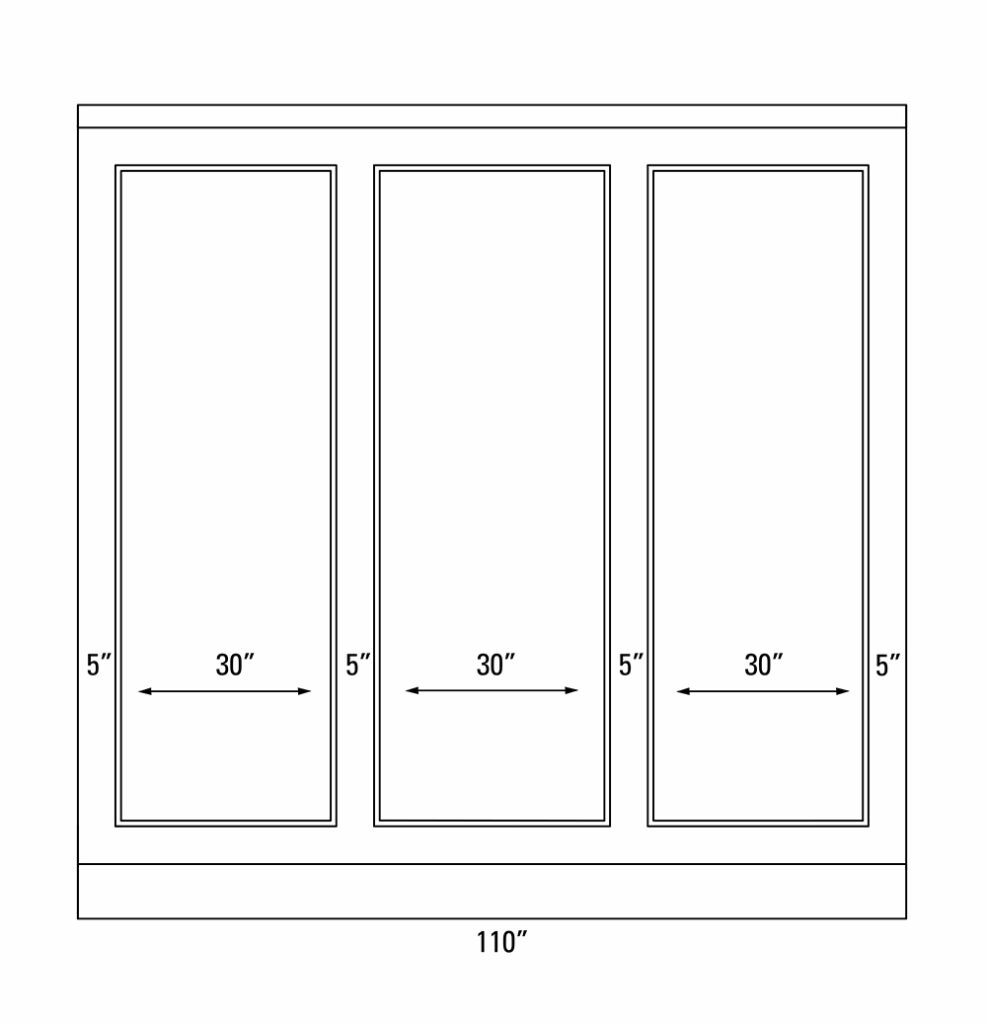
Let’s use this example. The wall is 110-in. wide and you want three boxes. If you plan 5-in. between each box and 5-in. between the outside boxes and the edge of each wall, the equation reads:. 110-in. – 5-in. – 5-in. – 5-in. – 5-in. = 90-inches to work with. You then divide 90-in.by three (number of boxes) .Each box will be 30-in. wide, outside-to outside of the trim.
Next, I use a measuring tape and make tick marks on the wall to indicate the outside of each box as calculated above.
Visually determine the height of each of the boxes you want. I make it easy on myself and use the same 5-in. dimension between the box and the baseboard and the box and the ceiling (or crown). This number will be the height of the vertical trim pieces.
Remember, you will use the same spacing for every box you do – this will be the distance from the top of the baseboard to the bottom of the box, from the ceiling to the top of the box, between adjacent boxes and from boxes to a corner. No matter the box size, you should maintain that spacing.
Purchase trim
Once you determine your measurements (per above), you’ll need to determine the total amount of trim you need. Add up all your molding length measurements. Sometimes multiple components of the box can be cut from a single 8-ft. piece of trim.
Cut bottom (horizontal) trim
Measure carefully and then use your miter saw and cut the bottom horizontal pieces at 45-degree angles.
Note: All cuts will be at a 45 degree angle. Cut one side of the piece at a 45 degree angle directed inward, and then cut the other side of your piece at a 45 degree angle going the other way but also directed inward. All measurements are based on the outside edge of the pieces cut, not the smaller side or inside cut.
(If you’ve cut your mitered ends correctly, each piece will be a trapezoid shape, not a parallelogram). The long side of the trapezoid should be the same as the box width.
Nail up bottom piece of trim
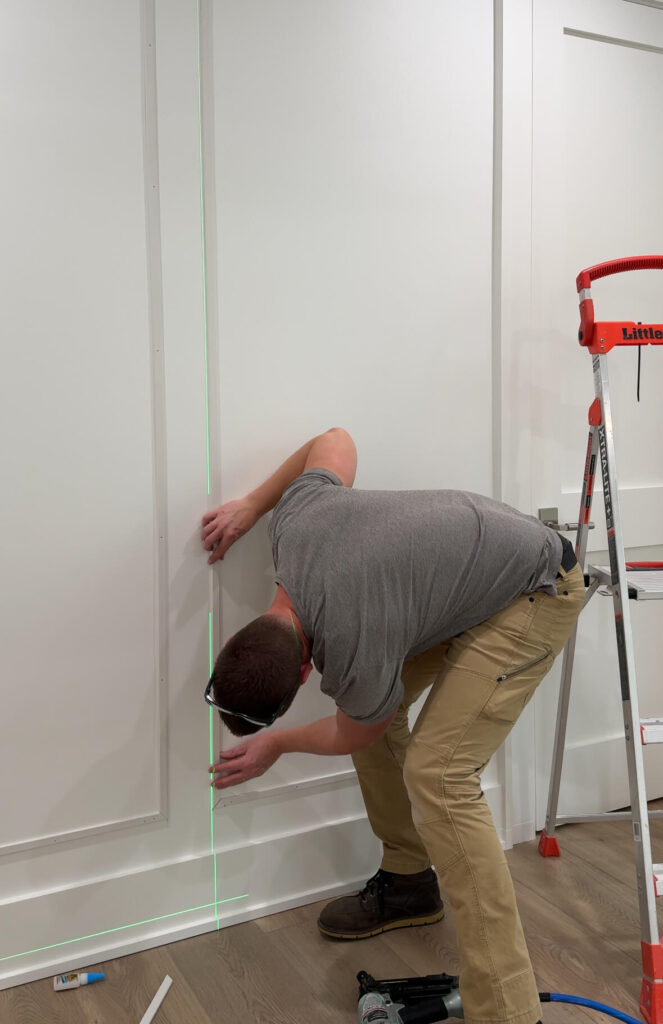
Set up the laser level to the height you want the box above the baseboard. Nail up the bottom of each box between the tick marks, keeping it on the laser line as you nail them.
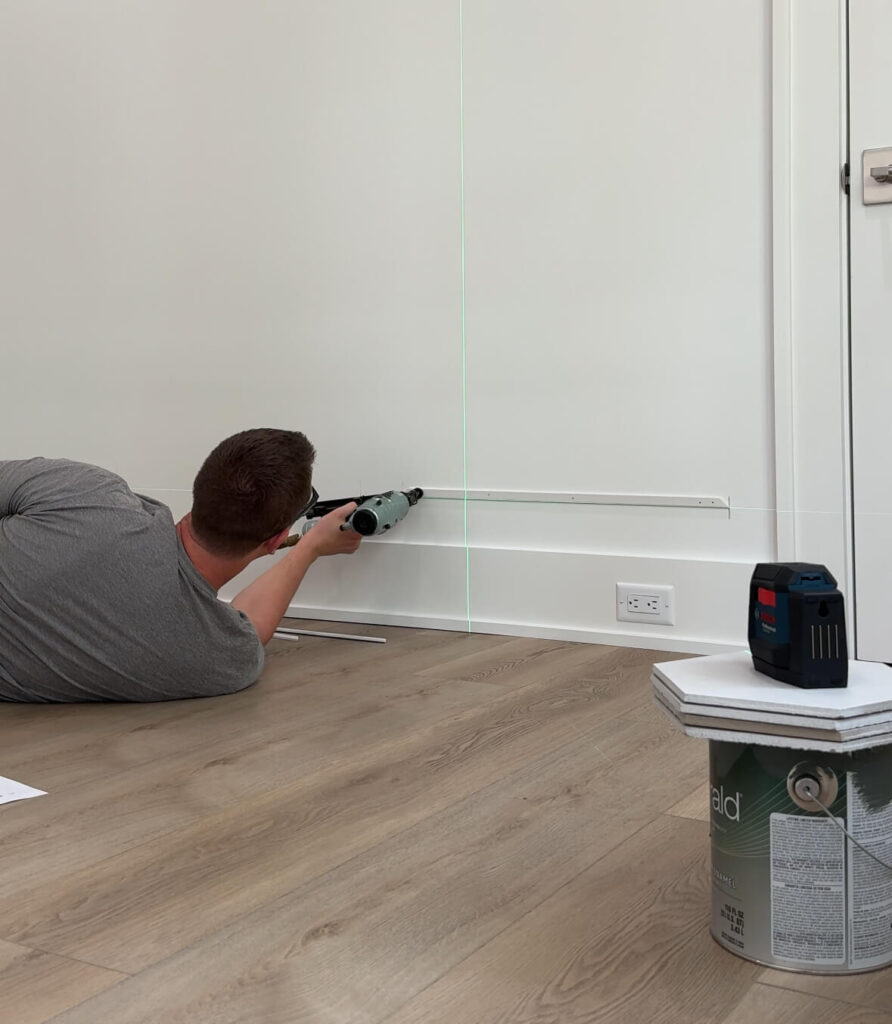
On fine trim, keep the nails about 1-in. from the end so you don’t split it. You can use short nails for this type of trim since you won’t be hitting any studs, and the caulked edges will keep everything in place.
Cut verticaI and top horizontal trim pieces
Next, cut each vertical piece at a 45-degree angle. Double check that the vertical height is the same distance from the ceiling on each piece. (This tells you that your ceiling is flat.) Next, super glue these vertical pieces to the bottom mitered edges. I always use super glue on my miters so they never open back up! Put the laser level on the edge of the bottom molding and move the vertical into place and nail it touching the laser line, all the way up.
Next, it is time to address the top horizontal piece. Measure to exact size. (If you’re good with a laser level, it should be the same size as the bottom horizontal piece.) Super glue miters and put the top piece in place. After the glue sets, use a straight edge between the two verticals and push the sagging trim up to the edge and nail.
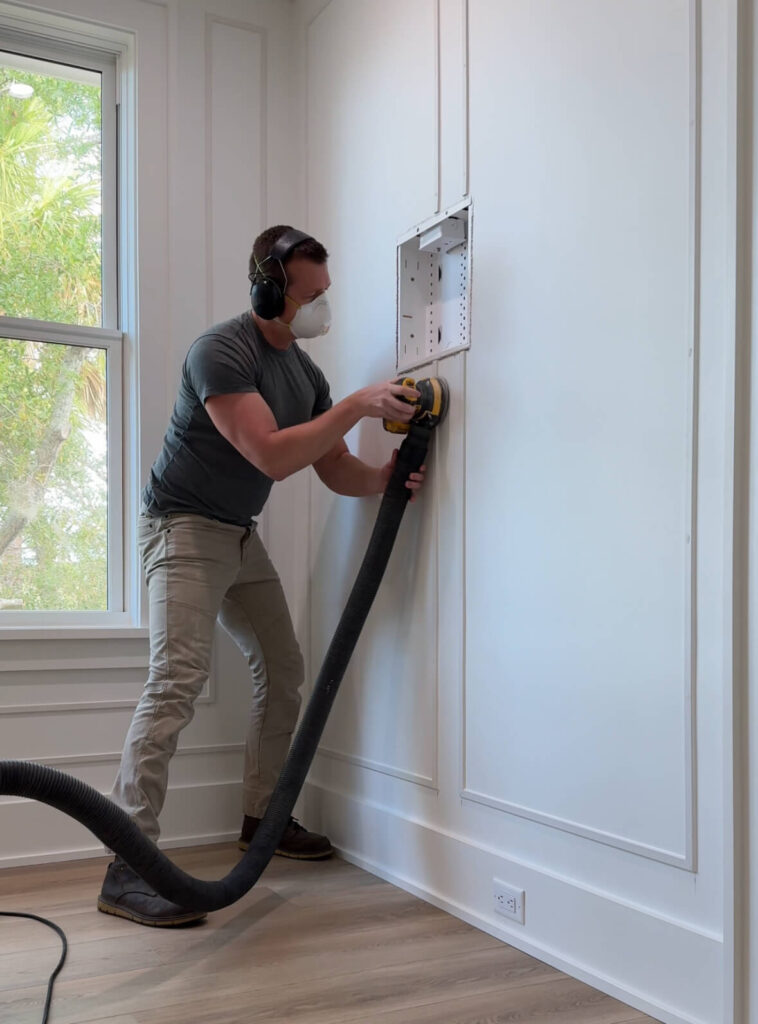
Prep for Paint
Once all the trim is in place, you will have small gaps along each edge of trim. Use my favorite caulk (which has some stretch to it when cured) to fill in the edge gaps and wipe up the excess. I use a no-drip caulk gun to make this process easier. Use wood filler to fill the nail holes. I usually overfill them a little bit as it will always shrink as it dries out. After it’s dry, I hit it with sandpaper to get it back to flush with the trim.
Paint
A lot of people ask why I don’t paint the trim or room before putting it up and the answer is that DIYs are rough on a room. The process of putting up the trim scuffs the walls so they would need to be touched up anyway. In addition, the trim itself has filled nail holes and caulked edges that have to be painted later in the process, so you will paint the trim again when it’s on the wall. It’s my personal preference, but I always paint everything, all at once, at the end for the absolute cleanest look!
Get Started Today
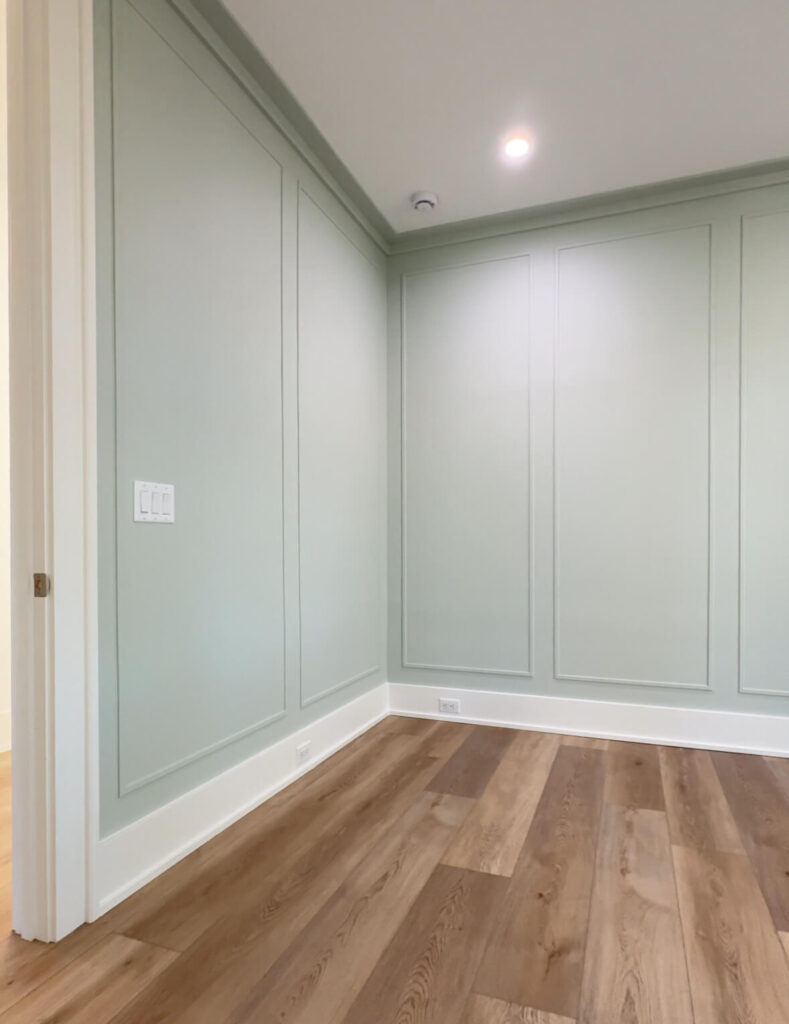
Even if you have no prior DIY experience, this project is super approachable. The cuts are basic, and once you get the hang of it, the process is pretty smooth. It’s a perfect weekend project for anyone on a budget but who still wants to make a big impact.
So, with just a little time and about $100 worth of materials, you can completely transform your space with box trim. Trust me, once you see the transformation, you’ll be hooked — and it’s so much easier than you might think. I have a video on my Instagram account showing the process! Click here if you want to see more.