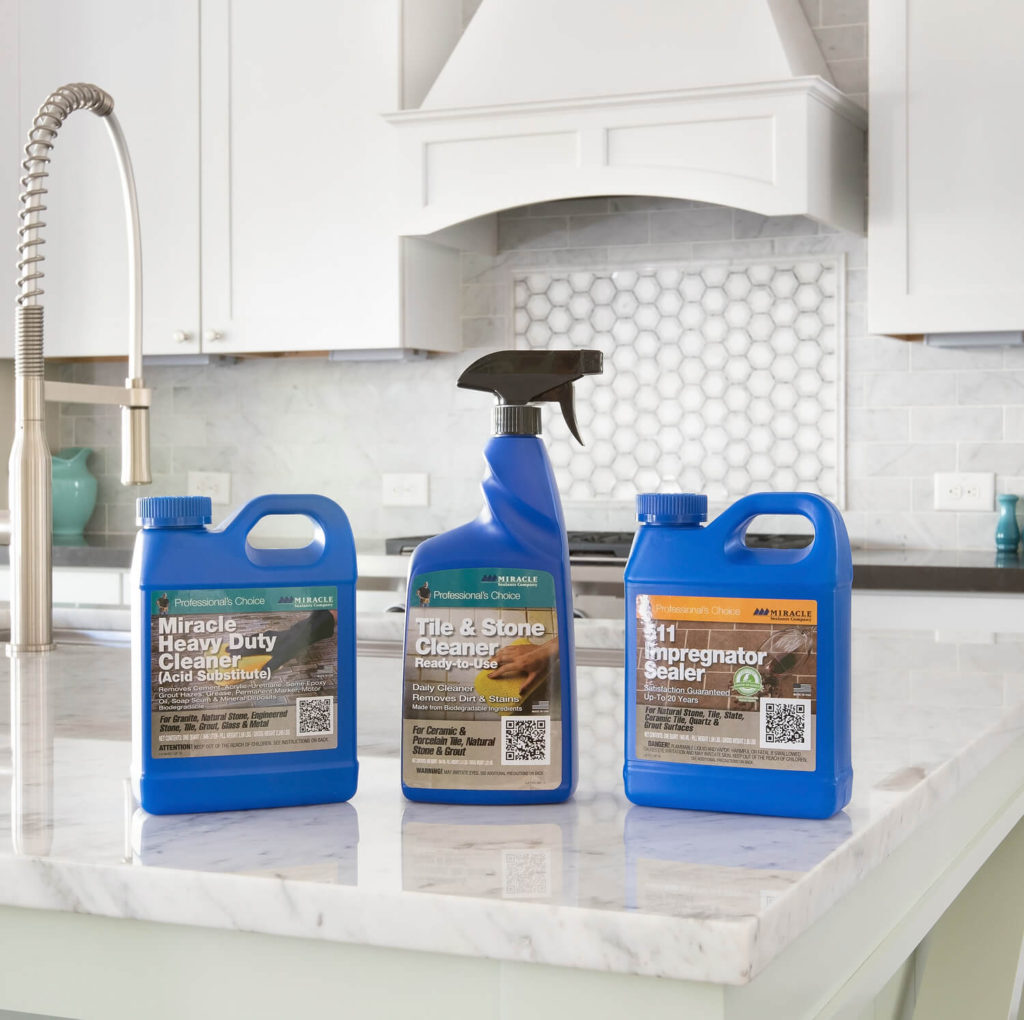
This DIY tutorial is sponsored by Miracle Sealants and will show you the steps and products you need to clean and seal your backsplash to keep it looking great for years to come!
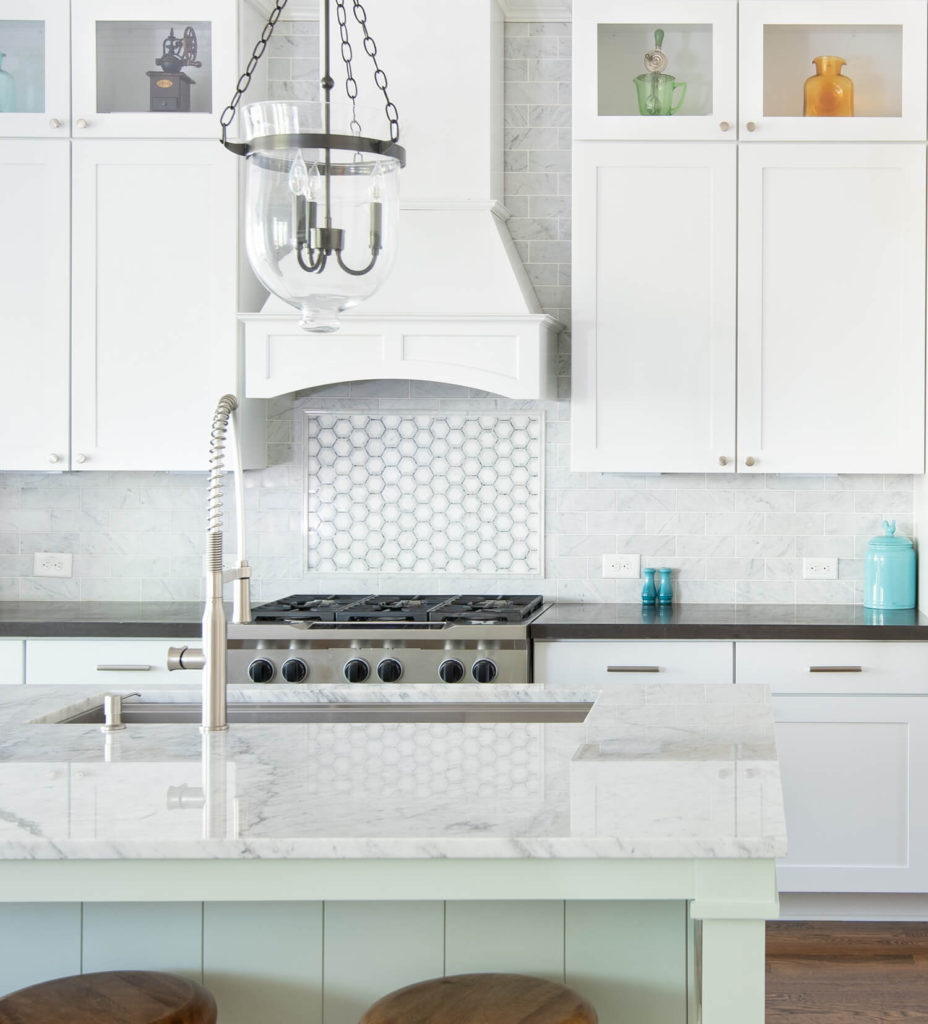
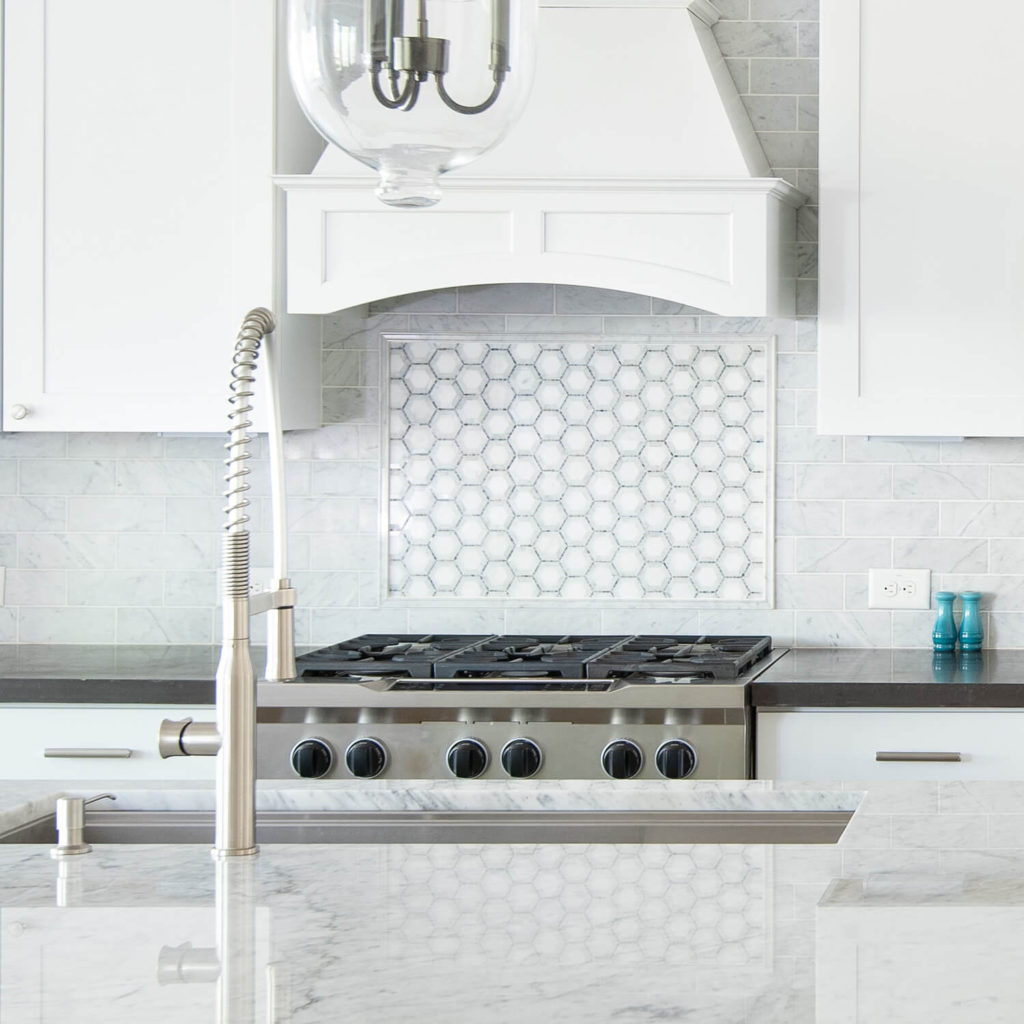
The kitchen is the heart of the home and the backsplash is a design feature that should not only give an aesthetic appeal but also protect your walls from food prep and cooking contamination. However, the backsplash itself often needs protecting so that food stains don’t permanently discolor it and make it look worn over time.
Stone tile products are one of the most common materials for backsplashes because they come in a variety of stone types, shapes and sizes. Even though natural stone is beautiful, it often has microscopic porosity that allows contamination to penetrate, usually through liquids sitting on the surface and being absorbed into the stone. Once stone is stained it is very hard to reverse. To prevent liquids and their contaminants from staining stone you have to seal it to prevent liquids from penetrating! The following steps describe how to prepare the tile, the Miracle Sealant products I used and the process from start to finish!
Step 1 – Clean the Tile
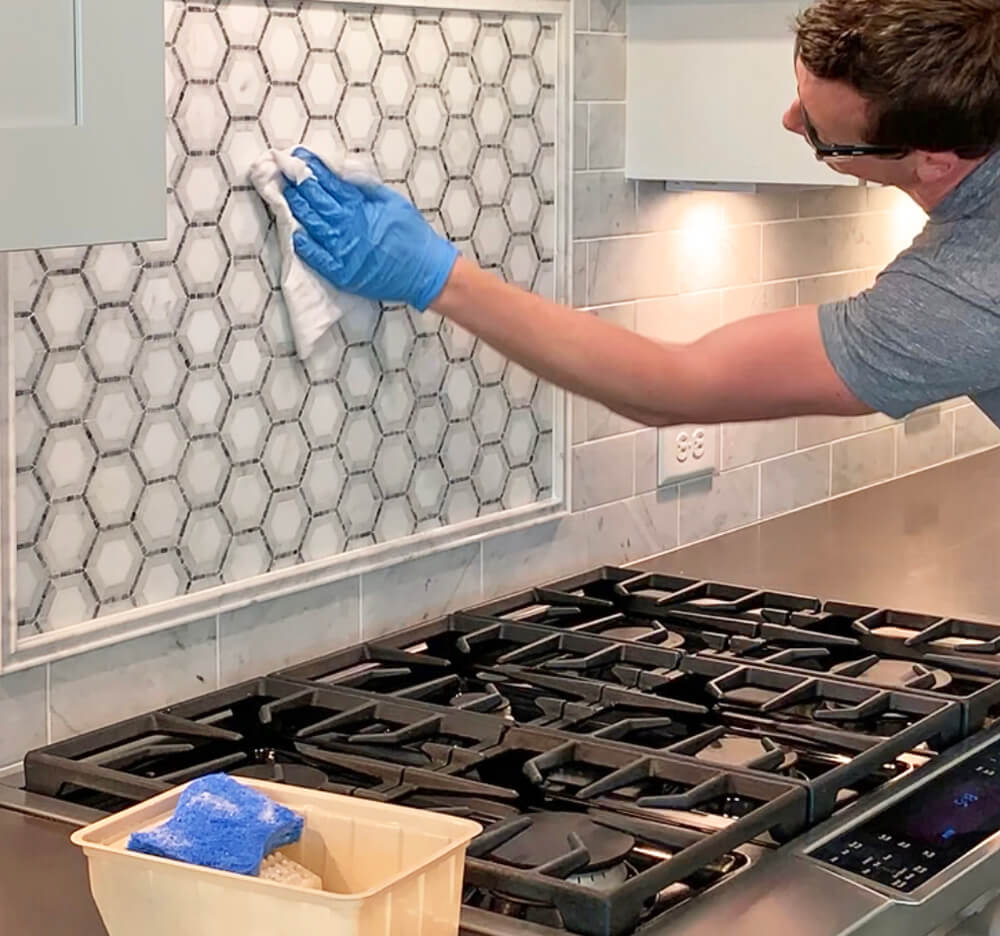
For the sealant to properly seal the tile it has to penetrate the surface, and it can’t do that completely if there are surface contaminants. There are two types of cleaners that you might use for this purpose and which one you pick depends on the current condition of your stone. If the backsplash was recently installed and there is no grout haze or buildup from cooking yet you can use a gentle product like Miracle Tile & Stone Daily Cleaner. This is the product I used to prep my Carrara marble backsplash and I applied it by spraying 3 foot wide sections until it was completely wet and then scrubbed with the soft side of a Blue Scotch-Brite sponge.

If your tile was recently installed and there is some grout haze left behind or if you have used the backsplash for a long time without regular cleaning it is a good idea to use a more powerful cleaner like Miracle Heavy Duty Cleaner. It is designed to remove oils, greases, mineral deposits and grout haze! Both of the products mentioned previously have a neutral pH which is important to protect your stone! Many other cleaners are acidic (have a low pH) and not designed for natural stone. Acid based cleaners can etch the surface of the stone making permanent surface damage.
Step 2 – Apply the Sealer
The sealing product I used was Miracle 511 Impregnator Sealer. I had a quart sized container and only used a ¼ of the bottle to seal the backsplash across the whole kitchen. The active ingredient in the Impregnator Sealer is dissolved in a solvent, and I opened a few windows to get fresh air in while applying and the odor dissipated quickly after I was done. As instructed by the bottle I made sure to wear protective gloves and eye protection during application. To be most effective the sealer has to penetrate into the pores into the stone. The instructions said to keep the surface wet and prevent drying for five minutes so it would have time to soak in.
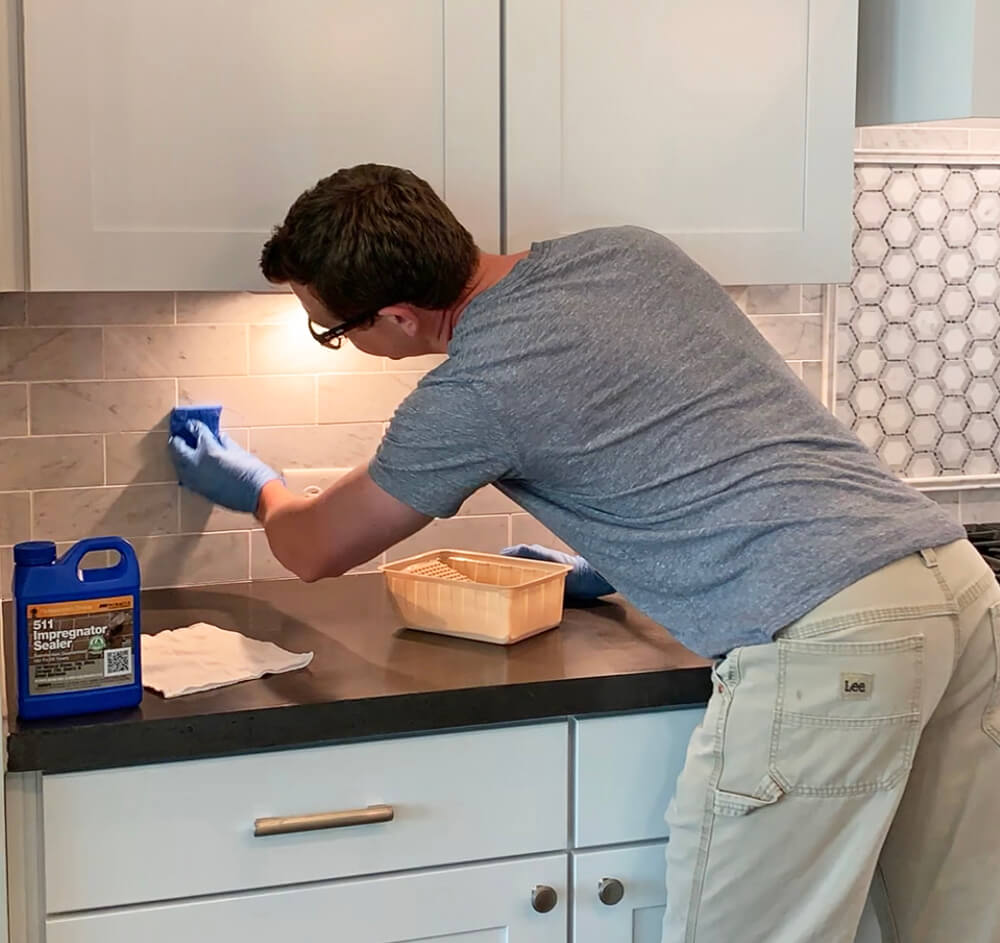
Since the backsplash is a vertical surface (where you can’t really over apply it to keep it wet because it will just run down) I continuously wiped the three foot wide sections with the sealer soaked blue Scotch-Brite sponge to prevent it from drying as the five minutes elapsed. You can fully soak the grout with the sealer and it will help protect that as well! For larger application areas and for countertops you can use the wide foam applicator that is made by Miracle Sealants.
Step 3 – Wipe Off Excess Sealer and Let Cure
If you let the excess sealer liquid air dry on the surface of the stone you might see a slight haze from it forming a film on the surface. To prevent that, you should wipe down the surface of the tile with a clean absorbent cloth to remove the excess sealer. Once you finish the three steps for a section you can move on to the next. The process really is fast and this is an easy project that can protect your backsplash for years! You should let the sealer cure for 24-72 hours before you do any subsequent cleanings of the newly sealed tile.
If you are a messy cook like me you can now breathe a little easier when it comes to keeping your stone backsplash clean and looking new! To see some video clips of the process follow me on Instagram and find the story highlight “Sealing Tile”!