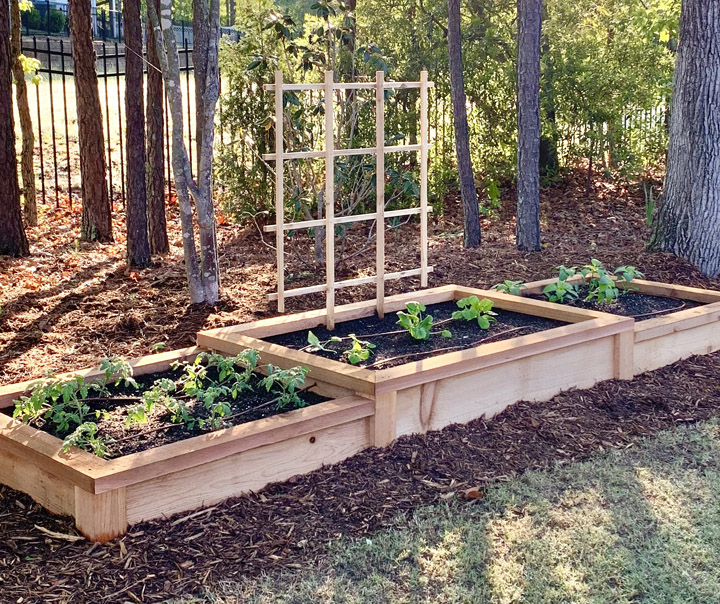
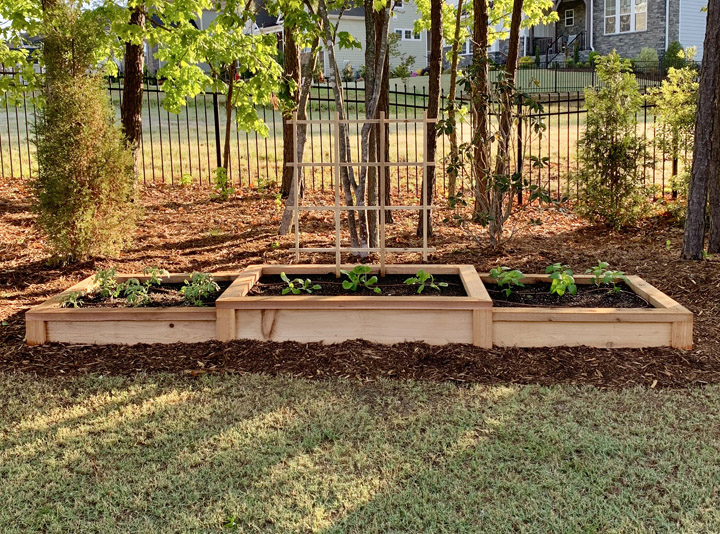
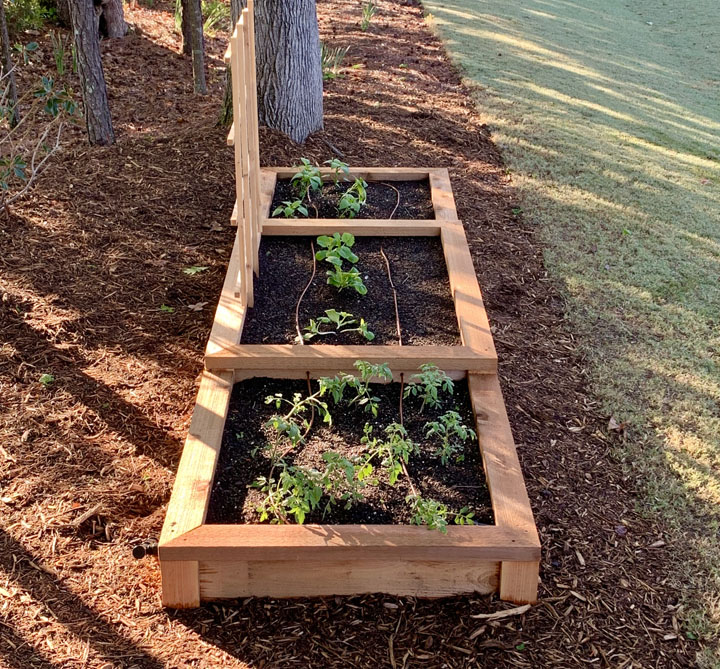
This step-by-step tutorial is sponsored by Lowe’s Home Improvement and will help you to construct a beautiful cedar raised bed vegetable garden, fill it up with soil and plants and outfit it with a drip irrigation system!
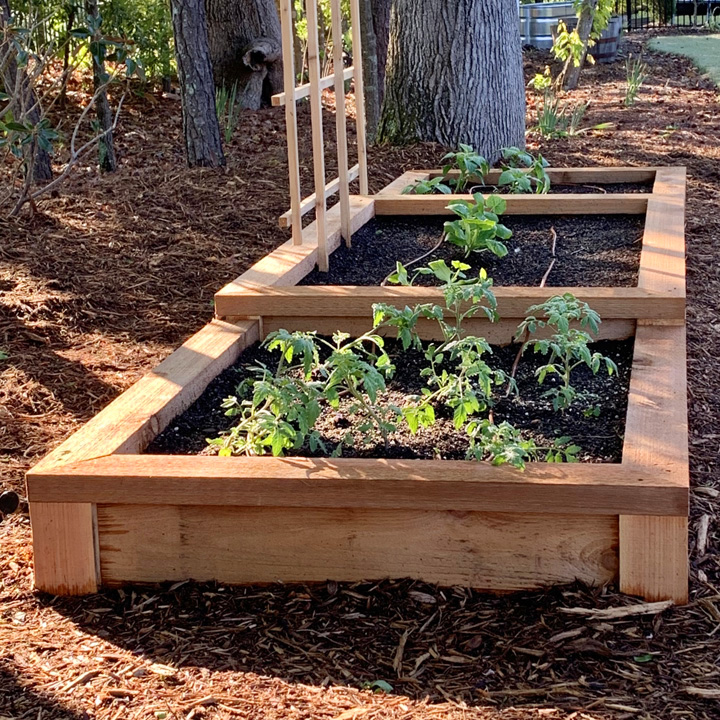
Building a raised vegetable garden is an awesome weekend project and can bring so many benefits for your family. Growing vegetables can provide an awesome source of fresh, organic food that you can feel good about producing yourselves. It is a great family activity; planting and tending the garden can give kids a sense of responsibility and is a great time to bond with them. Building a raised bed for the garden can really be an aesthetic focal point in your yard, something that is hard to get from an in-ground garden. Let me show you how I built and outfitted the planter you see above!
Step 1 – Select Your Wood
For this project I used rough cut cedar lumber from Lowe’s. Cedar is naturally very insect and rot resistant which makes it one of the best untreated wood species to come in contact with the ground. Untreated pine will be quickly found by termites and you can expect that the structure will only stay in good shape for a few years. There are multiple perspectives on whether or not pressure treated lumber is safe as a vegetable garden bed material, but personally I would err on the side of not using it (if I could find cedar or redwood) because of the chemicals used to preserve it. I used cedar 2x8s (four 8’ boards), 2x4s (five 8’ boards) and a 4×4 (one 8’ board) for this project but you could make a similar design using 1x cedar if your local store does not stock the 2x material.
Step 2 – Construct the Bed
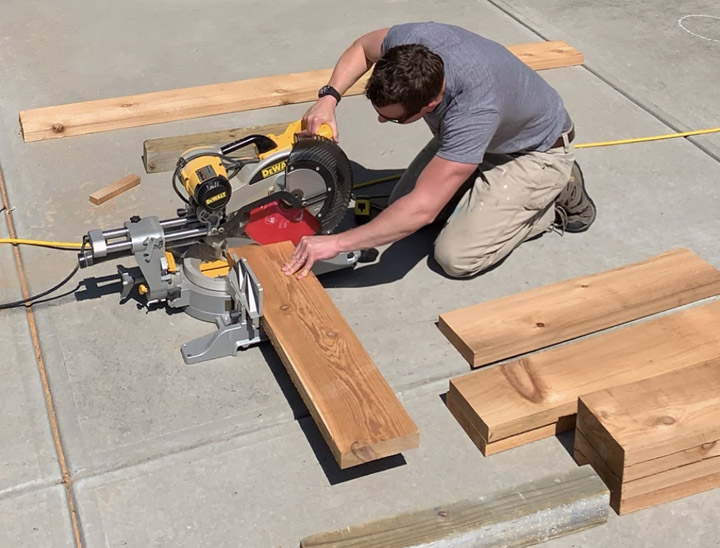
The final dimensions of the bed seen above is about 11’ x 3’ and has three sections. I went for a tiered look for the beds (the outside sections 2” lower than the middle section) to add some visual interest to the structure! The sides were constructed from the cedar 2×8 and so I cut all of those pieces to length first using my miter saw. I cut two 4’ long pieces, four 3’ long pieces and four 2.5’ long pieces using my miter saw.
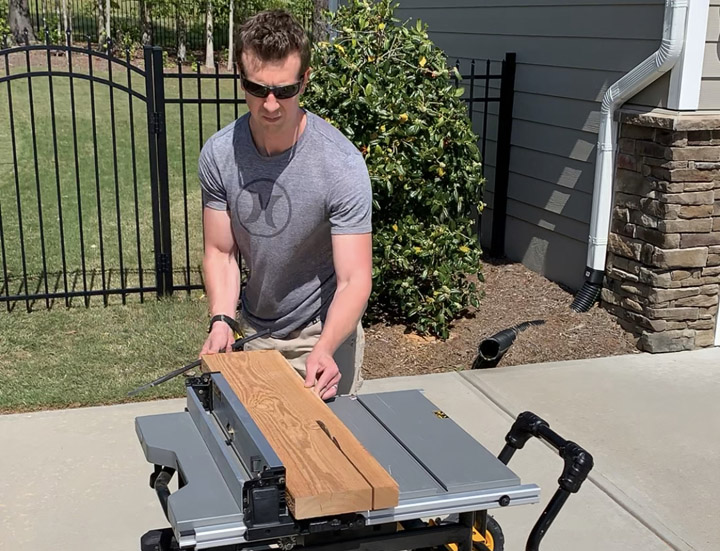
To create the tiered look I ripped down the side pieces for the outside two sections (all four of the 3’ long pieces and two of the 2.5’ pieces). I removed two inches from their width using my table saw. If you don’t have a table saw you can modify this design by having all three sections be the same height!
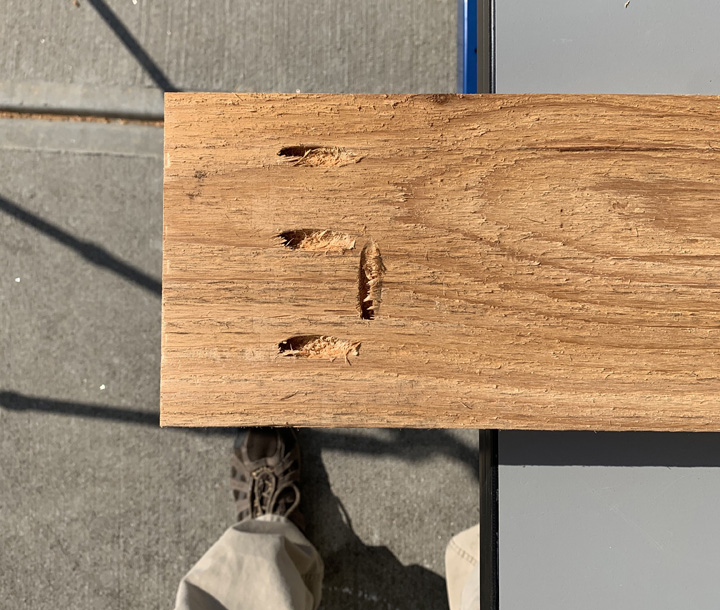
I decided to assemble this planter with pocket hole screws because I wanted to use 4×4 posts at all the corners of the boxes and this was the easiest way to connect all the pieces. It will have the added benefit that all of the pocket holes will be on the inside of the planter and will be covered in dirt so you won’t ever see them again after planting! I used 2.5” long stainless steel screws because they will be in a constantly wet environment.
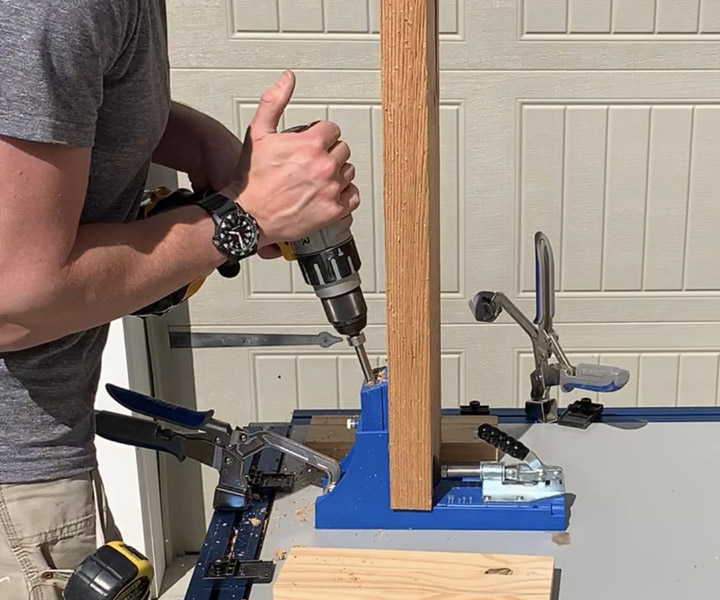
I used the Kreg Jig to make three pocket holes on each end of the side boards and also three pocket holes facing the top of the board, which will be used to attach the 2×4 cap pieces around the top of the planter sections.
Next I cut the 4×4 cedar post into sections for all the corners. The four for the middle section I cut ½” longer than the width of the 2×8. The four for the two outside sections I cut ½” longer than the width of the outside section boards. *As a note I am not giving actual dimensions here because my rough cut cedar 2x8s were wider than typical 2x8s and yours may or may not be.
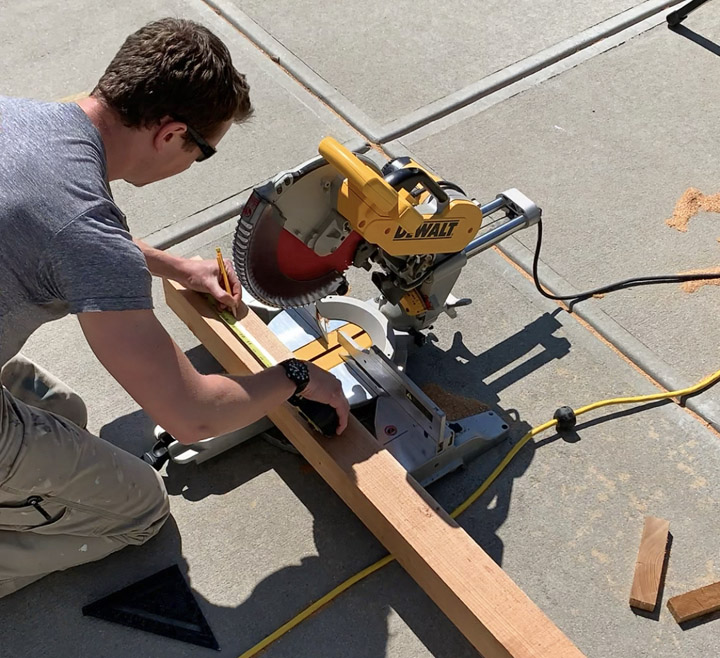
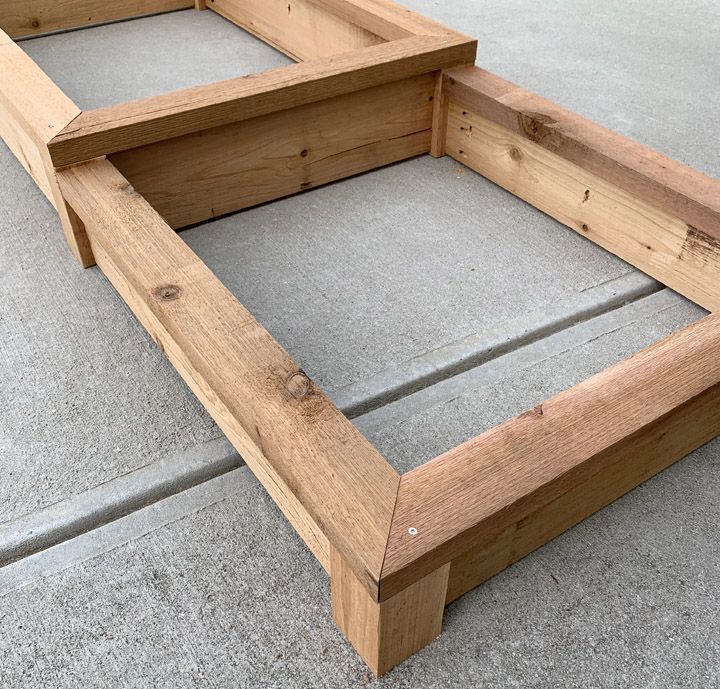
I then assembled the middle box section. You can see in the picture below that the 4×4 corner posts are ½” taller than the width of the side boards (I am assembling it upside down). This extra length will make it so the side boards don’t sit directly on the soil initially and this gives you some tolerance when grading the site (if the site is not perfectly flat the planter will still sit flat because it will be sitting on the posts and not the sides).
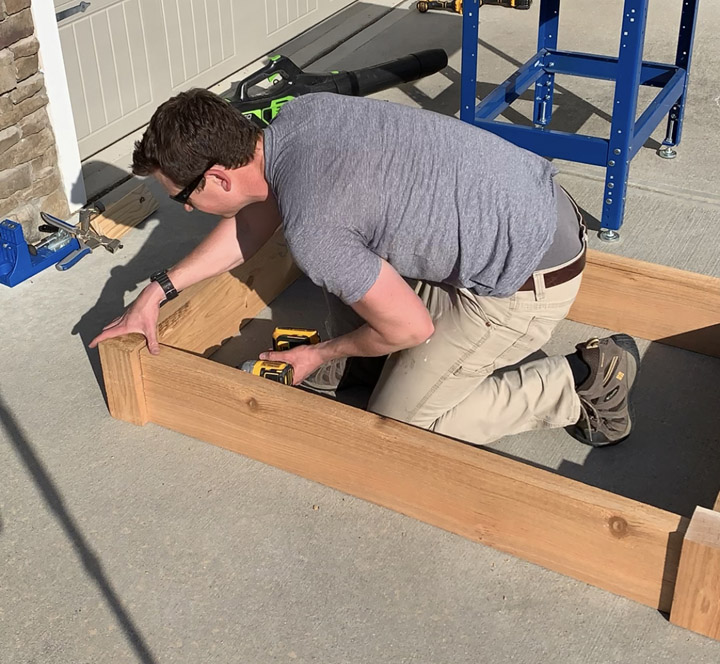
Then I cut the 2×4 cedar to fit as a cap around the top of the middle box. I mitered the corners and lined up the edges with the edges of the posts. I installed it by pre-drilling and screwing the boards into the posts from the top and then attaching them from underneath using the pocket holes facing up in the side boards.
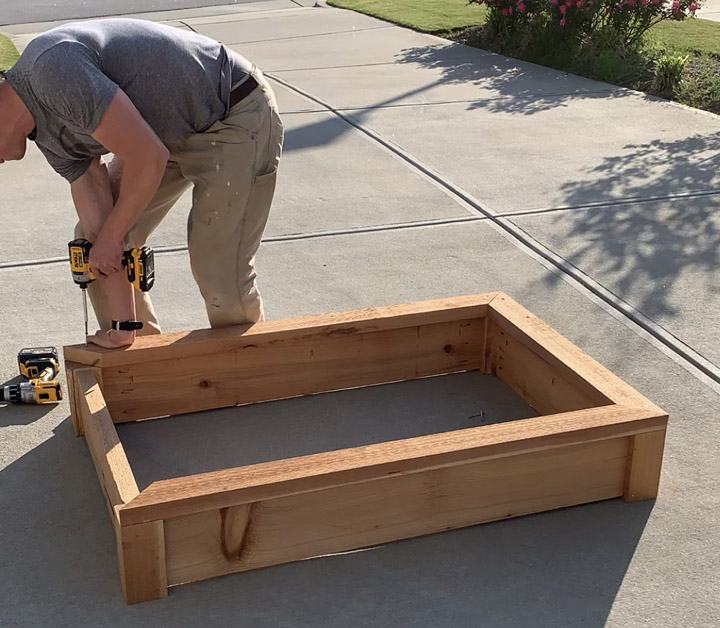
I then assembled the side sections and connected them to the center section. If you look closely at the picture below you can see that the whole planter is sitting ½” above the surface of the driveway because of the extra length on the corner posts.
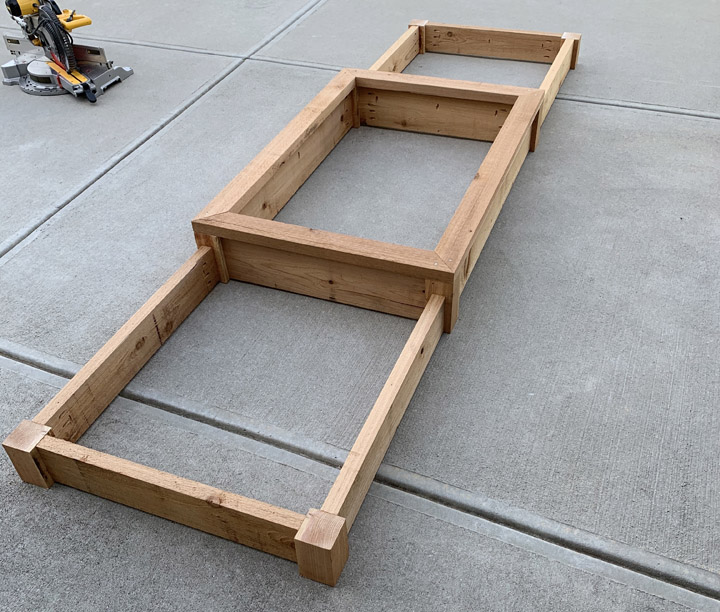
The last step was to add the 2×4 cap to the top of the side boxes. I mitered the corners on the outside and the boards ran into the middle section on the inside.
Step 3 – Install in the Yard
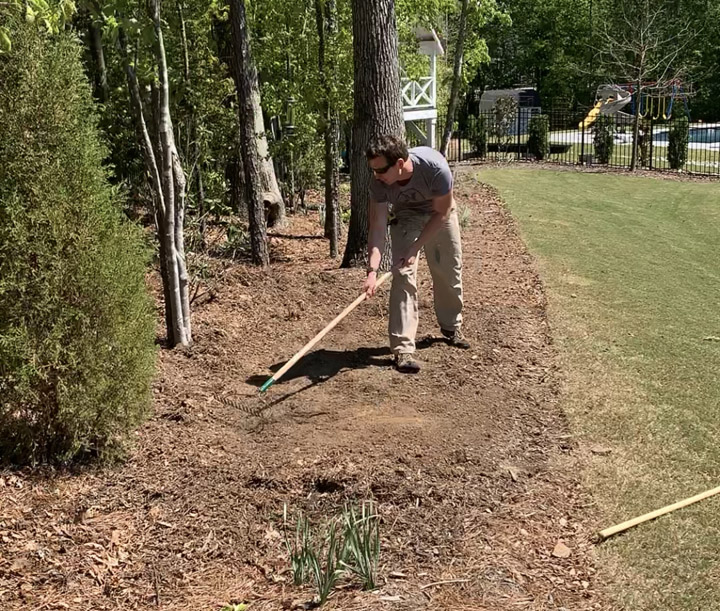
I found a spot to place the planter in our yard that was pretty flat already in an area about the size of the planter. I raked the area clear of ground cover and then used a pick axe and the back of a hard rake to move the top soil around until the site was graded as flat as possible.
I got some help moving the planter carefully into place and only had to put some extra soil under one of the legs to have them all touching the ground! I decided to add a pre-made cedar trellis to the back of the planter as well. It would provide some added visual interest and a place where green beans can climb! I attached the trellis to the inside of the middle section using two screws.
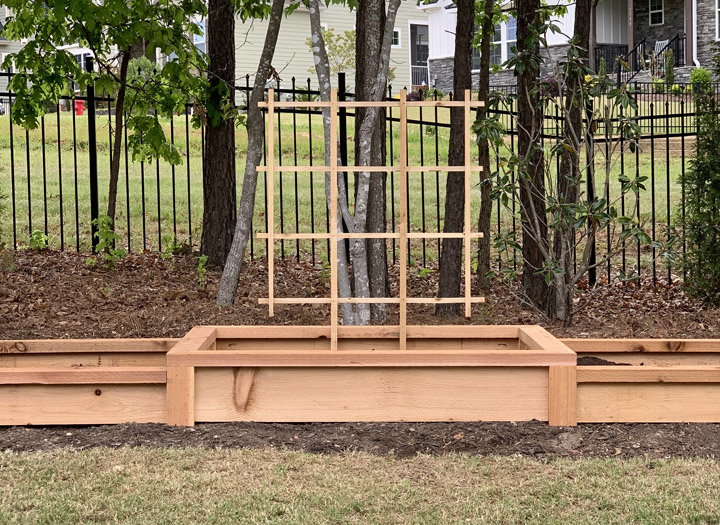
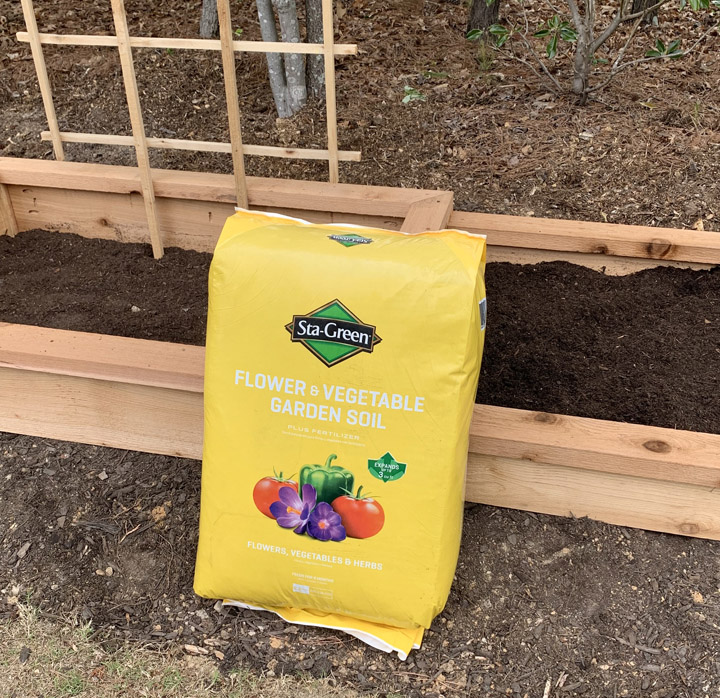
Then it was time to fill with soil. Soil usually comes in bags that are either 1, 2 or 3 cubic feet in volume. To determine approximately how many bags you need you should calculate the volume of the planter by multiplying the interior length, width and height of each planter section and add them together. You may need a little more than what you calculate depending on how much you compact the soil before planting. For my exact design I calculated a volume of 15.6 cubic feet and ended up using 17 cubic feet of soil. I used both standard topsoil and 3 cubic foot bags of Sta-Green Flower & Vegetable Garden Soil to fill my beds!
Step 4 – Plant Your Vegetables
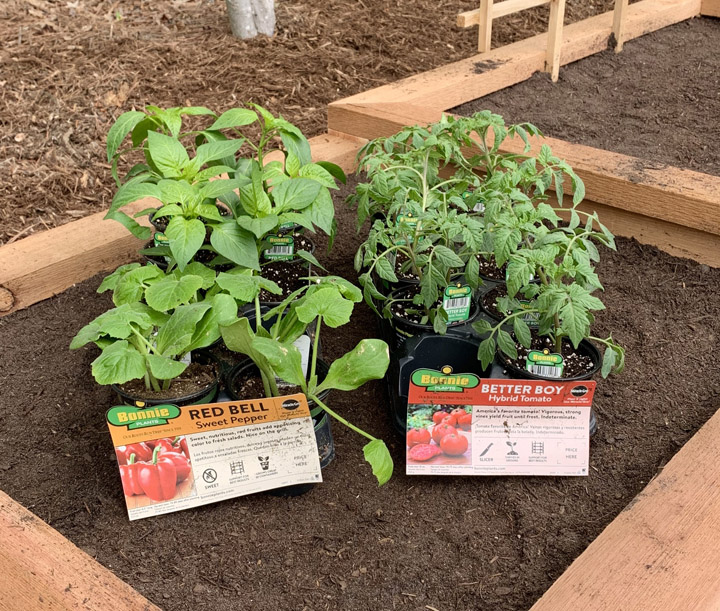
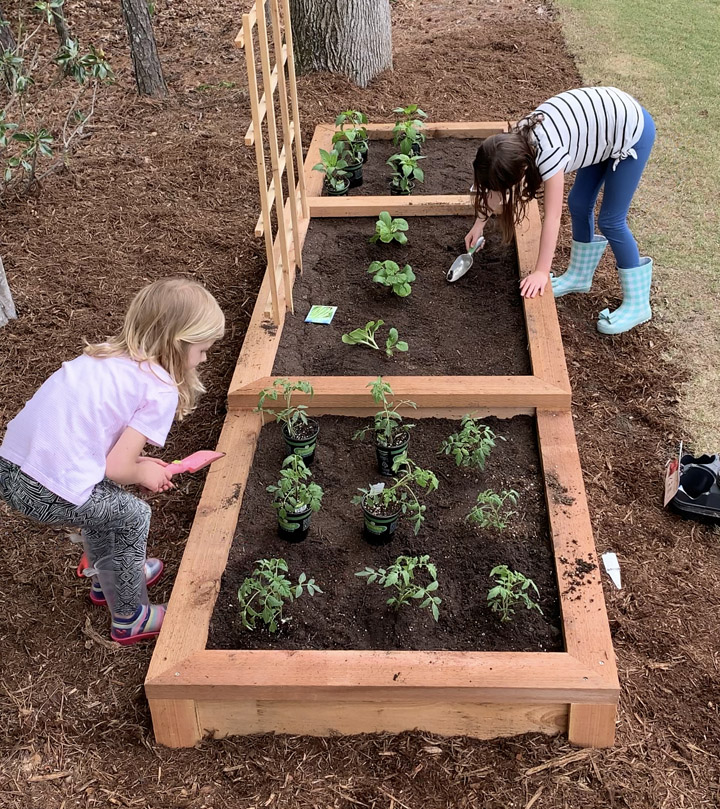
This is the fun part! I asked my girls what they wanted to plant and they said tomatoes, green beans, peppers and carrots. I decided we’d add some zucchini and squash to fill out the planter. The tomatoes, peppers and zucchini were Bonnie vegetable plant seedlings and the others were planted from Ferry-Morse organic seeds. If you have any questions about which plants might be best for your specific climate or garden space, Lowe’s has experts on hand in their garden center that are there to help!
This was a really fun activity to do as a family. I helped the girls understand how to lay out the plants, how much spacing was needed between each and how deep the seeds needed to be planted. Every day since we planted them the girls have wanted to go out and check on their plants!
Step 5 – Install Drip Watering Kit
A drip irrigation system may be a great choice for your garden (raised bed or regular) because it can provide a low maintenance way to make sure your plants have the water they need on a regular schedule! I ordered a drip irrigation kit from Mister Landscaper for this raised bed.
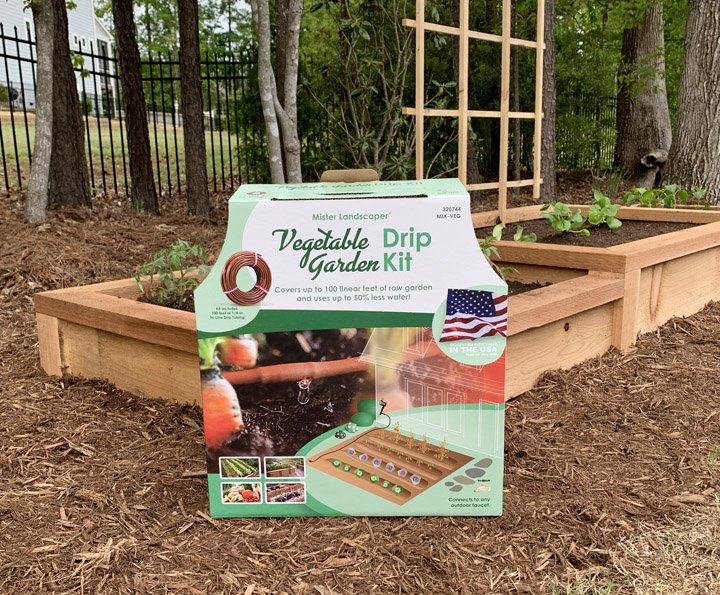
The instructions were very simple and easy to follow but I will give you the basics of how I integrated it into the bed below. I wanted the drip system to be really integrated into the bed so I first drilled a 3/4” hole in the side of the bed to install the main water line which is the larger tube that runs all the way back to your hose spigot. I capped that line inside the bed.
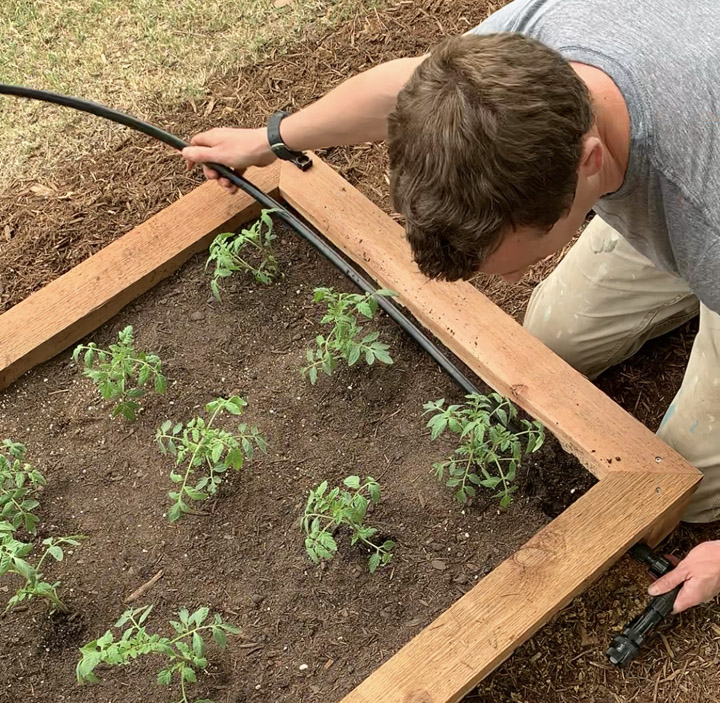
The drip lines are smaller and I used a ⅜” drill bit to drill through the dividers between the bed sections.
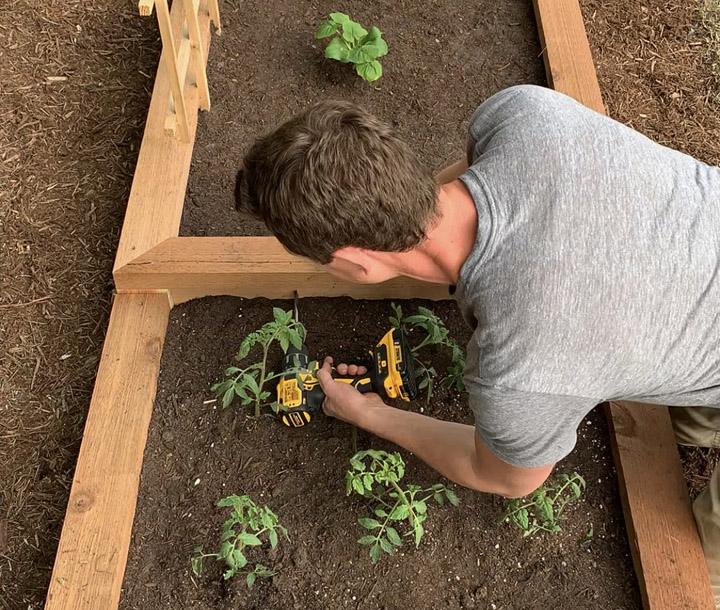
This would allow me to run a single drip line through the bed and having it go through the cedar will keep the lines nice and tidy (looks nicer than having the lines go over the top of the dividers) and helps to keep the drip lines in place permanently! I cut a section of drip line to length and pulled it through all the holes in the dividers. For even more control you can create an automatic watering schedule using a timer.
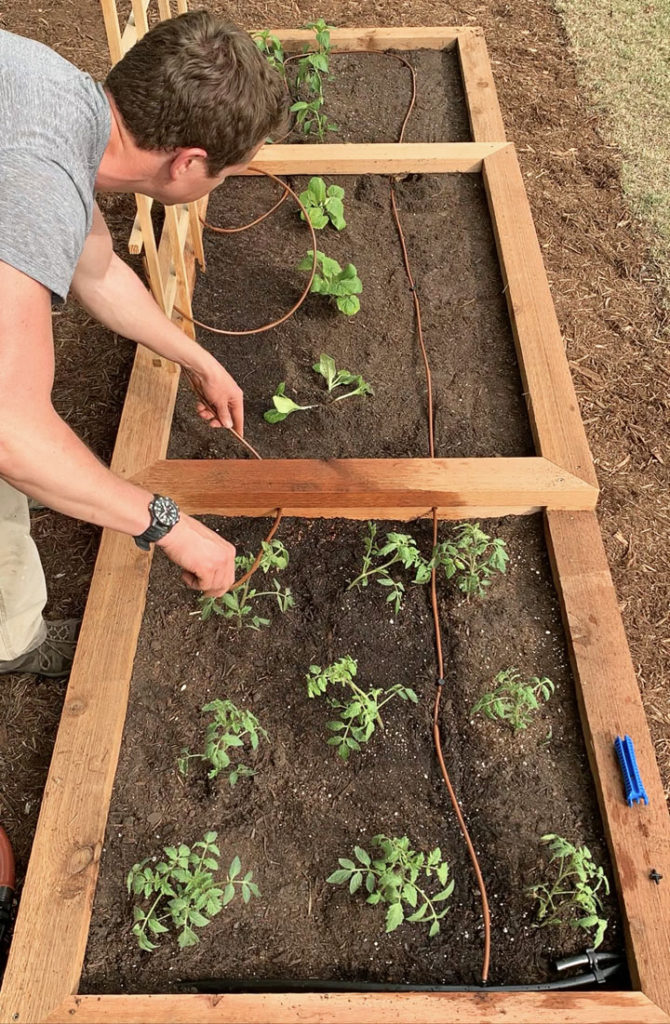
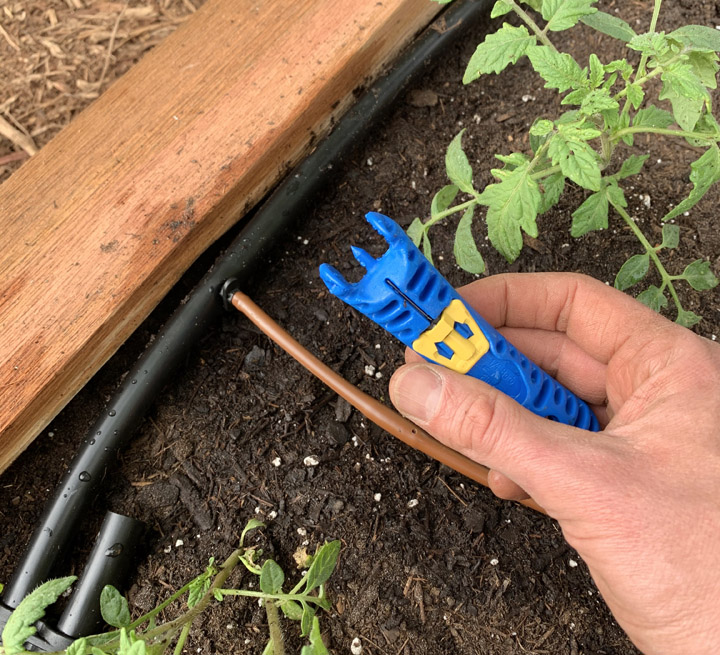
The drip lines connect to the main line using push in connectors and the kit came with a handy tool to puncture the main line to install the connectors (seen below). It really took a total of 10 seconds to attach the drip line to the main line. The kit came with 100 ft of drip line and enough connectors and valves to run four separate drip lines off the main. Obviously this kit could support a garden much larger than the one I’ve made here!
Step 6 – Feed Your Garden and Enjoy!
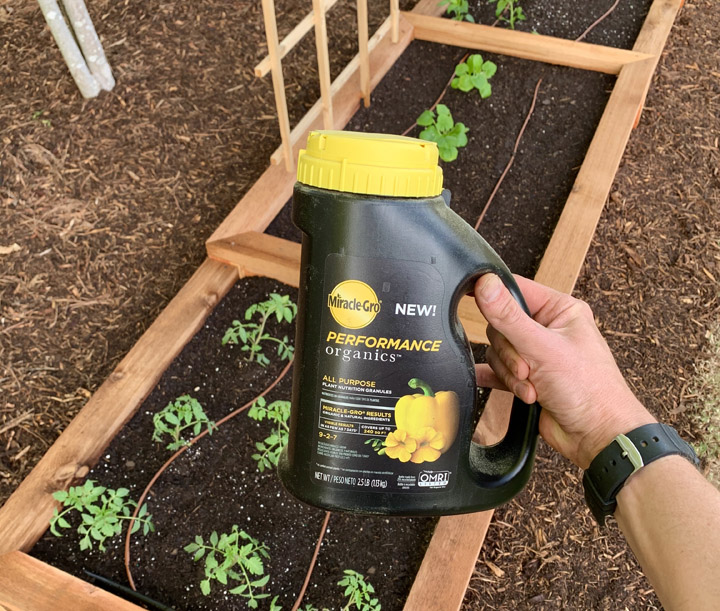
To make sure the plants have the nutrients they need you have to add fertilizer to the soil to support their growth. I want to keep this vegetable garden as organic as possible so I searched for a fertilizer that was derived only from natural products and decided on the Performance Organics line by Miracle-Gro. I sprinkled some on the surface from the handy shaker bottle and will keep applying throughout the growing season so that we can get as many veggies as possible!
We are excited to watch this garden grow evolve the course of the growing season. Check back on this article throughout the season and I will show you how it turned out and some of the fruits of our labor! To see some videos of this process follow me on Instagram and find my story highlight “Raised Planter”!
