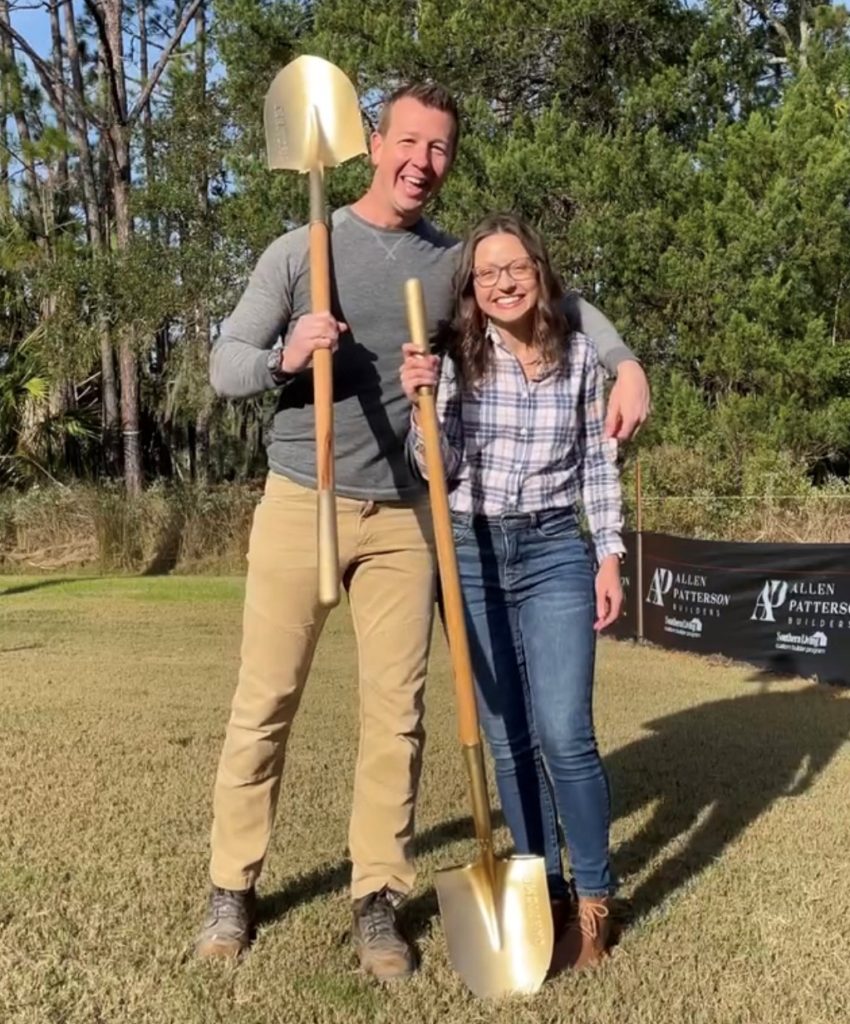
It took us almost 18 months when Jenni and I announced we purchased our property on Fripp Island till the contractor moved the first load of dirt. Although it was an exciting period during the pre-construction phase, it could also be daunting at times. There were a lot of steps involved, and it was critical to do things in the right order to ensure everything went smoothly. Let me walk you through the first steps in the pre-construction phase of building our custom island home. The following steps are outlined somewhat chronologically; however, for your own process, they may differ slightly. Many of the steps were happening concurrently for us!

Get a Survey
The first step you should take when building a new home, after purchasing or deciding upon the lot, is to get a survey of the land. This is an essential document that shows the boundaries of the property and any land features that may impact the building plans, such as easements or utility lines. In our case, it also showed wetlands boundaries, including zoning requirements, setback distances and other restrictions unique to wetlands.
Hire a Geo Technical Engineer
Once we had the survey in hand, our next step was to hire a geotechnical engineering firm to get a soils report, describing the soil composition and conditions on the property. It’s an important document used by the structural engineer in determining the foundation and structural requirements of the house. If soils are consistent in your area, this may be an optional step for you.
Find a Contractor/Builder
We began looking for an experienced home builder who had an excellent reputation and one we’d feel comfortable working with. The best home builders will have a portfolio of work for you to look at and see the type and quality of work they typically produce. The builder can give you a typical range for the cost per square for their home construction at the outset. We spent time interviewing a few of the custom home builders who were pre-approved to build homes on the island.
Find a Lender
Next up, we needed to find a lender. Because we needed to secure financing for our new home, it was important to shop around for the best interest rates and loan terms. We spoke to banks, credit unions, and ultimately, a mortgage broker, who helped us find the best construction loan for our specific needs. They can often also do a quick calculation to give you an estimate of how much you should be qualified to borrow.
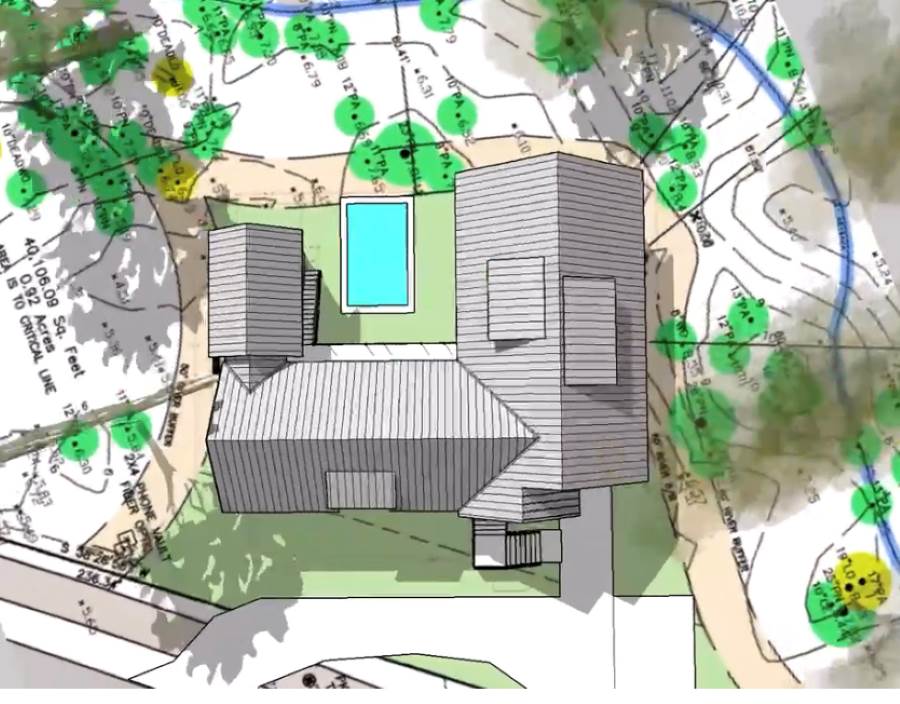
Hire a Landscape Architect
Once we had the builder and lender on board, we hired a landscape architect who had experience in wetland regulations to design a site plan. He conducted a site analysis to understand the specific conditions and challenges associated with our building site. He identified wetland boundaries, soil composition, drainage patterns, and other factors that might affect our home’s design and construction. He created a site plan to ensure our home was situated in such a way that protects the wetlands, meets regulatory requirements, and creates a beautiful and sustainable landscape.
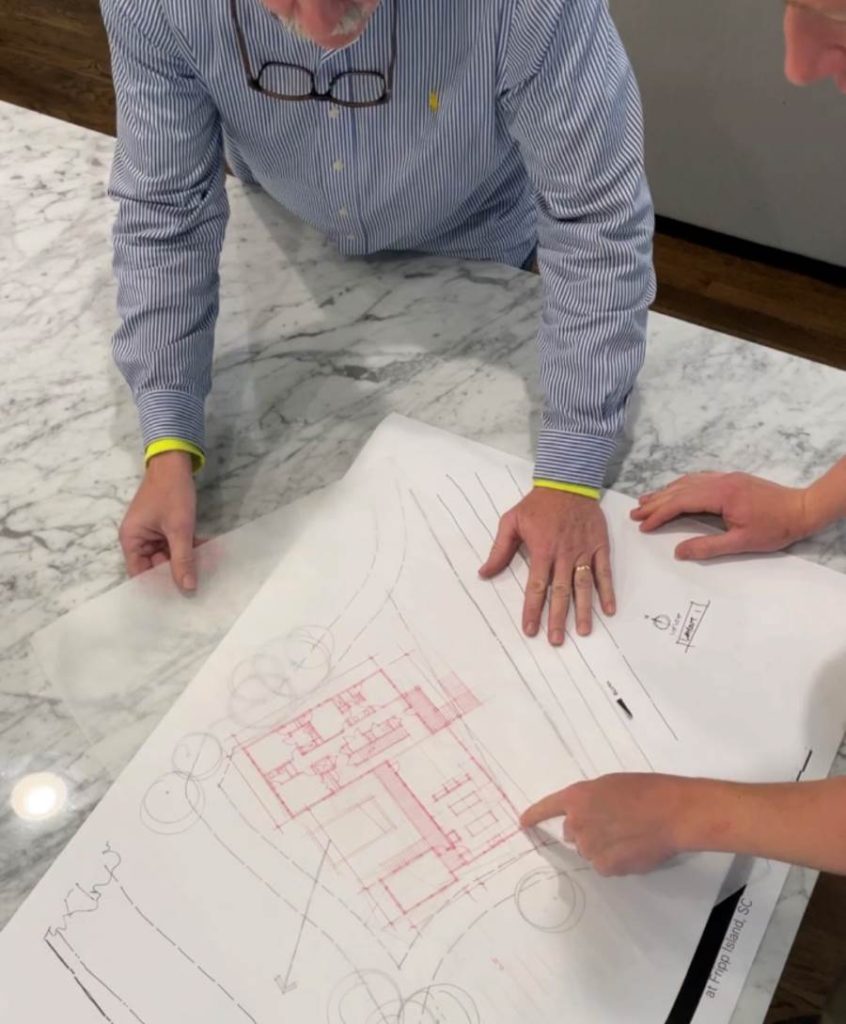
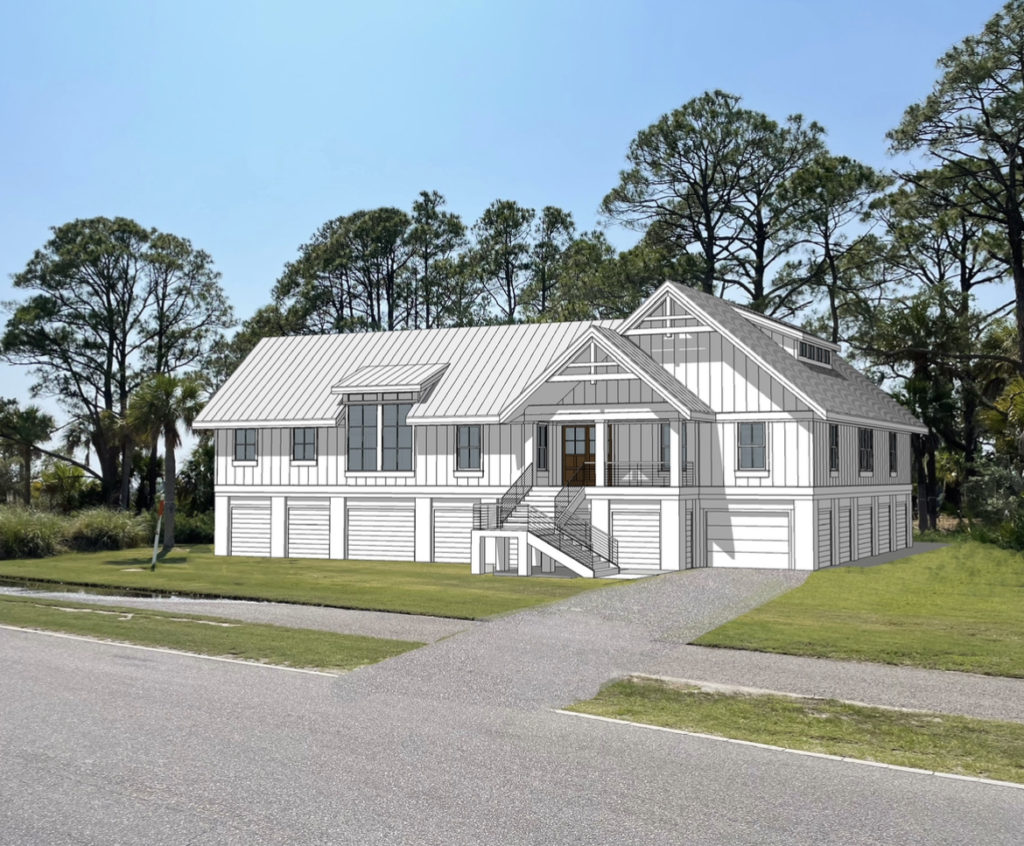
Hire an Architect
Next up, we worked with Red Pencil Design (full disclosure: my dad, an architect with more than 40 years of professional design experience.) Your architect will work with you to create a floor plan and elevations that meet your needs and desires and bring your vision to life, while staying within your desired construction costs. They will also advise you on building codes and regulations, and help you choose materials and finishes. No matter where you are in the world, you can find an AIA chapter that can lead you to an architect within your region. Look for the AIA initials after the name of any architect you consider for your project. AIA architects remain current with professional standards through continuing education and subscribe to a code of ethics and professional conduct that assure clients, the public and colleagues of their dedication to high standards in professional practice.
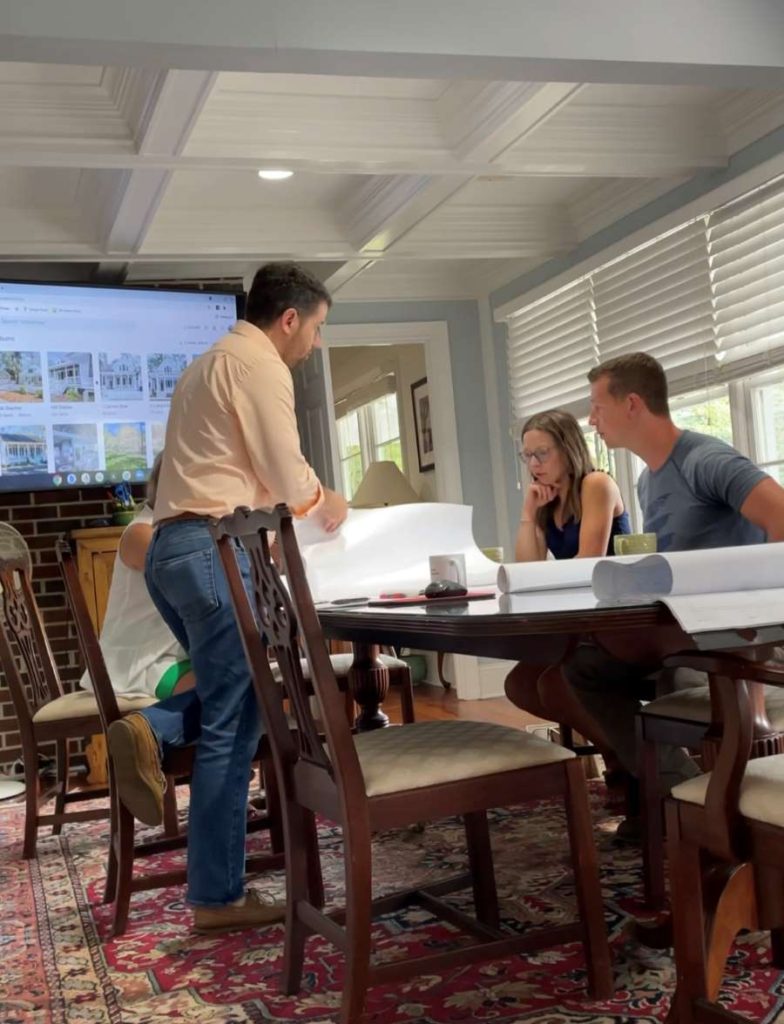
Obtain a Construction Quote
Once you have worked with your architect to bring your vision to life, you can present the design development drawings to the contractor for the purpose of obtaining a quote for construction costs. This quote will give you a rough estimate of how much your house will cost to build. If the quote is within your budget, you can move forward with the project. The estimated build cost may come in higher than you projected. If so, you can adjust the type of finishes used and/or the architect can perform value engineering or implement design changes to help get closer to your budget.
If Needed, Obtain HOA Approval
The next step is to have the HOA review your plans. If you live in a neighborhood with a homeowner’s association, you’ll need to get their approval before you can move forward.
After the HOA approval, your architect will create the architectural working drawings (these used to be referred to as blue prints.) These drawings will be used by the builder to construct your home.
Hire a Structural Engineer
The next step is to hire a structural engineer to create the structural engineering plans. These plans will show how the home will be built, including the foundation, framing, and other structural elements.
Obtain a Final Quote from the Contractor
Once the builder has reviewed the working drawings and engineering plans, they can provide you with a final itemized quote for the construction of your new home.
Secure Financing
With the final quote in hand, you can secure financing from your lender.
Obtain Construction Permits
Your contractor will then submit the drawings, pay a fee and secure approval from the county zoning office for your construction permits. This will allow you to begin the construction of your new home.
Let the Construction Begin
As you can see, there are many steps involved before you can begin construction of your new home. It’s important to take the time to do things in the right order and work with qualified professionals who can help you navigate the process. With the right team in place, you can build the home of your dreams and enjoy it for many years to come.