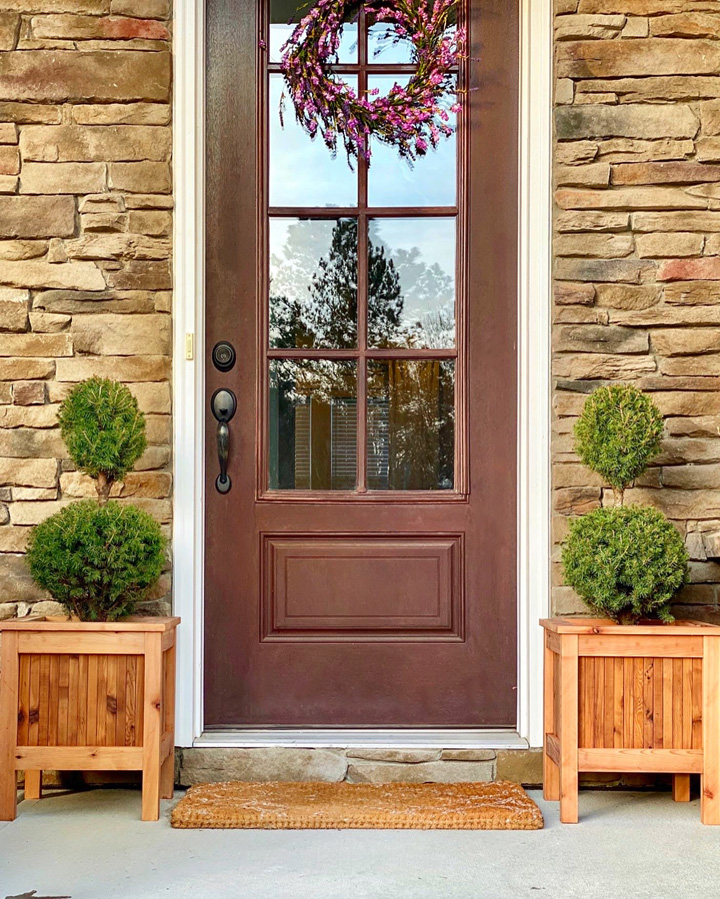
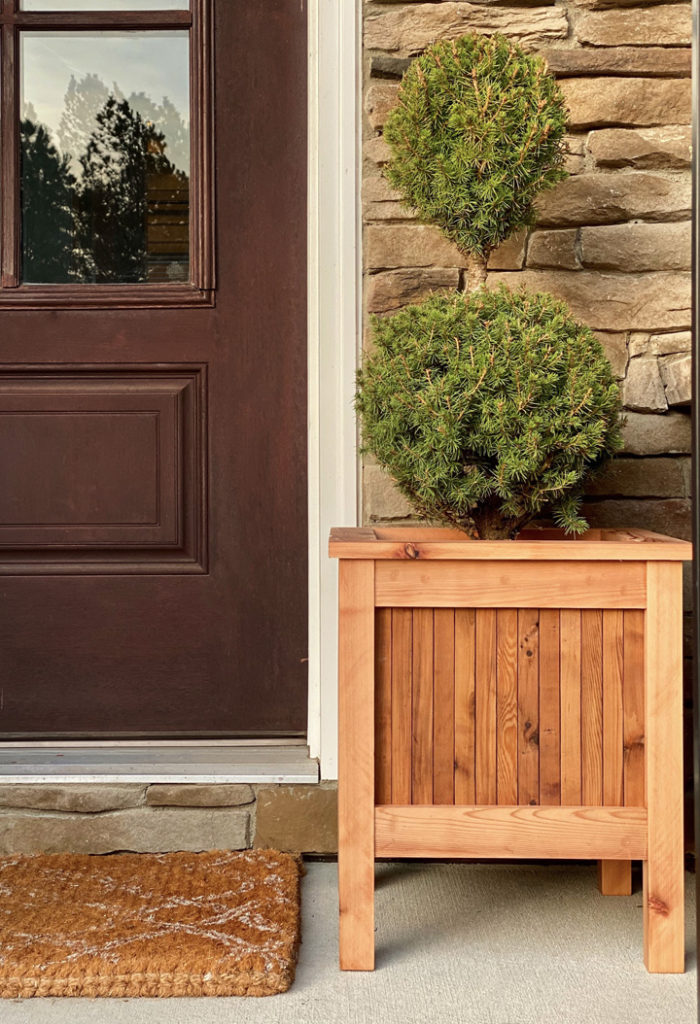
This DIY tutorial is sponsored by Lowe’s Home Improvement. It is part of the #DIYBuildOff series by @philip_or_flop and @angelarosehome and was designed and written collaboratively! Entries for this challenge are due on Instagram (see our planter posts for details) by 1:00 PM EST on Sunday March 22nd.
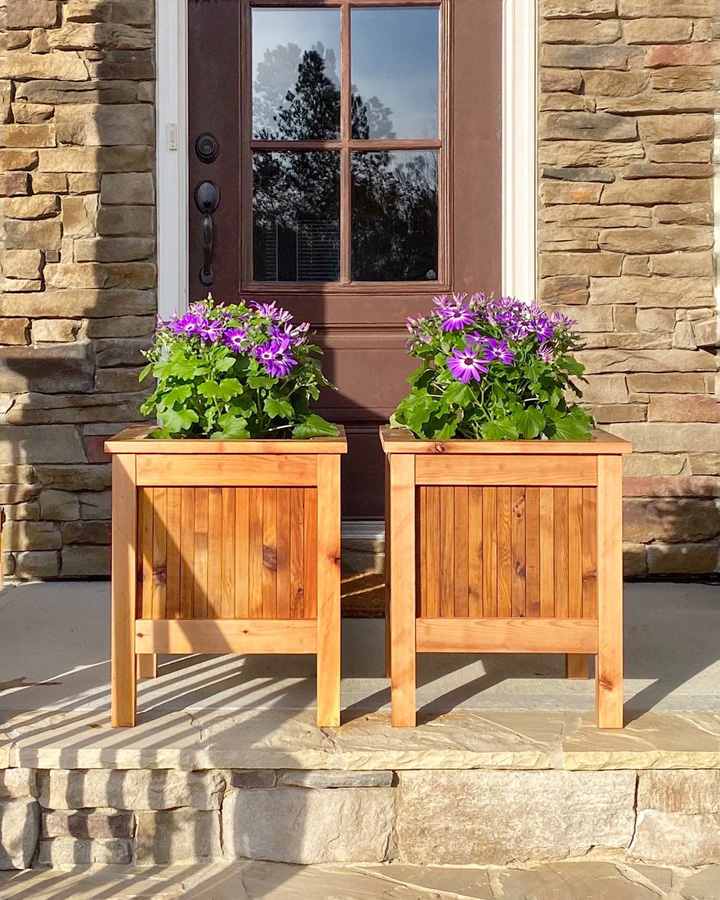
Looking for a great first woodworking DIY project? This planter tutorial is designed for those that don’t have a lot of experience building furniture but need a place to start! This custom design is one that will look great on your porch, driveway or patio and will save you money by doing it yourself. This planter was also designed to fit a common 2 to 3.5 gallon planting containers typically found at Lowe’s. No real planting required, just drop in your favorite plant!
This planter is made out of cedar which is a species of wood that doesn’t require chemical treatments to allow it to be resistant to rot and insects. Cedar is typically available in the eastern half of the United States. If you are from a western state and your store doesn’t carry cedar, use redwood instead, it has the same properties! Both cedar and redwood usually come kiln dried which means that they are dimensionally stable and won’t shrink after assembly. This also allows them to be stained or sealed immediately to help further protect them from the elements. If you can’t find what you need in the lumber aisle make sure you ask at Lowe’s, they have experts on hand to help you find the products that will meet the needs of your project and climate!
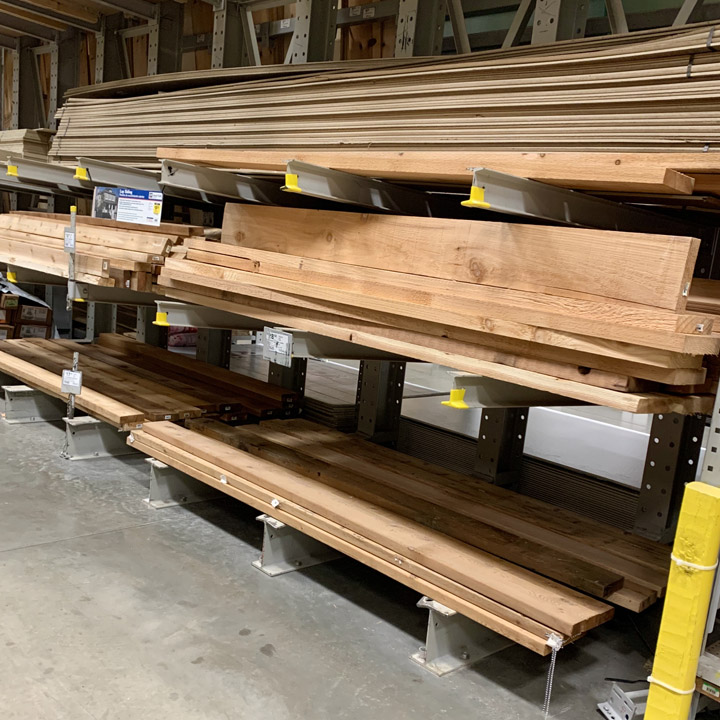
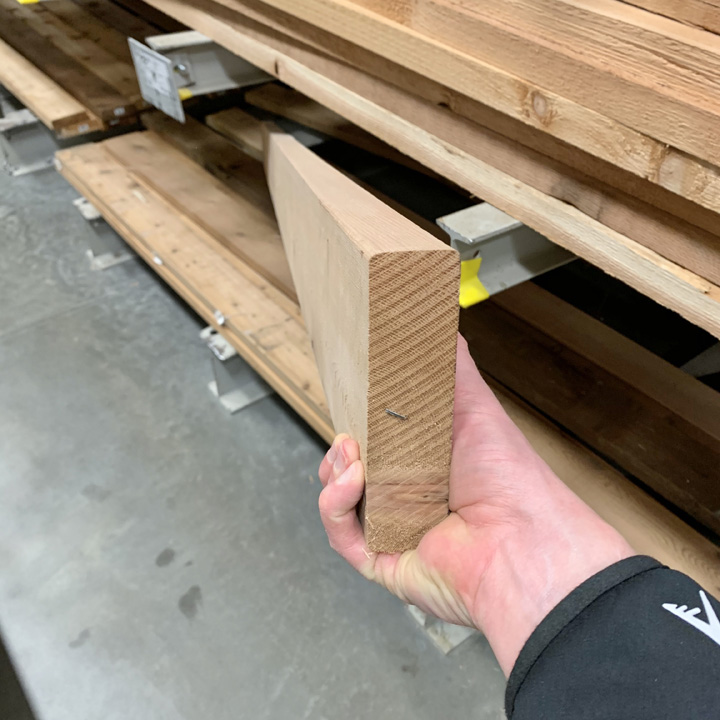
To make the planter finish as uniform as possible we are going to use larger pieces of wood and cut them down to the exact size pieces that we need. For each planter you want to make you will need two 2×6 x 8ft pieces of cedar lumber. Select pieces that have few knots and are straight in both directions. You can check this by looking down the board in both directions!
Creating custom pieces like this requires the right tools and hopefully you already have a miter saw, table saw and brad nailer. Know your comfort level and experience with these tools, read the safety instructions carefully and ask for help if you need it! In addition to those larger tools you will need a pocket hole jig, at least two good clamps, waterproof wood glue, sanding blocks (or palm sander), sealer/stain, 1.25” brad nails and 1.25” pocket hole screws. It should be noted that in this tutorial all of the ripping on the table saw is done after the pieces are cut to the correct length. For beginners it is often easier to handle small pieces on the table saw confidently.
Step 1 – Legs
Start the legs by cutting two 18” long pieces from your 2×6 with your miter saw. Move to the table saw and remove ⅛” from each side of both pieces. This removes the rounded over edge from the boards and will give a much cleaner look in the end. This squaring off the edges should be done for each board that you are ripping down in this tutorial, but won’t be repeated in the steps again.
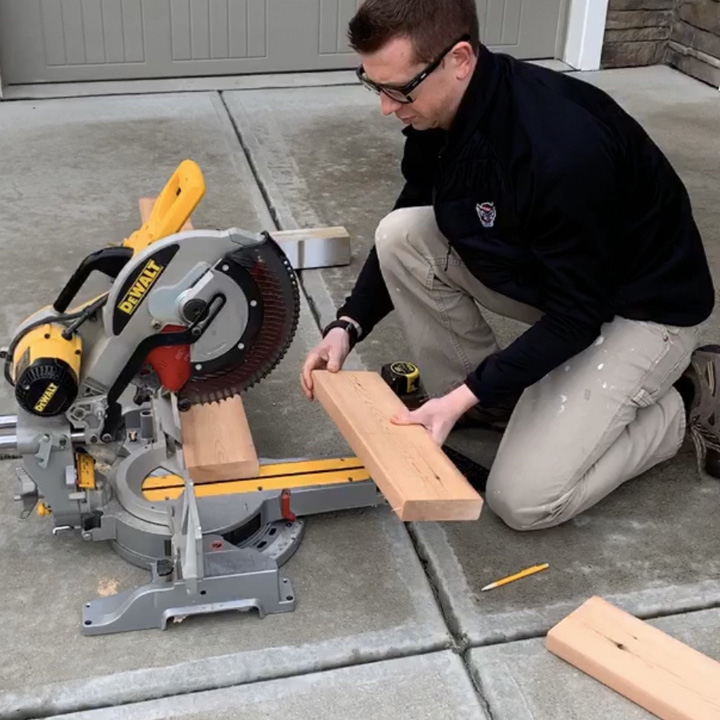
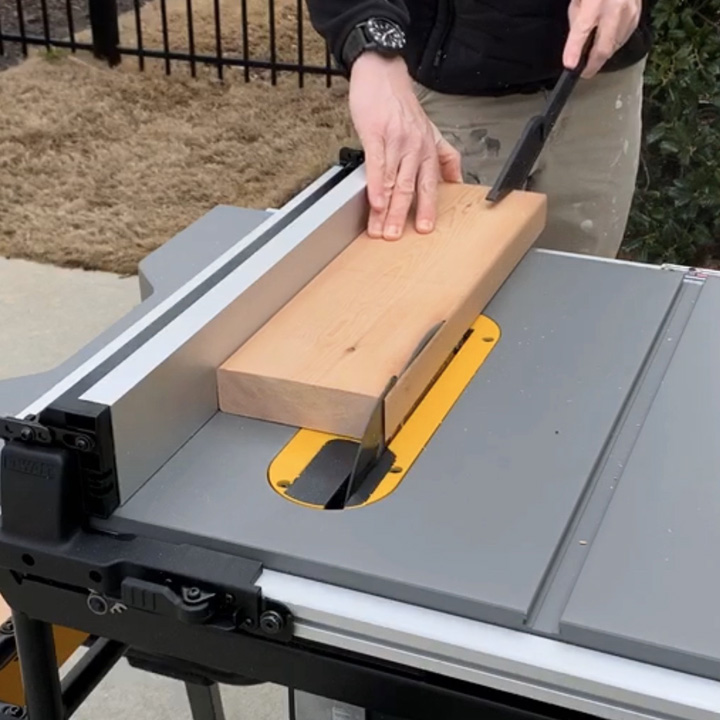
Next, rip 1.5” wide pieces from the boards. You will use four of these 1.5” x 1.5” x 18” pieces as the legs for your planter!
Step 2 – Side Supports
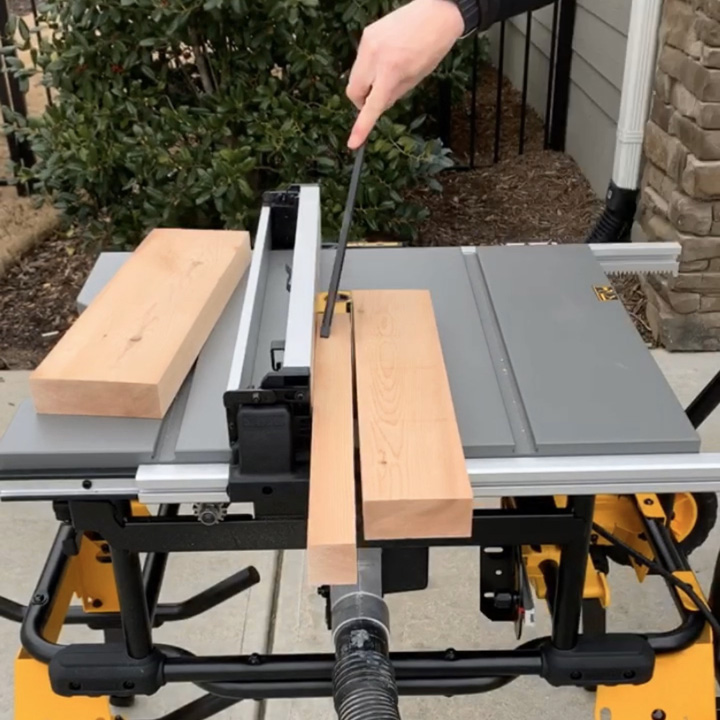
The side supports connect to the legs at the top and ¾ of the way down to create the overall dimensions of the planter. Cut two 12” long pieces from your 2×6 with your miter saw. Square up the edges on the table saw and then cut four 2.25” wide pieces from the boards. Next rip these four boards on the table saw through the thickness (originally 1.5”) to create eight boards that are 2.25” x 0.75” x 12”.
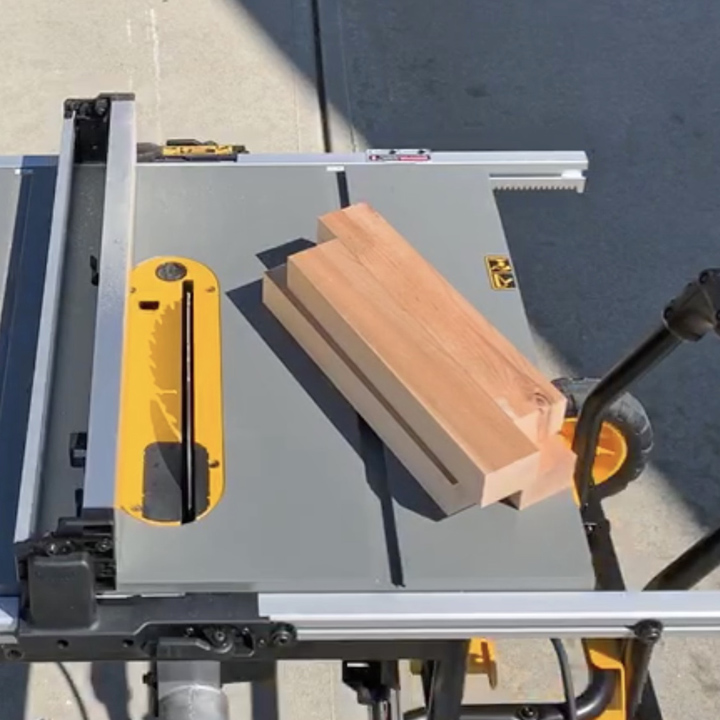
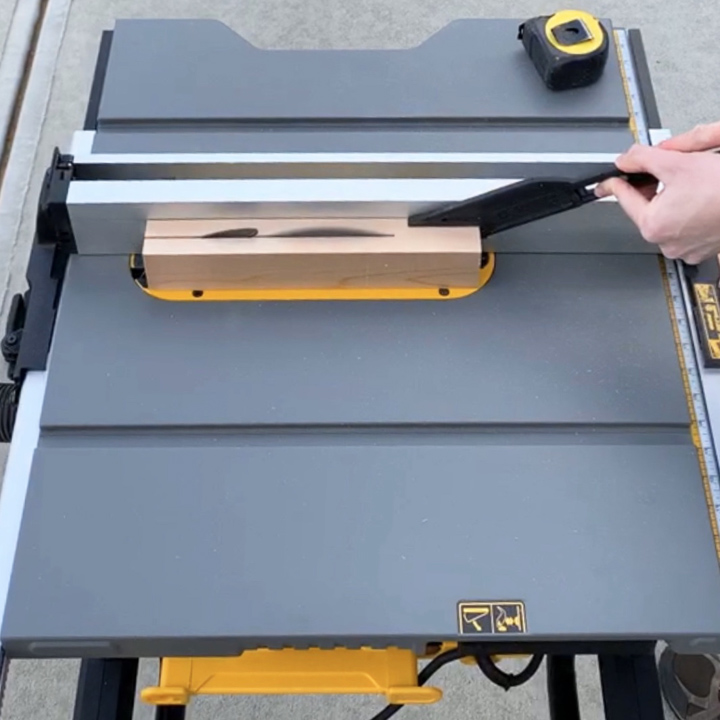
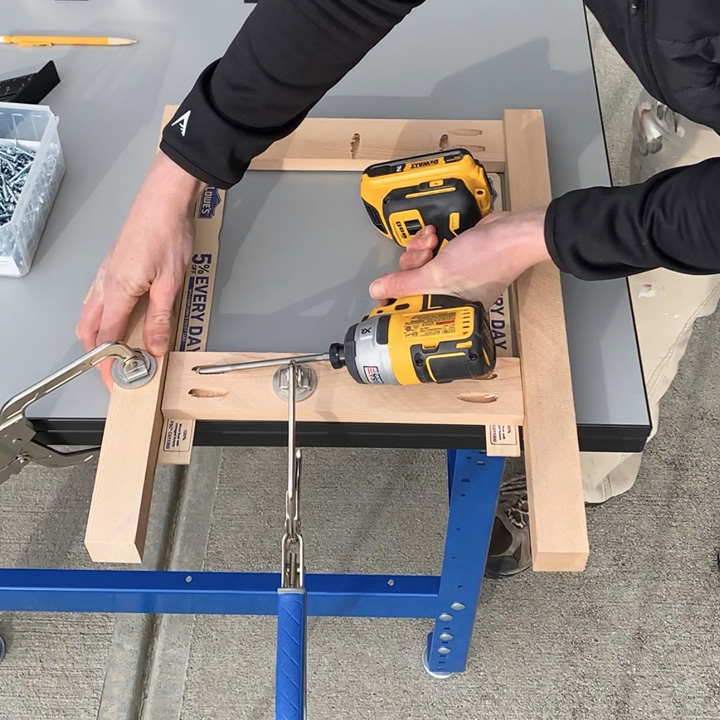
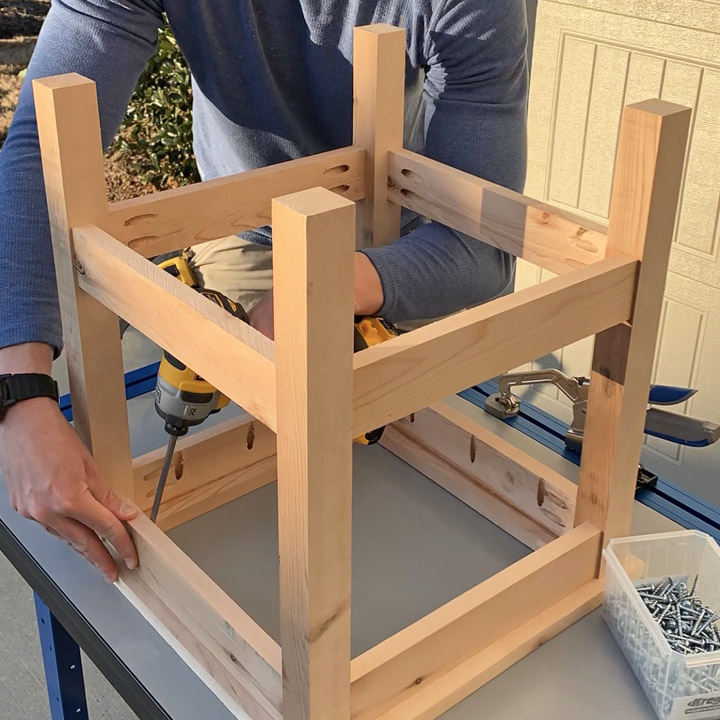
These eight side supports will be connected to the legs using pocket holes. Set the jig and drill bit to the ¾” setting and drill two pocket holes at each end. The top trim pieces will be attached to the side supports using pocket holes as well. Drill three pocket holes in four of the pieces which are facing one of the long edges of the board.
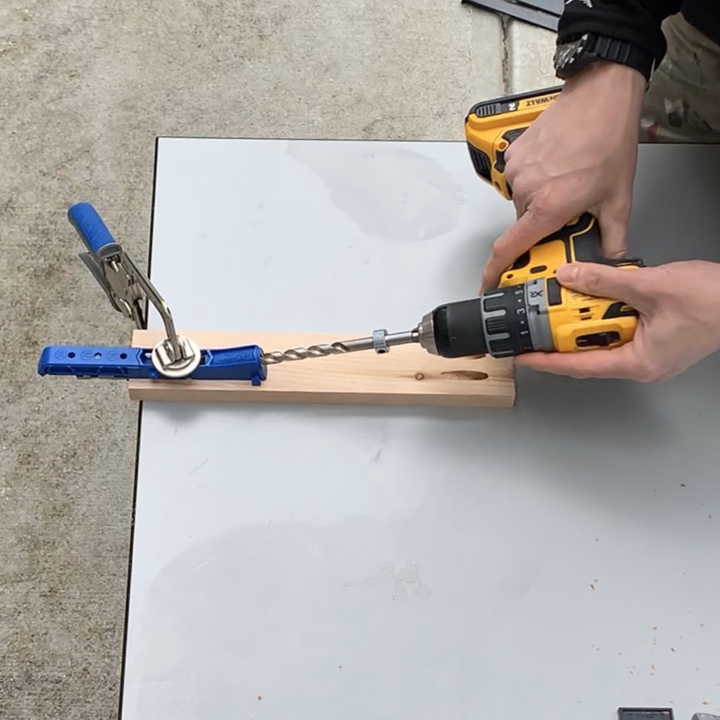
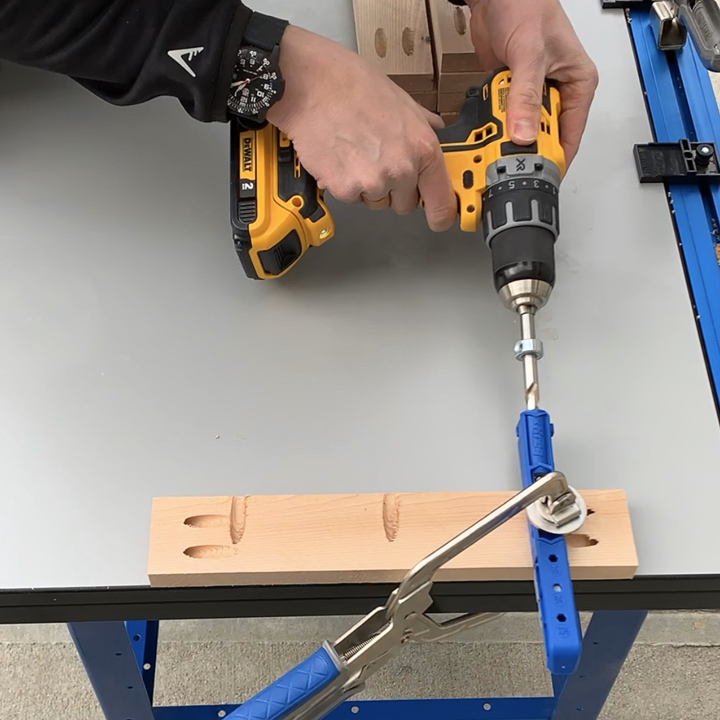
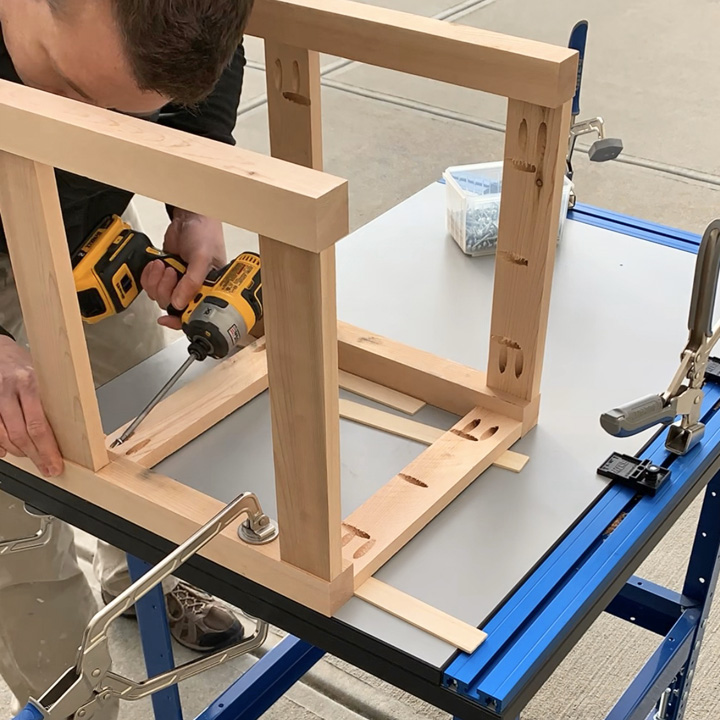
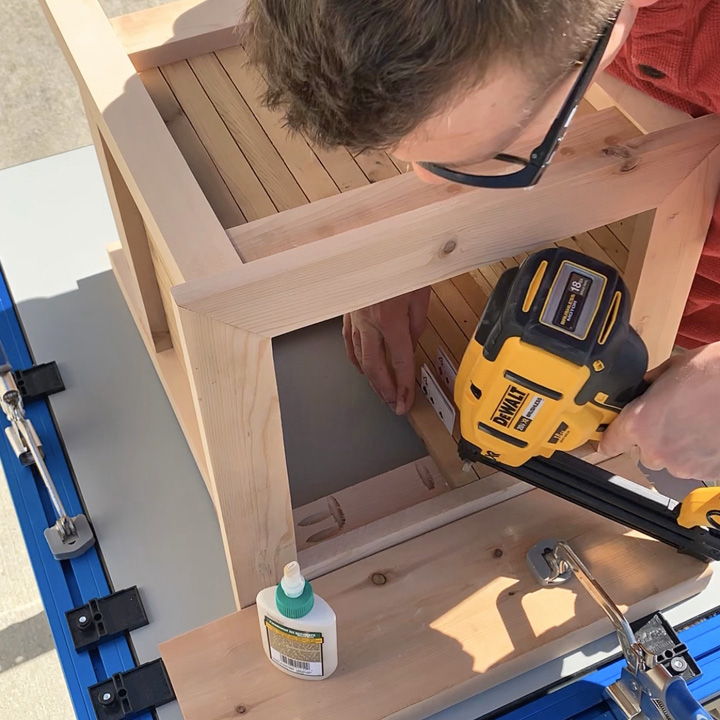
Assemble the frame by attaching the side supports to the legs using 1.25″ long pocket hole screws. You can free hand it but this assembly is typically much more precise when you clamp the two components being joined to a table while the pocket hole screws are going in. To create an additional level of detail we designed the planter so that the side supports are recessed from the front face of the legs by ⅛”. To accomplish this we use a simple trick using paint sticks as shims. They are exactly ⅛” thick and you can pick a couple up from the paint department in Lowe’s when gathering your other supplies. The top of the leg and the top of the side supports should be flush. The top of the bottom side support should be 11” from the top of the leg. Assemble two sides individually first and then those two sides can be joined together using the remaining side supports to make a complete frame!
Step 3 – Top Trim
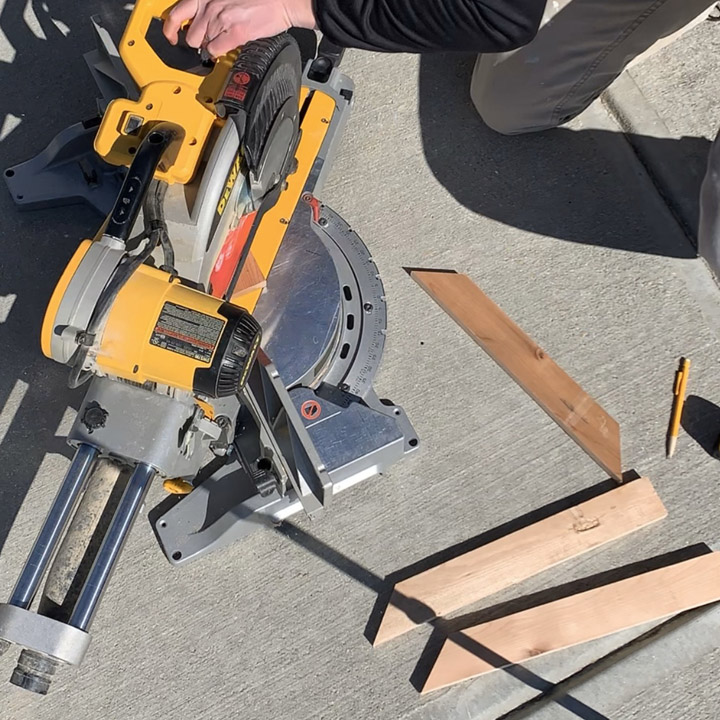
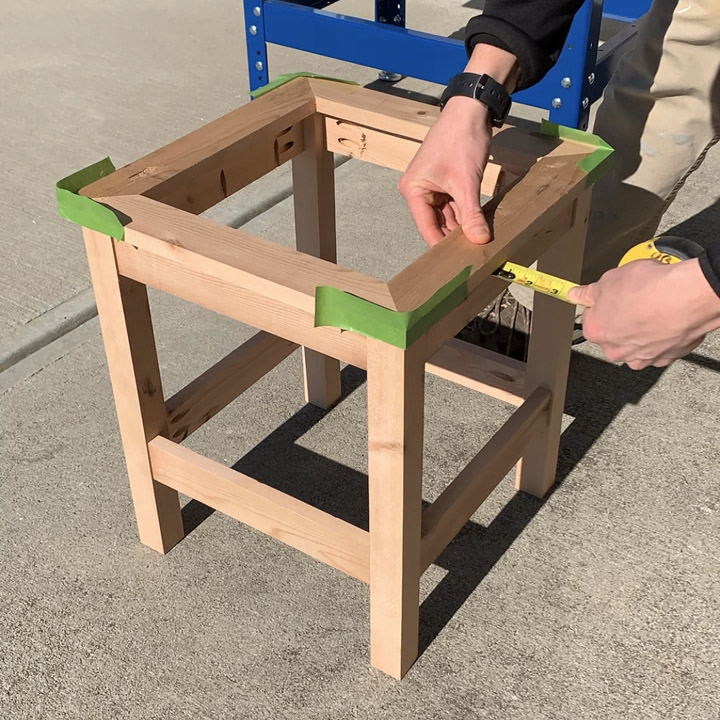
Use your miter saw to cut a 17” board from the 2×6. Square up the edges on the table saw then create four more 2.25” x 0.75” x 17” pieces for the top trim. Go back to the miter saw and make miter cuts at 45 degrees (opposing angles on each side) with the longest edge being 16”. To be able to make a perfect square with tight joints, make sure all the pieces are exactly the same length! Use wood glue to glue up the four pieces and use painters tape to hold them all together while the glue dries.
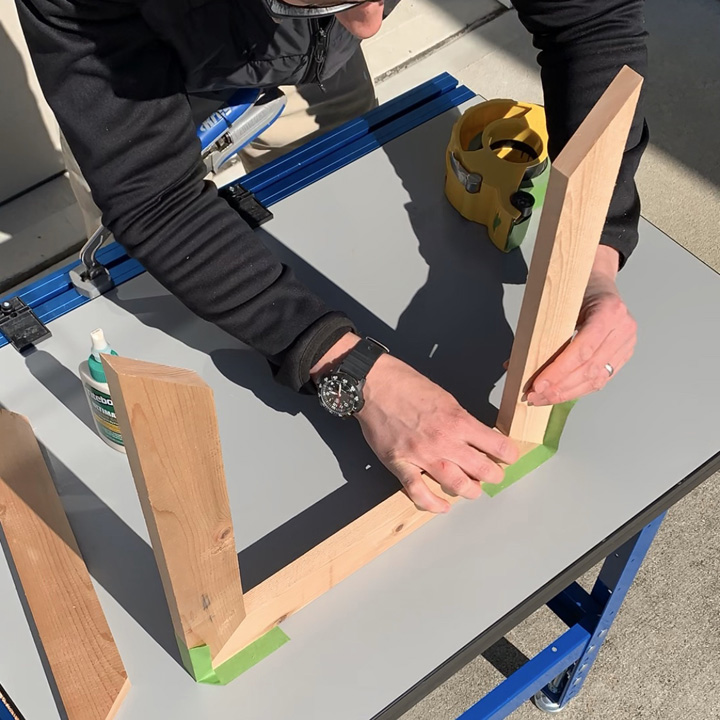
This square top can now be attached to the frame. Use the waterproof wood glue again, applying it liberally to the whole top of the frame. Then set the square top on the frame with the glue, carefully positioning it so that the overhang on all sides is equal (about ½”). Let this sit for about 30 min while the wood glue dries. Then flip the frame over and screw in the 12 pocket hole screws through the top side supports into the top!
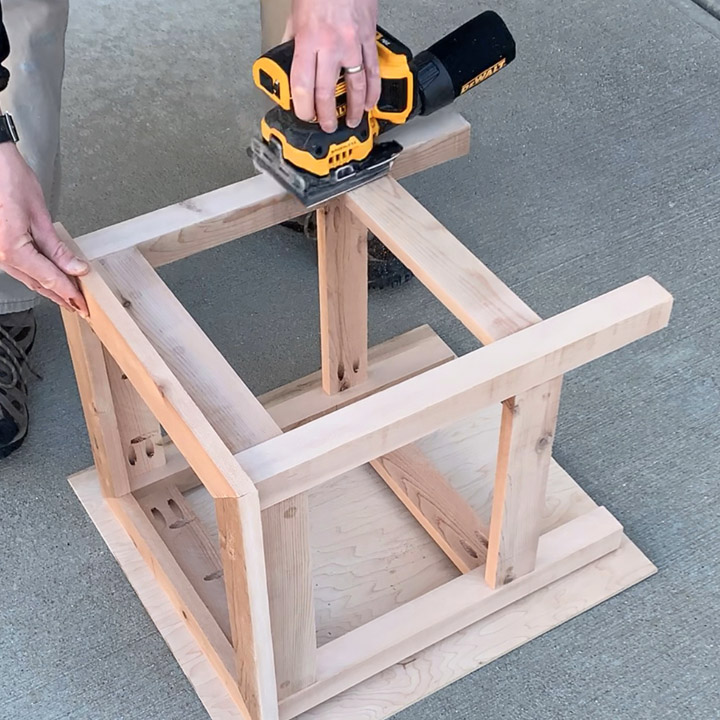
After all of the main frame was assembled I used a vibrating sheet sander with 180 grid sandpaper to sand down to fresh wood on all surfaces of the planter. If you don’t have a vibrating sander at least use a foam sanding block to clean up the surfaces!
Step 5 – Side Slats
The side slats go on the inside of the frame between the legs. The top of each side slat should hit the bottom side of the top. You can make these side slats any width that you want. I chose to make mine a little less than 1” wide. The slats will be 12” long, so you will need to cut five 12” long pieces from the 2×6 with your miter saw. I ripped the 1” wide pieces from the 12” long 2x6s (you will need 24 total) with the table saw.
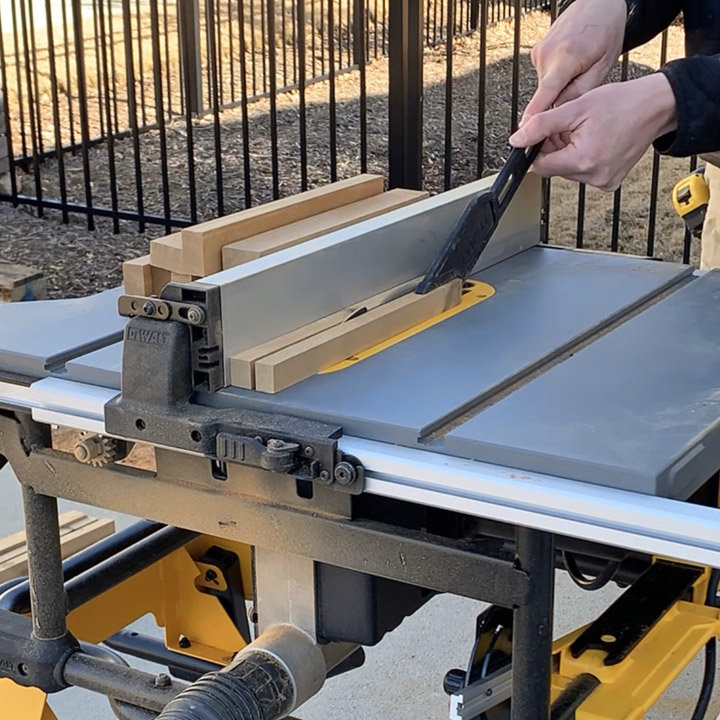
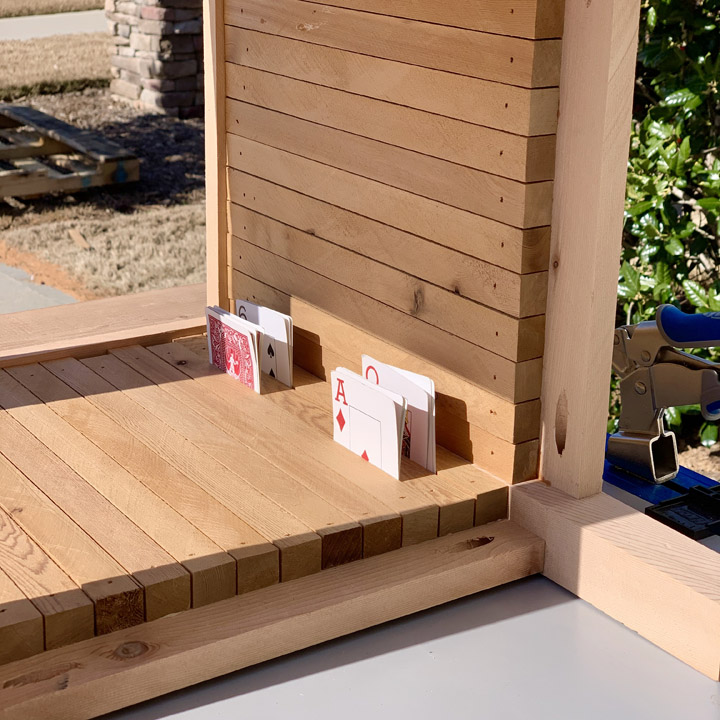
I cut 12 pieces and then test fitted them to see if they fit the way that I wanted between the legs (with the gaps between). If the width needs to be reduced a little, take them back to the table saw and shave a hair off each. Retest the fit. If they are good, then rip the rest of the side slats! The side slats at this point are still the thickness of the 2×6 and we need to rip these down in half again on the table saw so that the final dimensions are about 1”x0.75”. Ripping the 24 slats in half gives 48 total (12 for each side)! Attach the side slats using wood glue and 1.25” nails into the side supports. Don’t use longer nails or they could poke out the other side! I used playing cards to get a uniform spacing between slats.
Step 6 – Bottom Slats
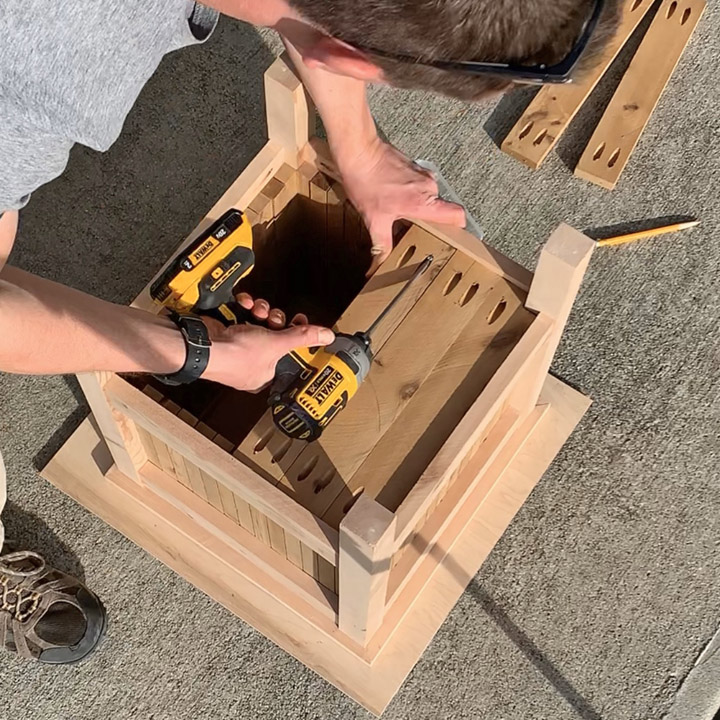
Cut six 2.25” x 0.75” x 13.5” pieces (you’ve done this before so refer back to step 2 if needed). These will be attached with pocket holes so drill two pocket holes on each side of the six bottom slats. The two pieces on the ends should have notches cut out to accommodate the legs. Install the slats by screwing the pocket hole screws into the side supports.
Step 7 – Protect the Planter
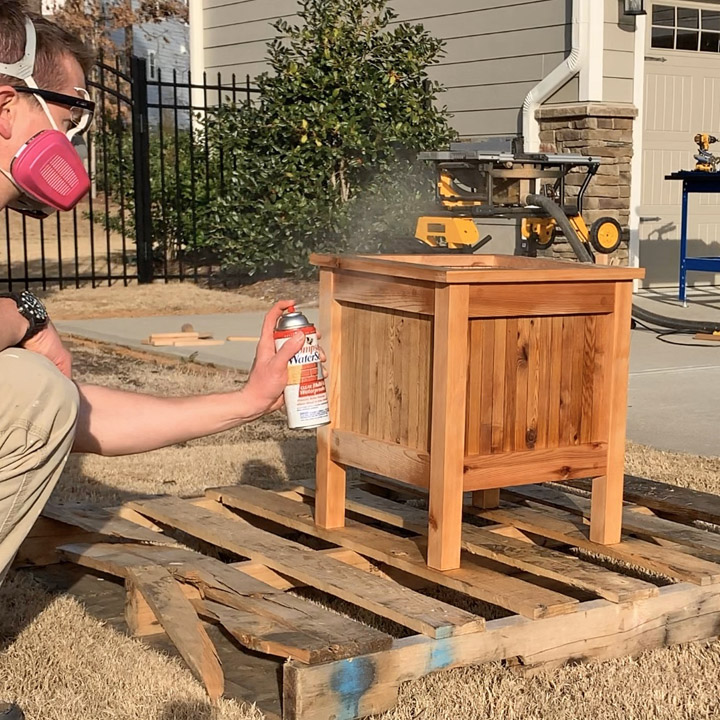
Cedar will do just fine without a sealer but the beautiful natural color will last longer and if you add a sealer. I used Thompson’s Watersealer and I didn’t want to buy a whole gallon so I used the stuff that comes in a spray can! It worked really well and one can provided a very liberal coating for both of my planters. If you wanted even more color you could also use an outdoor stain that has pigment in it or even an outdoor paint (although I only recommend paint if it is going to be on a covered porch).
Step 8 – Find your Favorite Plant and Feed It
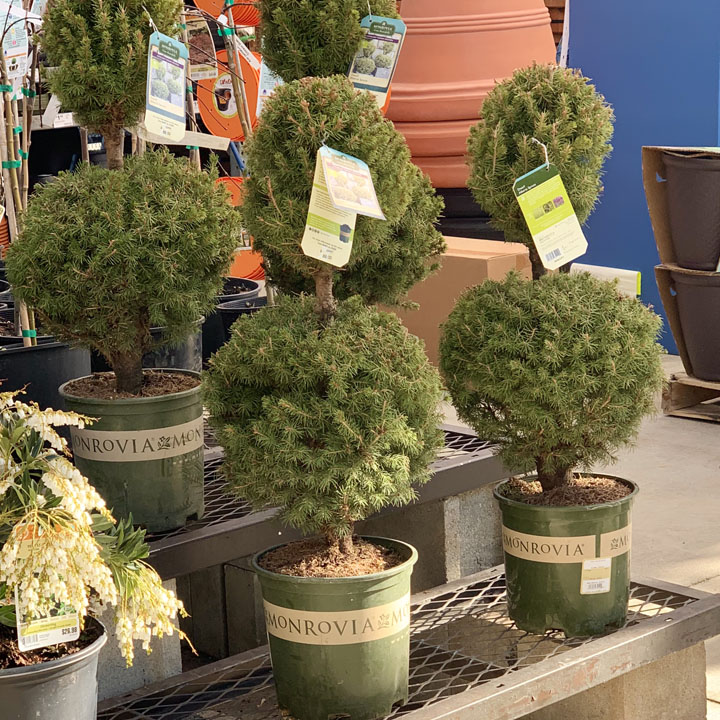
Anyone else love strolling the isles of Lowe’s Lawn and Garden center? They always are so helpful and have the best prices on everything you need for spring! I had a really tough decision between picking some flowers and these beautiful spruce topiaries from Monrovia for the planters, so I bought both!
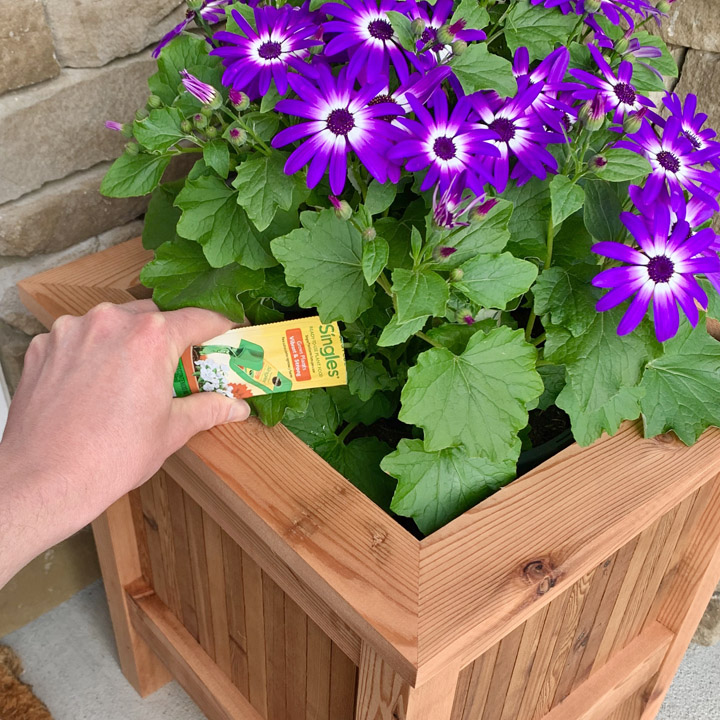
Since the planter was designed to fit 2 to 3.5 gallon planter containers I had no problem just dropping in the plants that I found! Since they are not going into soil you have to make sure that they continue to get the nutrients that they need and there are two great options for this. The first one that I use is a liquid feeding product from Miracle grow where you rip off the top and pour the liquid directly into the planting container!
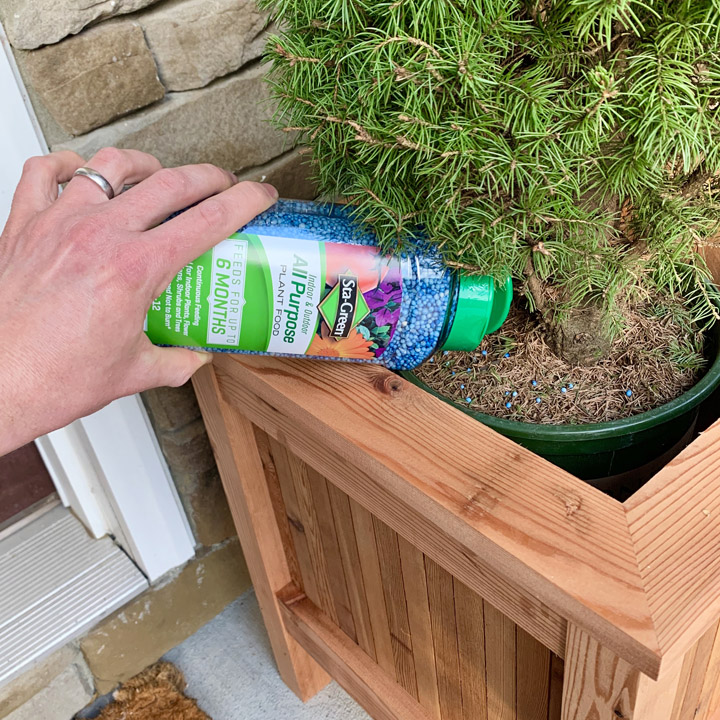
The other great option is an all purpose plant food from Sta-green and it is in the form of slow release pellets. You shake some of them into the top of the container and they help to continuously feed the plant for many months!
Step 8 – Enjoy!
You did it – you made a completely custom planter using ONLY TWO Boards! To see another way to finish off this planter check out the #DIYBuildOff tutorial done by my friend Angela Rose. If you want to see videos of this build, follow me on Instagram and find the story highlight “#DIYBuildOff”.
