Are you interested in DIY “painting” your brick house but not sure of the best product to use or how to go about it? Classico Limewash or a mineral based paint is best to achieve the look you want with a breathable, natural finish that does not seal masonry like traditional latex based exterior paints. This post is sponsored by Romabio but the opinions are my own.
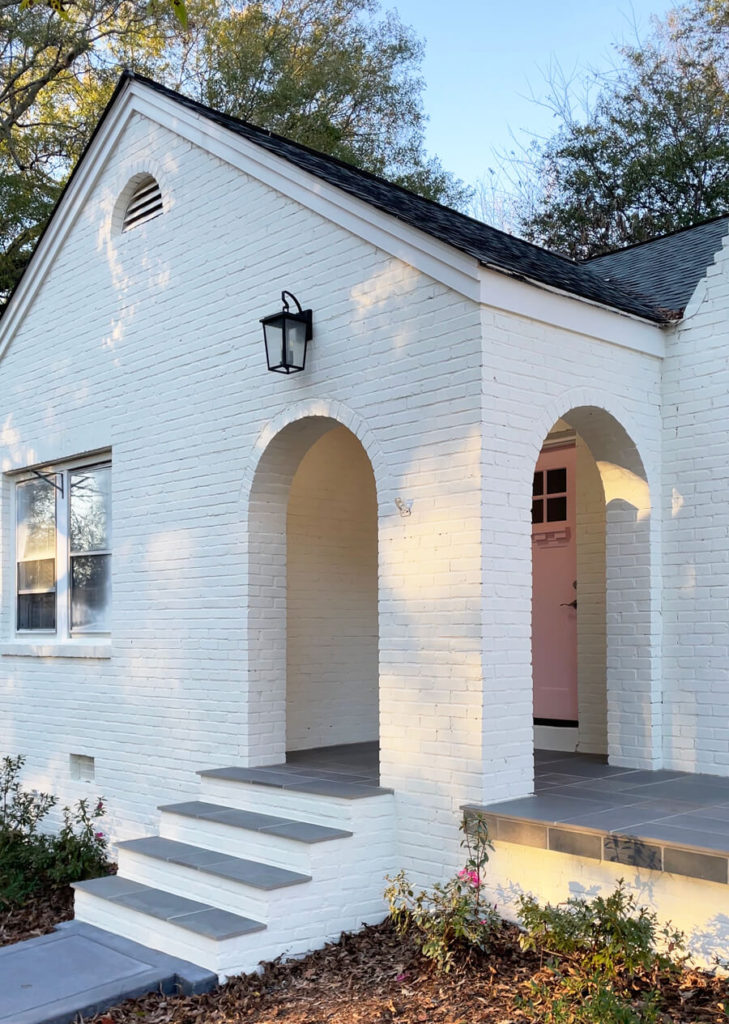
I have always loved the classic look of a limewashed or painted brick house. When my sister asked me to help transform her house earlier this year I was excited to hear that she wanted me to do it to hers! Of course I set out to research how to accomplish the look that she wanted with the best possible products.
Her house is an incredibly cute 1950’s brick bungalow. While the classic red brick is beautiful, I think her choice to go white will make the home stand out on the block, highlight the beautiful brick arches and just make the whole house look bigger (it has a footprint of only about 950 sq. ft.). When describing to me what she wanted, it sounded a lot like she wanted a limewash finish instead of a full painted finish. Limewash is applied in a single coat and is either allowed to distress naturally over time or distressed upon application to give that old world look right away!
What is the difference between Limewash and Paint?
This is the number one most common question I got when I started this process in my Instagram Stories. Typical house paint is a water-based latex polymer modified with pigments. The paint goes on and as it dries it forms a continuous plastic film on the brick surface. It doesn’t allow moisture through easily so it is not as good for the brick and it’s also not good for the paint! As a result, due to weathering (especially areas prone to freezing, thawing and extreme temperatures), latex paints will eventually break down and have issues like ,flaking and peeling. Brick, stone, or other masonry is a natural surface essentially made of rocks or minerals so it naturally breathes. This is why it’s important to use mineral paints on mineral surfaces. Choose the right product for your substrate.
But not all limewash products are the same. Romabio Classico Limewash is completely mineral based, produced from authentic slaked limestone. When applied to a masonry surface it actually soaks into the microscope pores and then a calcination reaction allows the lime to harden on the surface. The resulting coating is porous in nature, just like the brick! This is significant because when the surface gets wet, it allows the brick to dry and breathe as if the limewash coating is not even there. Classico Limewash is formulated to be instantly distressed by the applicator, or left to wear slowly over years – but there will not be any mechanical failure. Because it doesn’t form a continuous plastic film, limewash also helps retain the original texture of the brick and typically has an extremely flat finish.
For those that want a more opaque painted look without the possibility of a natural patina, products like Romabio’s Masonry Flat and Masonry Textured Mineral Paints are additional options. They are still mineral-based finishes but some additional binders allow it to be more stable over time with complete paint-like color coverage after two coats!
Prepping for Classico Limewash
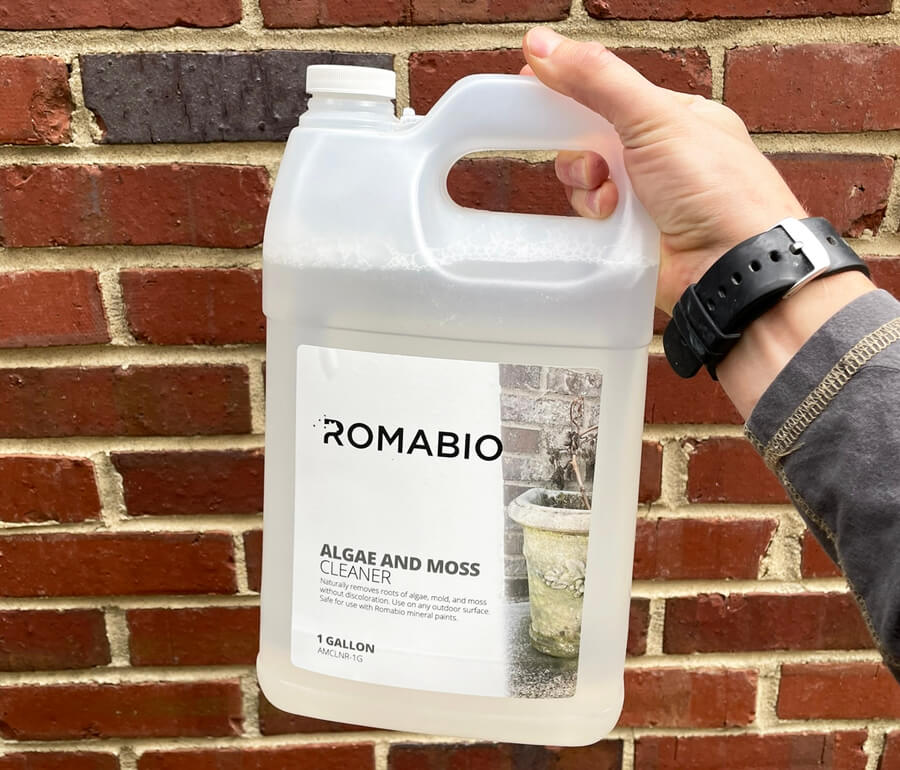
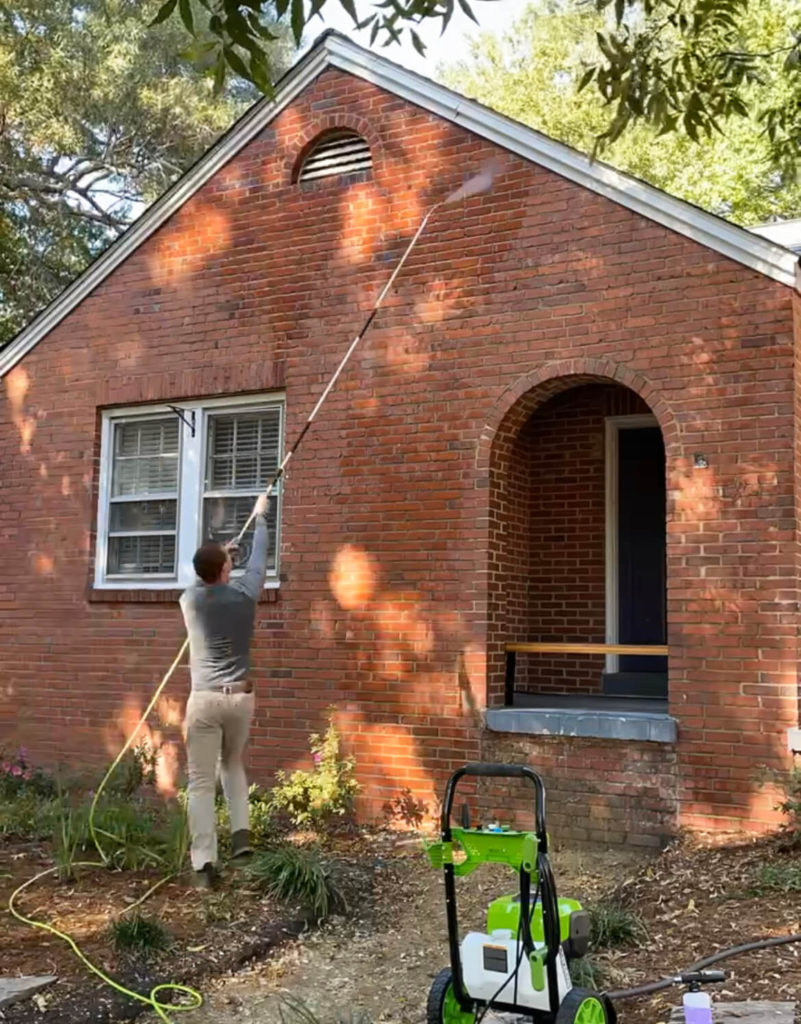
Having a fresh brick surface is important before limewashing. The lime is supposed to soak into the porosity of the brick, but if that porosity is filled with dirt or mildew you can have problems down the road. A good powerwashing is the best way to prepare the surface. At my sister’s house the shady side also had a lot of mildew and moss on it, so I sprayed that side with Algae and Moss Cleaner and let it sit for a day before powerwashing.
My powerwasher is an electric Greenworks 2300 PSI and with the extension wand I was able to clean the whole house in about three hours making sure to hit every square inch including the mortar joints!
Application of Classico Limewash
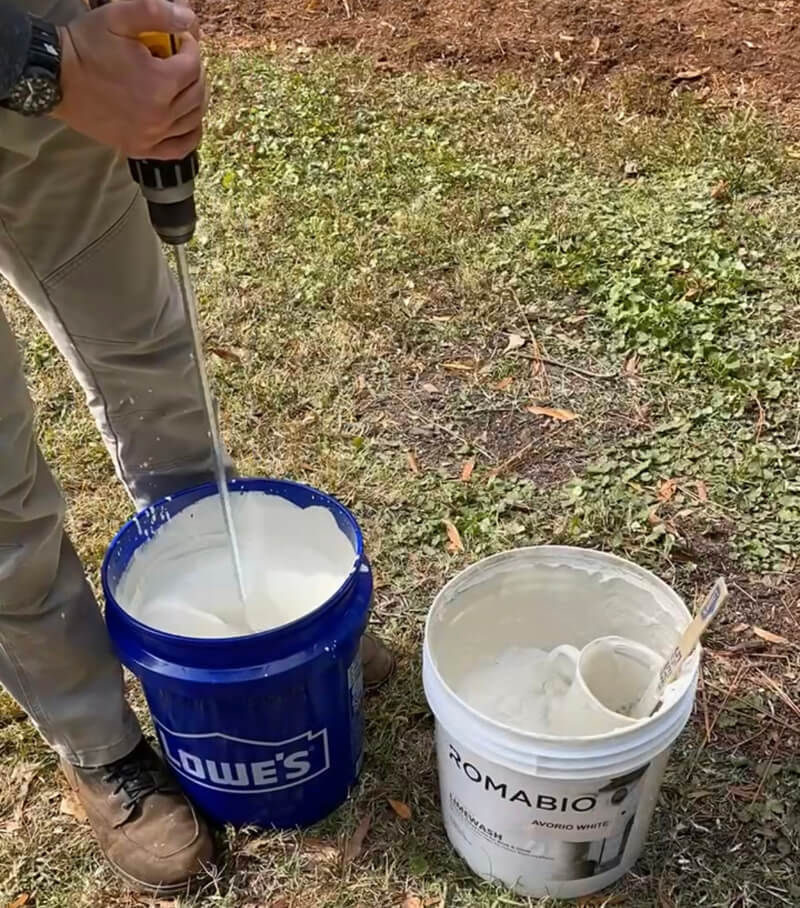
Romabio’s Classico Limewash comes in concentrated state so that the applicator can achieve the exact finish that they want by diluting the limewash to the desired level. For my sisters house we wanted to start with pretty full coverage so we diluted to the lowest recommended level on the instructions (about 50% water added per volume of limewash). We mixed in a Lowe’s bucket with a paddle mixer on a drill until the consistency was super smooth. She chose the color Avorio White!
Wetting the brick (especially in warm climates) is very common practice before applying the limewash to give you more time work the product to allow for uniform application. A pump sprayer works great for this. Apply just enough water to the brick surface so it is wet but not dripping.
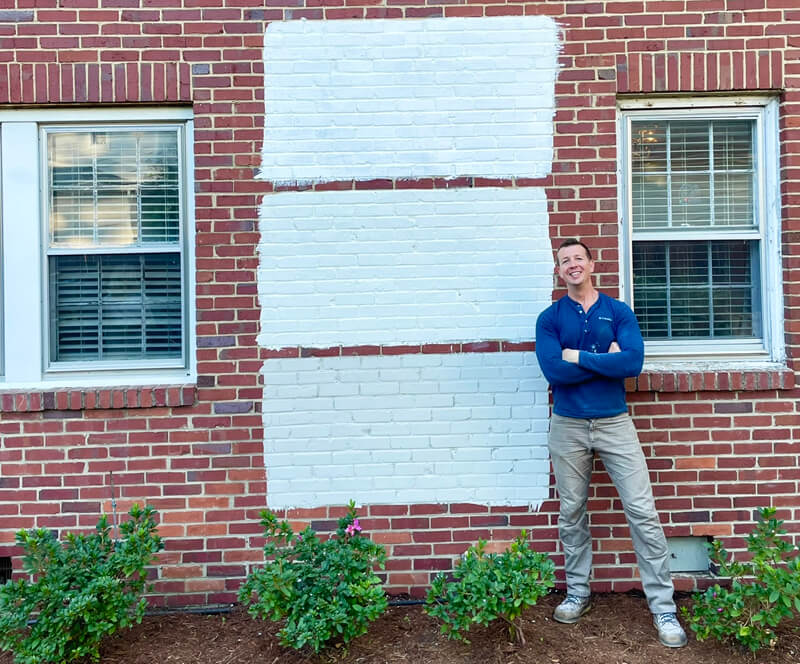
It is most typical to find limewash to be applied with a large masonry brush. Even many professional installers prefer this method. Romabio’s Large Masonry Brush is hand crafted in Italy, and can hold a lot of material to cover a large surface area at one time. The brush really allows the material to be worked into the mortar joints efficiently. I used a brush to apply three sample colors to my sisters house (seen below) and each only took about 5 minutes!
If working in a team it is often common for limewash to be applied with a large roller (14-18”) with ¾”+ nap size and then back-brushed to get into the mortar joints. With one person rolling and one person coming behind with the brush, the material can be applied a little faster in this way.
An even more efficient method of application is to use a professional sprayer to apply the limewash and then backbrush. I needed to get the limewashing of my sister’s house done in a weekend with just my Dad’s help (the Instagram world was waiting!) so we chose this method. It is imperative that you don’t try to run limewash through your handheld sprayer, the spray tip is not going to be large enough to accommodate. My Grayco sprayer has replaceable tips and so I went and picked up a 0.519 from the paint store before this project.
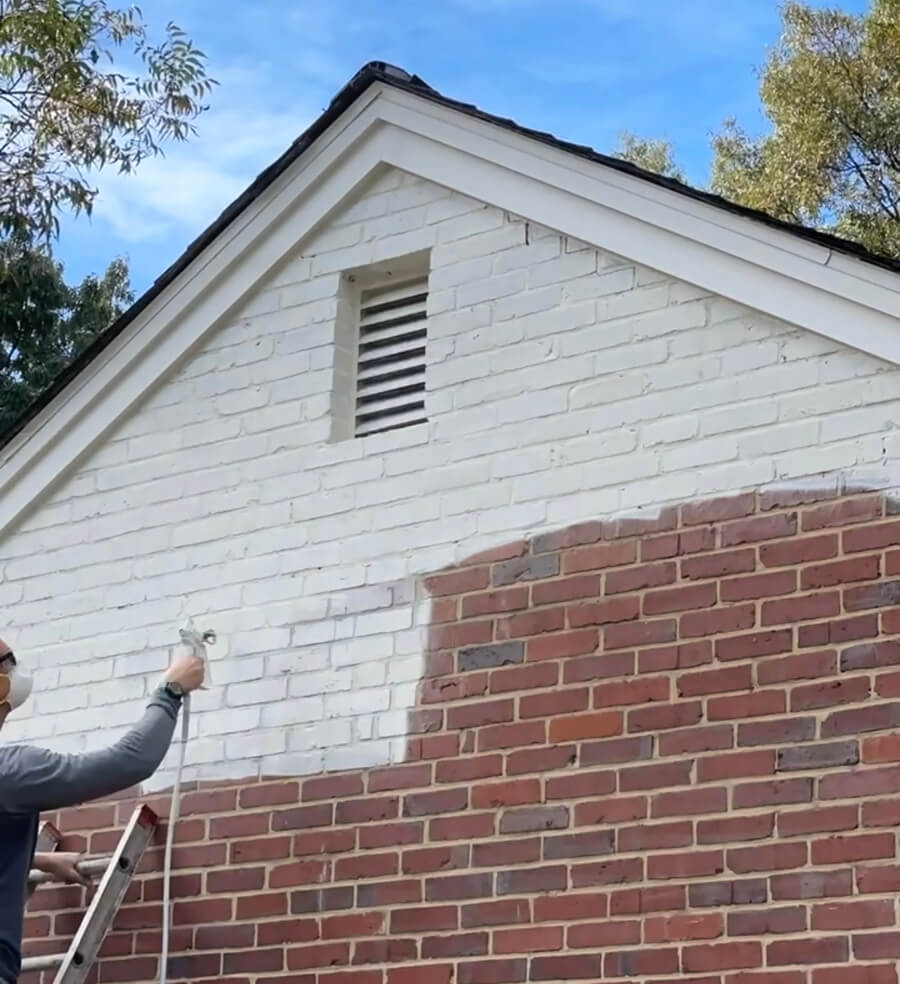
It is important that whenever you spray that you protect your lungs. I wore a tight fitting N95 dust mask but a respirator would have been even better. Since I knew I was going to be back-brushing to help work the material into the mortar joints I could apply the limewash until it looked “thick enough” for an area and then I worked it in and created uniformity with the brush.
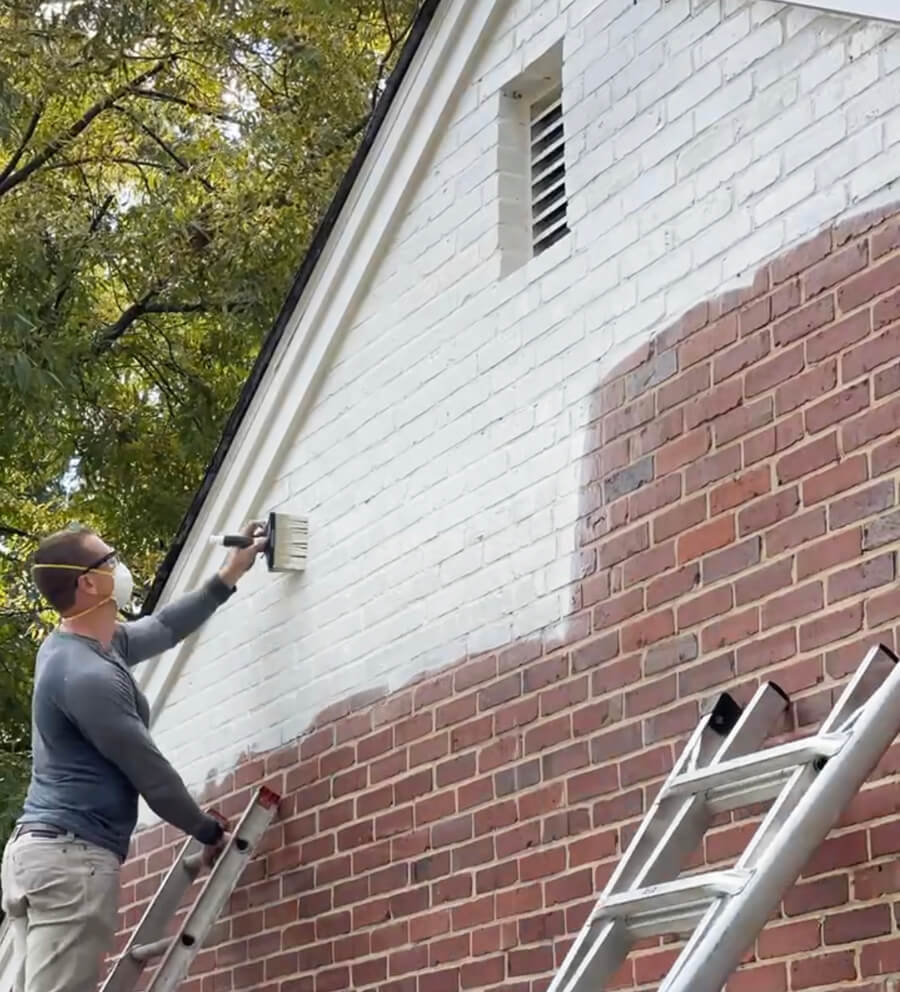
I used a spray shield to prevent overspray on the trim, and any limewash that got around the shield wiped off the trim easily with a damp rag. I always tried to keep a wet edge by working quickly and my Dad assisted by continuously mixing fresh limewash, cleaning off the spray shield and helping me exchange the sprayer with the brush while I was on the ladder. Once I got to the bottom edge of the house I used a piece of plywood up against the brick to prevent my sprayer from blowing mulch all over the wet limewash!
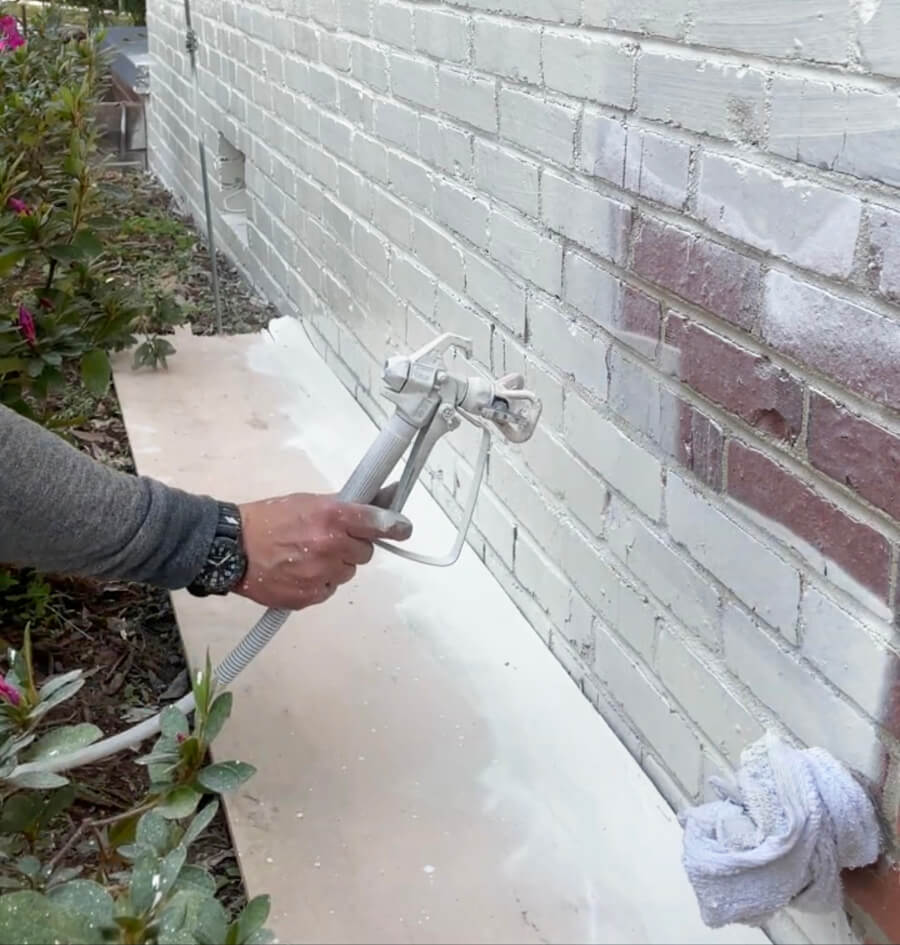
Incredibly we were able to limewash the whole house in one day. Two of the biggest factors that allowed this were 1) We didn’t have to mask off the windows because they are being replaced soon and 2) We didn’t do any distressing of the limewash as we applied it. Adding in both of those steps likely would have made this a 2-3 day process with two people.
Distressing Limewash
The “distressed look” is the first thing that usually comes to mind when one hears the words limewashed brick. In fact it is way more common to apply limewash and then distress it, than not. The distressing process is really an art form and can be done in so many ways to give varying levels of brick being re-exposed after the distressing.
Once the limewash is applied you typically wait between 10-60 minutes (depending on the temperature and humidity) and then start the “wash off” process. When I tried this on the samples I put up I just used a damp terry cloth rag. More water and more pressure on the rag will take off more limewash and expose more brick! There are some great resources for distressing techniques, and I’ve linked one of them here if it is the look you want to achieve.
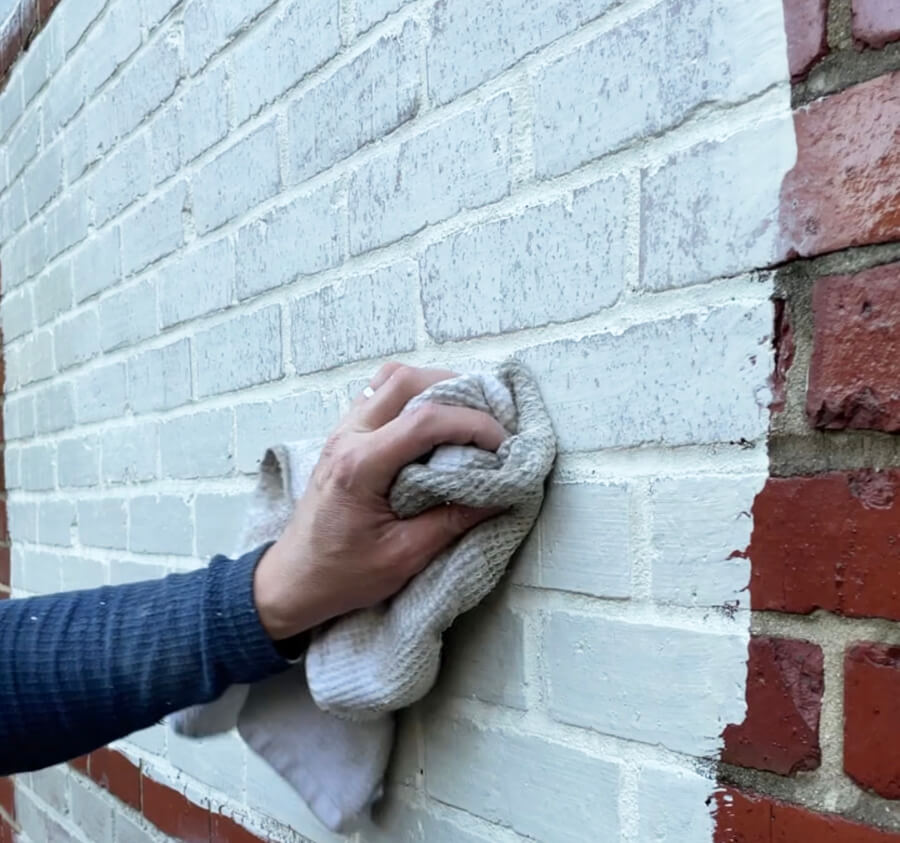
If you are DIYing this for the first time my suggestion is to do a sample area, get your application and distressing technique down and then powerwash that area of limewash off before you start the whole project. (I forgot to mention that is one of the cool things about limewash – until it calcinates on the surface you have up to about 24-48 hours to powerwash it off and start over or remove samples if necessary!)
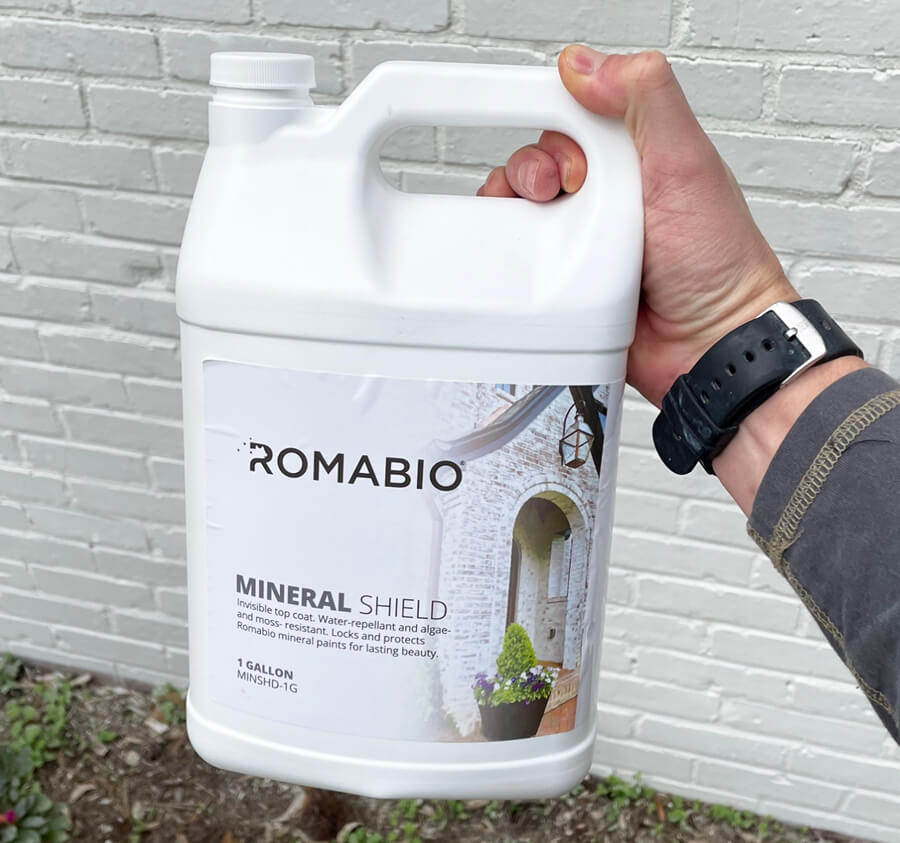
Since limewash will continue to weather slowly and change its look over time you can help to “lock in” its current look with a product that is designed to help the limewash repel water and stains. Romabio’s Mineral Shield does just that and is really easy to apply using a pump sprayer
I am super excited to see my sister’s house transformed and she loves the way it looks! To see the whole process in action head to my Instagram story highlights on her project.
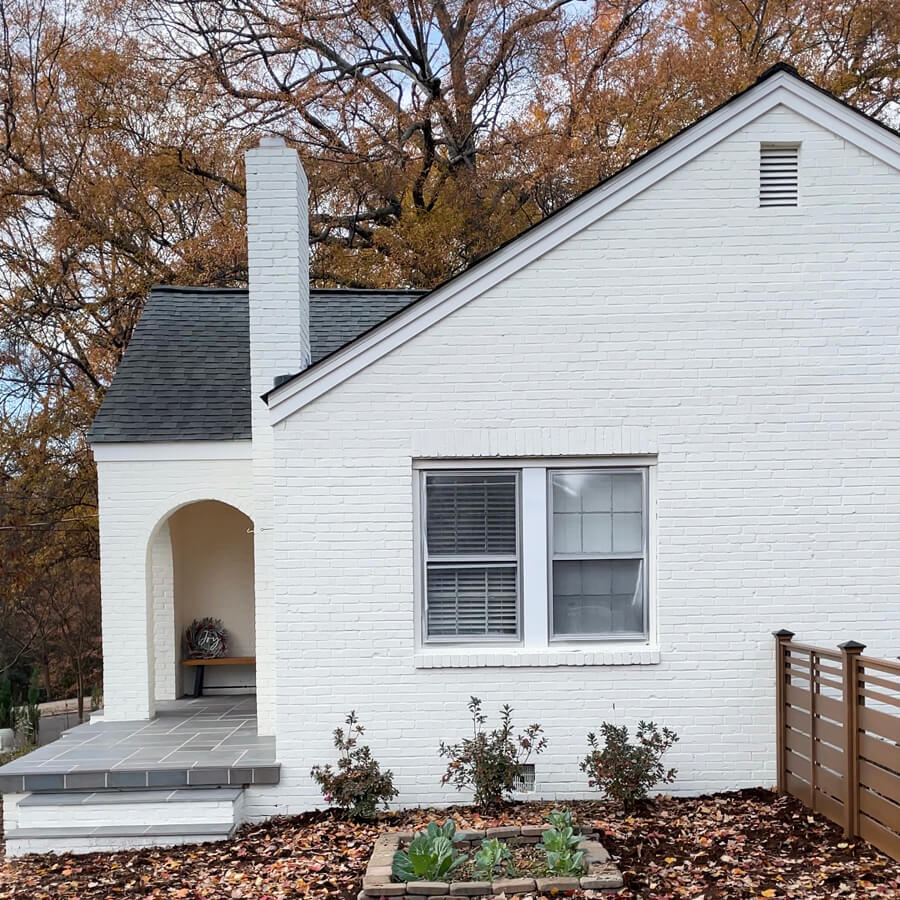
We love our Limewashed home! This is a great explanation of how awesome Romabio products are. Thanks for deep diving into the science behind mineral paints. I learned so much!
An outstanding share! I have just forarded this onto a coworker who has been doing a
little homwork on this. And he actuaally ordered me breakfast simply because
I discoverred it for him… lol. So let me reword this….
Thanks for the meal!! Buut yeah, thanx for spending
the time to discuss this matter here on your website.