I’ve built three DIY cast concrete countertops, plus a concrete table for our screened in porch, over the past few years. I ‘ve loved them all, but probably my favorite one was for my parents’ rustic bathroom makeover.
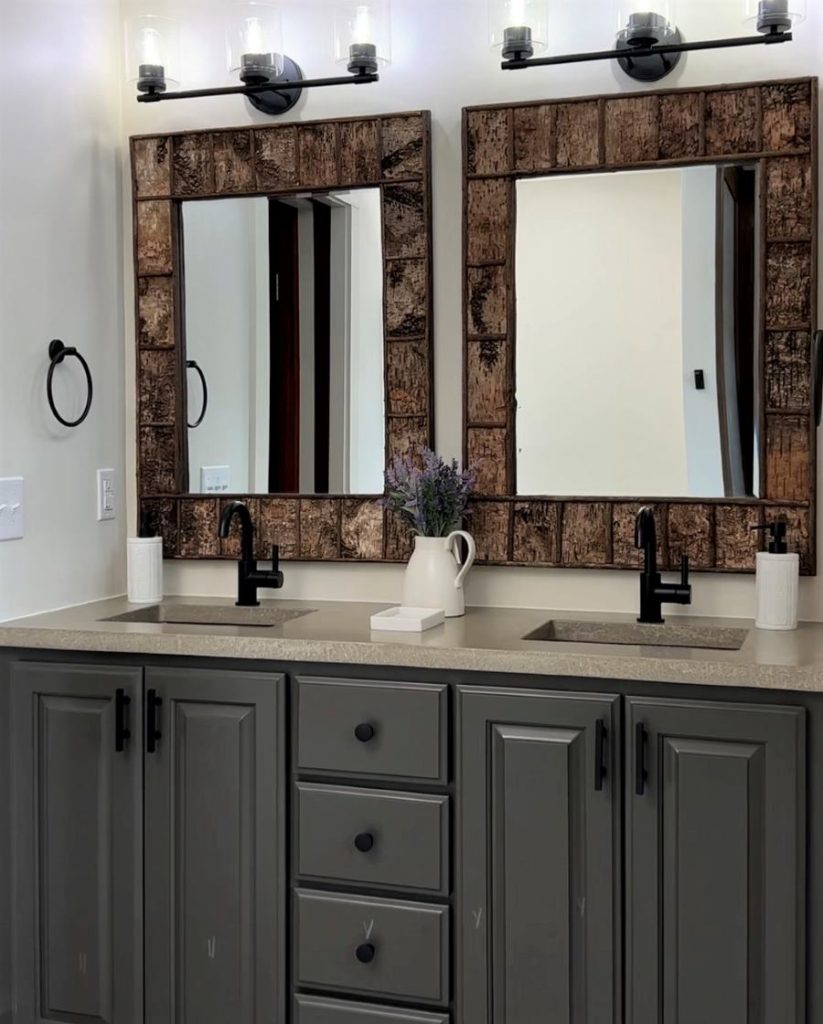
As you probably know, concrete countertops are a great option for anyone looking for a durable and unique surface in their kitchen or bathroom. Not only do they look great, but they are also surprisingly easy to construct with the right tools and some know-how. They’re also fairly inexpensive to build. For example, my parents got an estimate to replace their builder grade cultured marble sink top with granite, and the estimate came in close to $900. I built their concrete countertop for about a third of that cost. And the bonus? They love its rustic feel for the design look they were hoping for.
One thing I recommend before you jump into your first major concrete countertop project is to determine which kind you want to build, either a cast or pour in place type. In this blog, I’ll explain how to build the former. Also, you should think about building something a little smaller and a little simpler the first time around. Maybe start with a small outdoor table and practice mold building, mixing concrete, curing and polishing. Make several forms and adjust the consistency of the cement mix, while experimenting with pigments to achieve the color you’re going for.
As always, please check your local building codes before you begin this project and pull any permits you may need related to your kitchen or bathroom renovation.
Gather your materials and tools
First, let’s talk about what tools and materials you’ll need. To start, you’ll need: a smooth board like melamine, concrete mix, wire mesh reinforcement, a concrete sealer, a diamond polishing pad, and some tools like a drill, a trowel, a bucket, and a level. You can find all of these materials at your local hardware store or you can check out my Amazon store front. Also, make sure you have the proper safety gear on hand.
Build the form
- Building the form is the first step and a critical component when building a concrete countertop.
- To determine the size of your countertop, measure the base cabinet(s) the countertop will sit on. Add an extra ½” to 3/4″ for the overhang (depending on your overhang preference.)
- Start with a 4′ x 8′ piece of 3/4″ thick melamine particleboard. (Melamine is the most used material for concrete countertop forms because it is smooth, waterproof, and easy to work with.) Find the flattest surface to do the casting, because this will define the flatness of the final countertop. I typically find the flattest part of my garage floor. (Make sure you put a large piece of plastic underneath to catch any concrete splatters.)
- Measure and mark the exact dimensions on the melamine mold base with a sharpie. Remember, the bottom of the mold will be the top of the counter, so make sure your melamine doesn’t have any imperfections or they will show up on your finished countertop piece.
- Next, use a table saw to cut four strips of the melamine for the sides of your mold. Adjust the length, depending on your countertop dimensions and the height depending on the thickness of your countertop. I typically made mine 1.5″ to 2″ thick.
- Attach the sides to the base. Drill pilot holes every six inches through the thickness of the side pieces. Then, attach the side pieces screws that are 1/2″ longer than the sides are thick. Repeat for the other long side. Attach the shorter sides the same way you did for the longer sides. Use a carpenter’s square to ensure the corners are square and adjust as necessary.
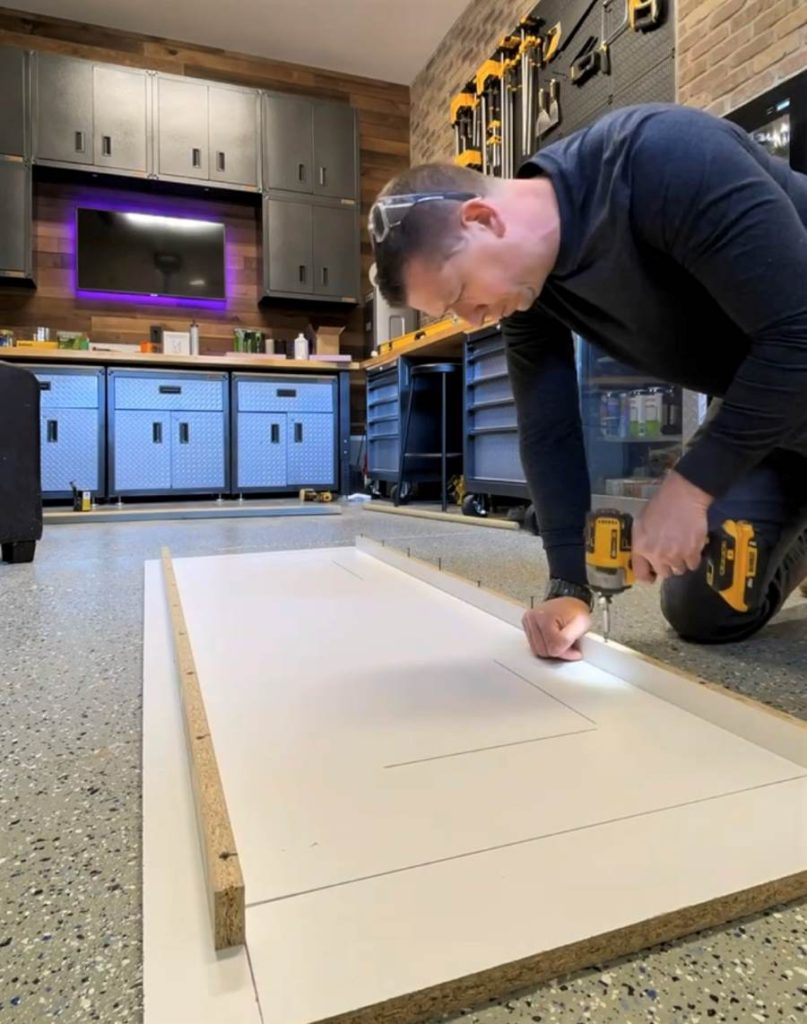
- Apply a small bead of 100% silicone caulk to seal the inside of the form to prevent the concrete from leaking out.
- Smooth the silicone bead material, removing any excess. After the silicone cures, vacuum the inside of the form. Then clean it with acetone.
If your countertop requires a cutout for a sink
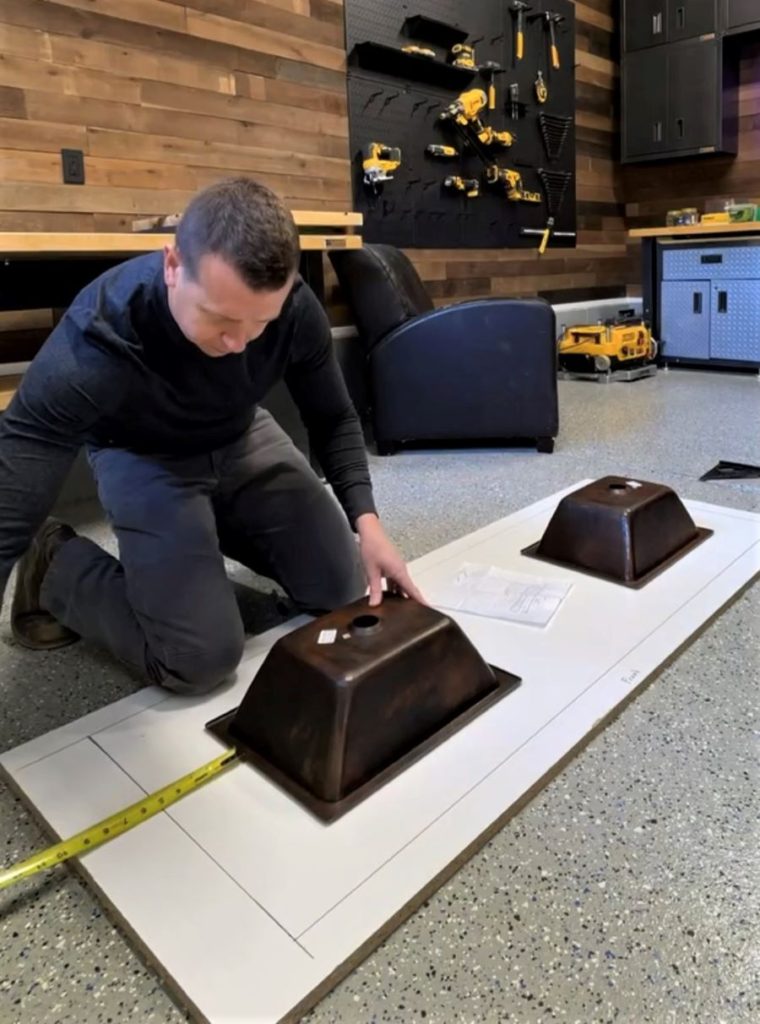
- If you need a cutout for a sink, precisely measure or trace the bottom of the sink shape onto some high-density foam sheet insulation and then cut it out. Using construction adhesive, glue the sink foam cutout to the exact location it will go on the counter. Make sure the foam is as high as your mold. When you pour the concrete, the foam needs to prevent any concrete from getting into the sink area.
- If the sink sits at the edge of the counter, it might be better to build this into the mold, cutting it out ahead of time.
Mix and pour the concrete
- Purchase a concrete formulation specifically made for countertops. It has the additives already in it so that the concrete flows well and you get the best finish possible.
- Prepare your reinforcement wire before you begin mixing the concrete so it is ready to go the moment you need it. Use metal snips to cut wire remesh to the shape of the mold, leaving about a 2-inch gap around the edges. This will help prevent cracking and make sure the countertop is strong and durable.
- Next, it’s time to mix the concrete. Wear heavy rubber gloves, a dust mask, and eye protection when mixing concrete. Follow the instructions on the package to get the right consistency. Add water to the concrete and mix per the manufacturer’s instructions in a wheelbarrow or a large bucket(s).
- If you want to add color to the countertop, now’s the time to add pigment. Pigment additives come in either a powder or liquid form. If you add a liquid pigment, be sure to account for the amount of liquid in the pigment when you’re measuring the water for the concrete. Always refer to the manufacturer’s guidelines for specific directions.
- Next, pour the concrete into the countertop form. Use enough of the mix to fill the mold about halfway up the sides.
- Using a trowel, press the concrete mix into corners. This ensures proper coverage, eliminates air pockets and makes it level.
- Add the wire mesh you prepared earlier. Be sure it does not touch the edges of the mold. The wire will keep the concrete from cracking as it dries and it will also add strength to the slab.
- Continue adding fresh concrete on top of the wire mesh and slightly overfill. Using the edge of a flat board, lay it across the top of the form on one end and then slide it back and forth as you move down the frame to the opposite end. This will remove any extra concrete and ensure the top is level.
- To settle the concrete and help eliminate trapped air bubbles, use an palm sander, without sandpaper, against the sides of the mold. The vibration from the sander will help bring air bubbles in the concrete up to the surface. Alternately, use a rubber mallet to tap the sides the form to help the bubbles rise.
- When the concrete has started to stiffen, use a trowel. This helps achieve a smooth surface. Even though this will be the bottom of the countertop, it should be smooth. A smooth surface ensures the countertop will rest evenly on the base cabinets.
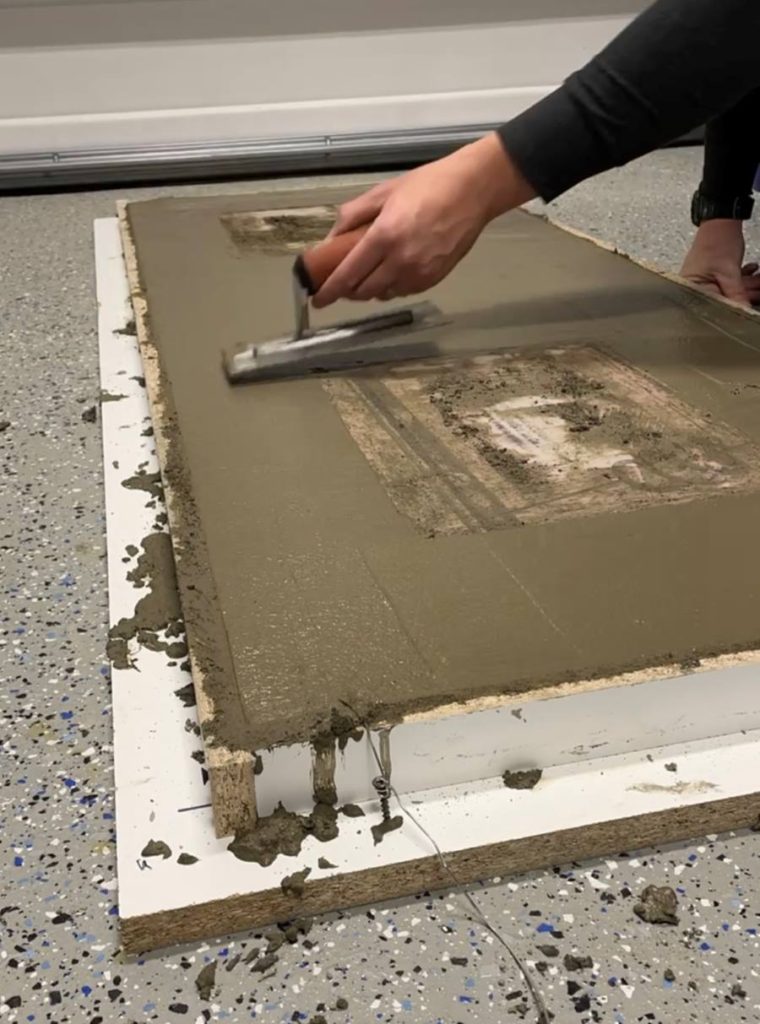
- When finished, cover the countertop with a sheet of plastic to prevent it from drying out while the concrete cures.
- Let the concrete cure at least one week — the more it cures, the stronger it gets.
Remove the form
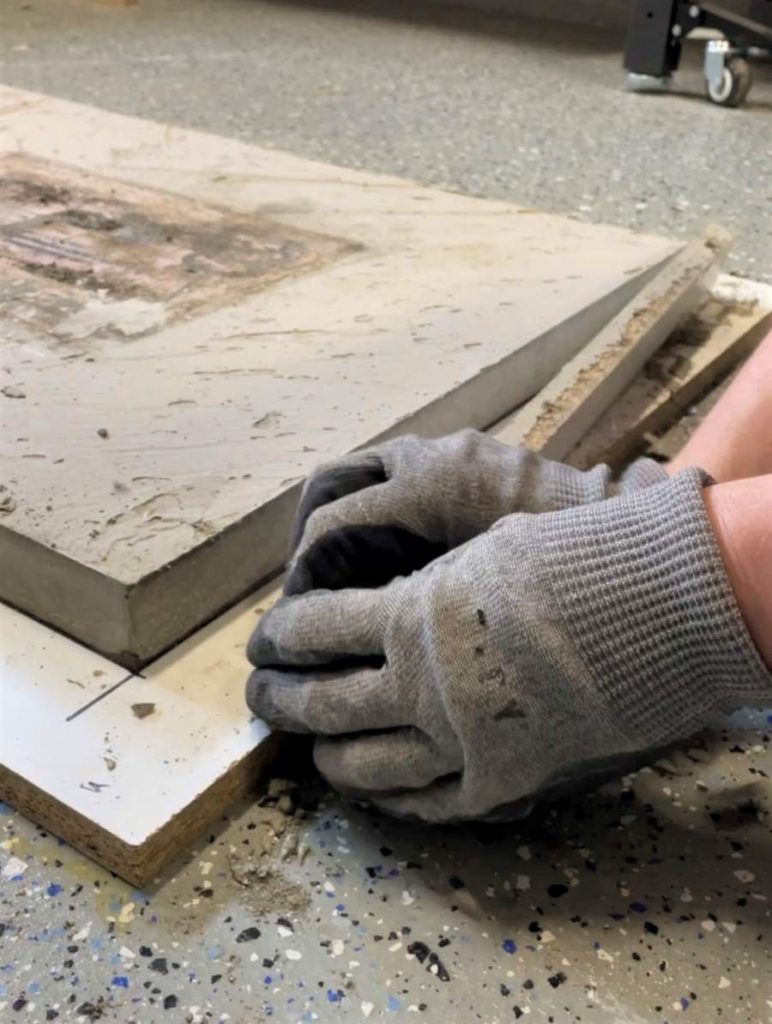
- Carefully remove the form by unscrewing or prying off the sides.
- Enlist the help of another person (or two) to help flip the slab over. The weight of the slab usually makes removing the melamine base an easier task.
The final details
- Sand the surface of the concrete to smooth out any imperfections or rough edges. This should expose any air bubbles near the surface. Use an orbital sander with 220 grit silicon carbide or diamond sandpaper. Be sure to wear a respirator!
- Mix a pinhole filling slurry. I have found that unsanded ground works well for this and it comes in a number of different colors, one of which will likely be close to your concrete color. Put on rubber gloves and spread the slurry over the entire surface with a grout float. Fill and smooth over any small holes or voids. Remove any excess with the grout float.

- Allow the slurry to dry fully. It will take about 8 to 10 hours to cure.
- Sand the entire slab again using the orbital sander and 220-grit abrasive. Finally, use 320-grit paper for the last sanding for a smooth, honed surface.
- Vacuum the countertop and then wipe with a wet cloth to remove all dust. Allow it to fully dry.
- Concrete is porous and can easily stain. So, use a concrete sealer to prevent permanent blemishes. Choose a food-safe variety if it’s a kitchen countertop.
- Apply the sealer according to package instructions to protect your new concrete countertop. In general, this may require multiple coats. Plan on reapplying a concrete sealer to your concrete countertop every year.
Install the countertop
- Run a thick bead of silicone caulk around the top surface of the cabinet. Next, enlist the help of others to set the concrete countertop in place; press down gently to seal.
- And finally, sit back and enjoy your beautiful DIY concrete countertop.
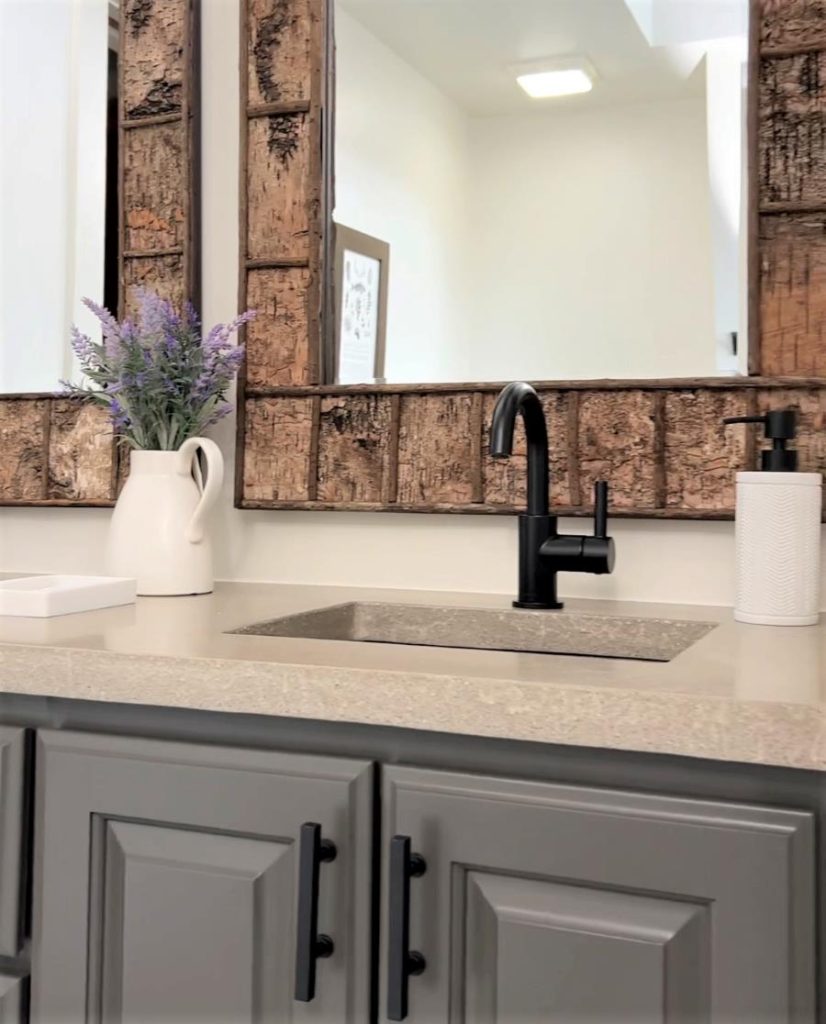
See the whole transformation of my parent’s rustic bathroom make-over, including custom concrete countertops, on my Instagram