This easy DIY tutorial will teach you how to add a pane of glass to any hollow core door in your house!
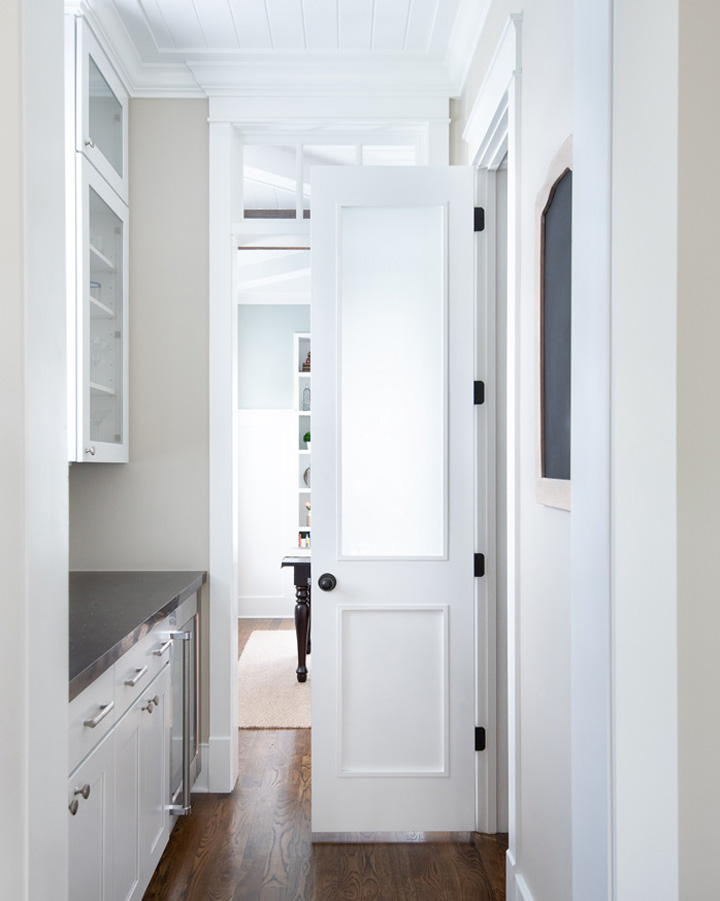
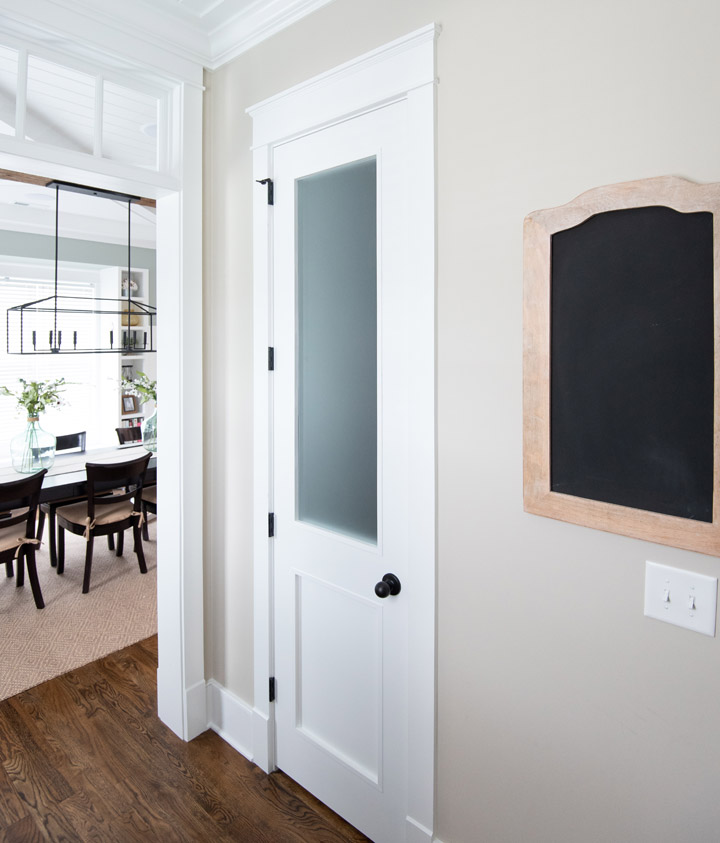
Custom interior doors with glass can completely transform an interior space. This tutorial is for anyone that wants to give a room that extra detail but doesn’t want to spend a fortune. This project might be perfect for your pantry or laundry room door where you want to increase the amount of light coming into the space!
Tools and Supplies (click for links)
- Multi-tool with Wood Blade
- Kreg Face Clamps
- 18 Gauge Nailer
- 1″ and 3/4″ 18 Gauge Nails
- Table Saw
- Dado Blade for Table Saw
- 1/4″ thick tempered glass (custom size)
- 1/4″ plywood or hardboard
- Wood Glue
- Plastic Wood Filler
- Painters Tape
- Primer
- Paint Sprayer
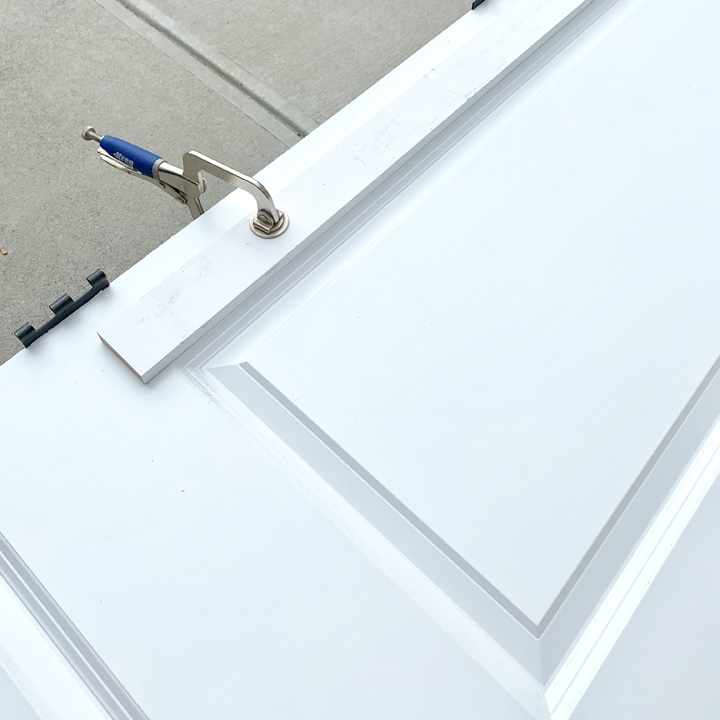
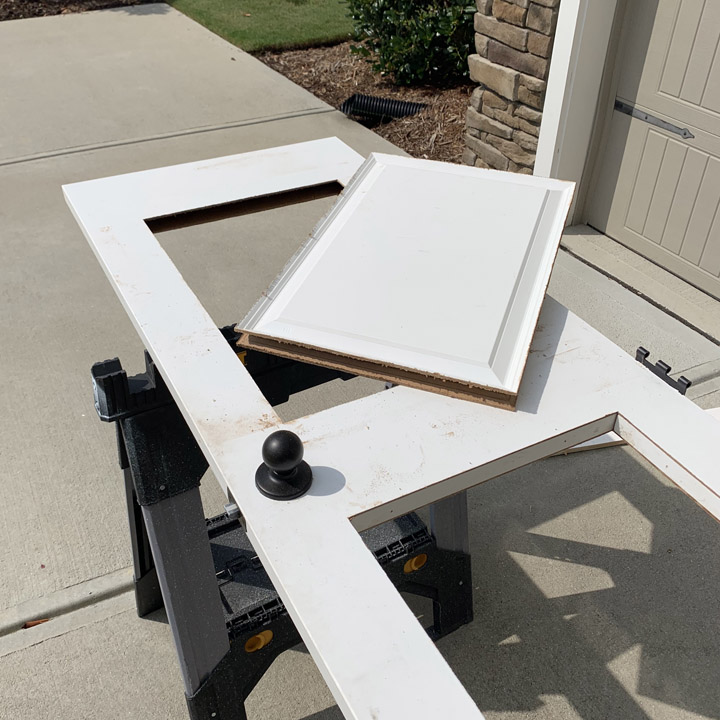
The first step is to cut out the panels in the doors. It is important that the panels be cut out extremely square and straight. To accomplish this I used a guide made from a standard 1×4. I clamped the guide to the door using two Kreg face clamps.
The cutting itself can be accomplished by a number of cutting tools however I feel the one with the most control for these precise cuts is a vibrating multi-tool. Hold the multi-tool firmly against the guide as you cut the panels and be careful in the corners!
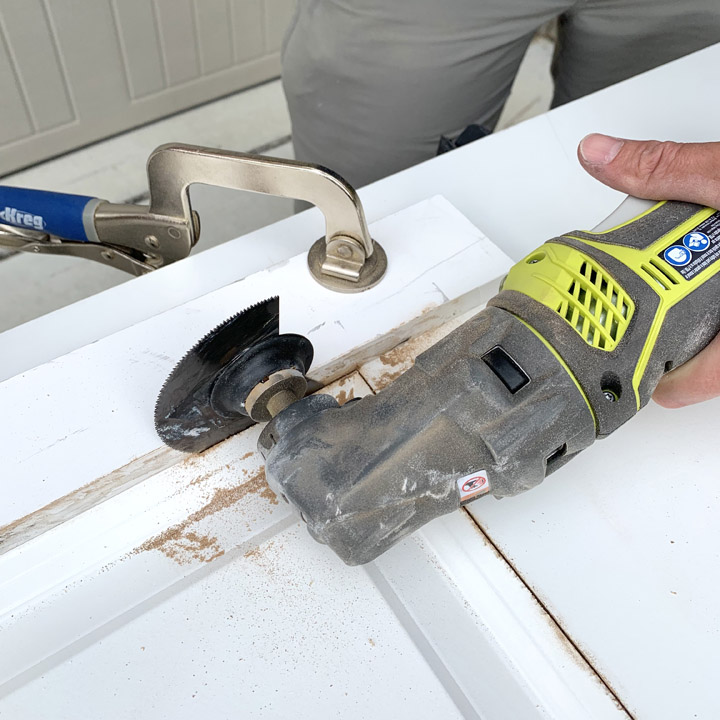
Hollow core doors are thin hardboard and with this type of tool I was able to cut out all the panels in about 30 minutes with great accuracy. Once you cut one side of the door, flip it over and repeat on the other side. Now you will have a big hole in your door!
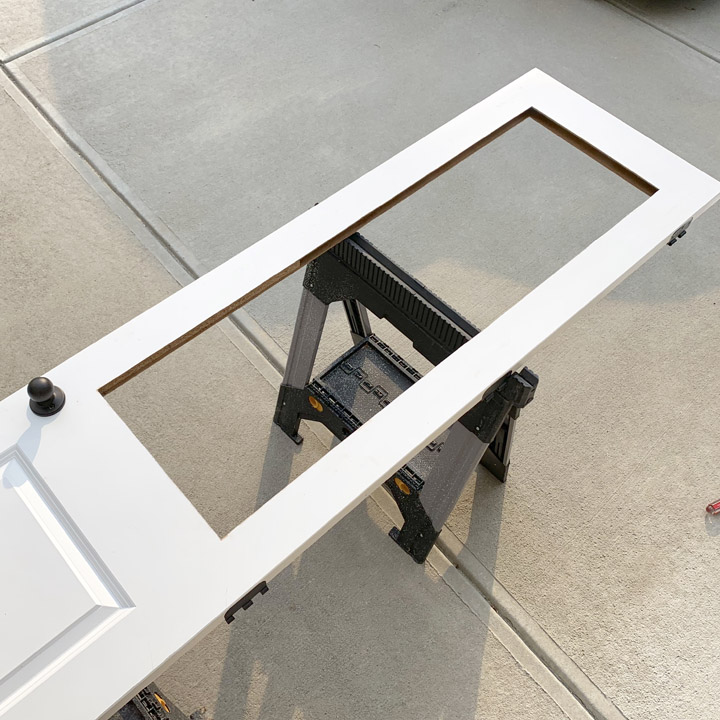
This may look like it is ready for glass, but there is nothing to support it and because you have cut out the middle panel you have actually weakened it significantly. The next step is to close off the open edges and reinforce the door at the same time. I did this by cutting strips from a pine 1×4 and installing them around the open edge.
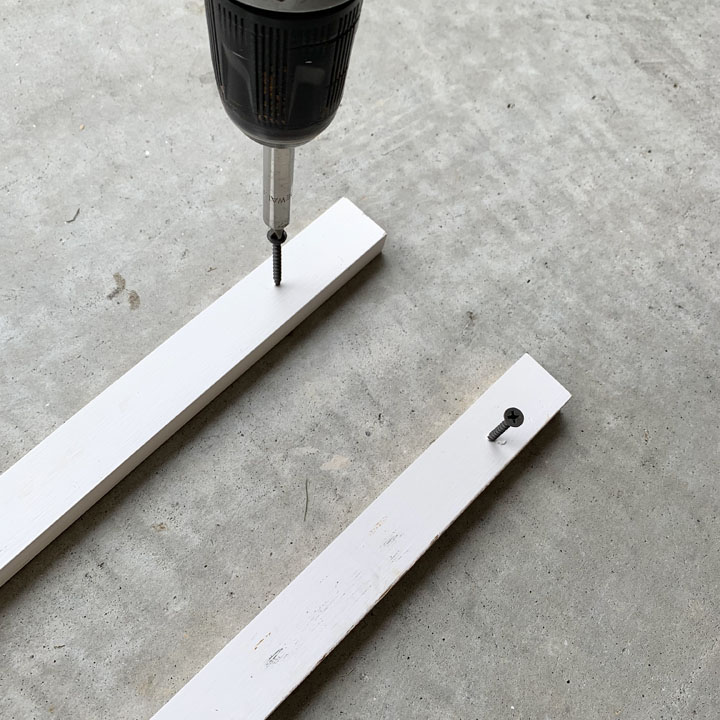
The 1x strips have to be the exact width of the opening around the cut edge on the door. In my case this dimension was 1 1/8″ and I ripped the strips down to that dimension using my table saw. In the picture above you can see that I added a few screws to the strip. The only purpose of these screws was to give me a hold that I could use to position the strips in the opening as I glued/nailed it into place.
It is not pictured, but I used a ton of Gorilla wood glue on the strips which really is important for stability because the hardboard in the door is only about 1/8″ thick and therefore nails by themselves are not going to make the most solid connection. I used about 8 – 1″ nails on each piece to hold it in place as the glue dried. The most important part of this insert install is making sure that the inserts are as flush as possible with the cut door edges.
I repeated this on the three other open edges. After the glue dried this cut out section seemed very dimensionally stable again. I would recommend that you take the door hardware off and store the door on a flat floor surface as you finish it. At this point I could proceed to put the window stop and glass in, but I decided to also take out the bottom panel as well.
You may skip this step all together for times sake but I decided that I wanted the trim on the bottom of the door to match the trim that will hold the glass in place (window stop trim). This will give it a little cleaner look, which is something I am always after! I added the stabilizing strips around all four edges here and then it was time to make the window stop molding. There are a ton of different ways that you can hold the glass in place so feel free to design a different style. The one I am going to make has a square edge and a little lip to cover the cut edge of the door in the end. I made this trim on the table saw.
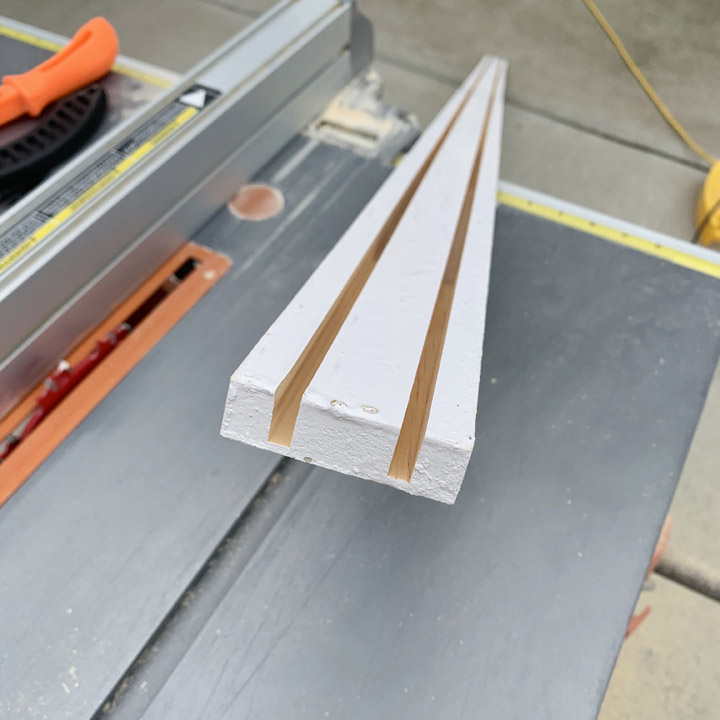
First I installed my dado stacked blade into my table saw. A dado blade is designed to cut flat bottom grooves in wood and the blade stack will usually accommodate grooves up to about 3/4″ wide! I configured the stack to cut a groove 1/4″ wide into my pine trim board. I left the groove about 1/8″ away from the bottom edge. This will form the little lip that will be used to cover the cut edge on the door. I ran two grooves on each board to utilize as much of the wood as possible.
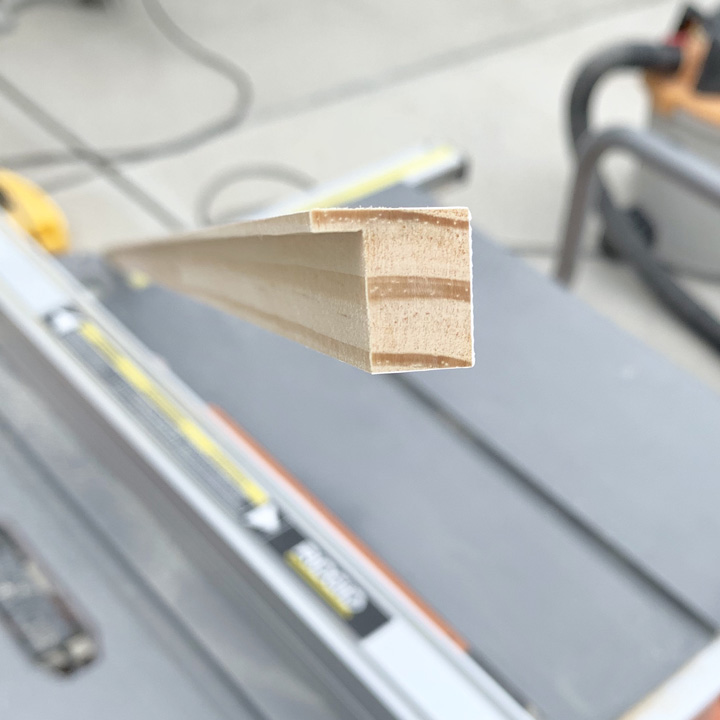
After I cut the grooves, I switched the table saw blade back to my finish blade and made a rip cut down the edge of the groove. The groove flat stayed attached to the outside edge and in the process I formed the window stop with a lip as shown in the picture above! I cut enough of this window stop trim so that I could frame both the top and bottom openings of both sides of the door.

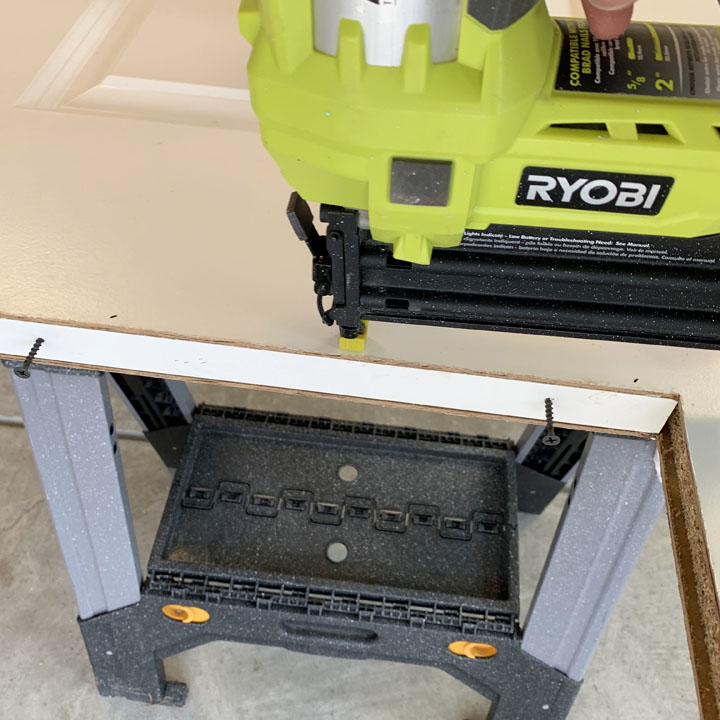
I mitered the corners and dry fit all the pieces first. I started with each piece a little long and shaved off a hair on each until the whole assembly fit together like a glove when it was dry fit. Then I removed the pieces, put a really large bead of wood glue on the window stop, and then reinstalled them using 1″ nails. The bottom panel could have easily been glass but I decided instead to make it solid. To do this, I cut a piece of 1/4″ finish grade plywood to the size of the opening. You could also choose to use hardboard material here in place of plywood.
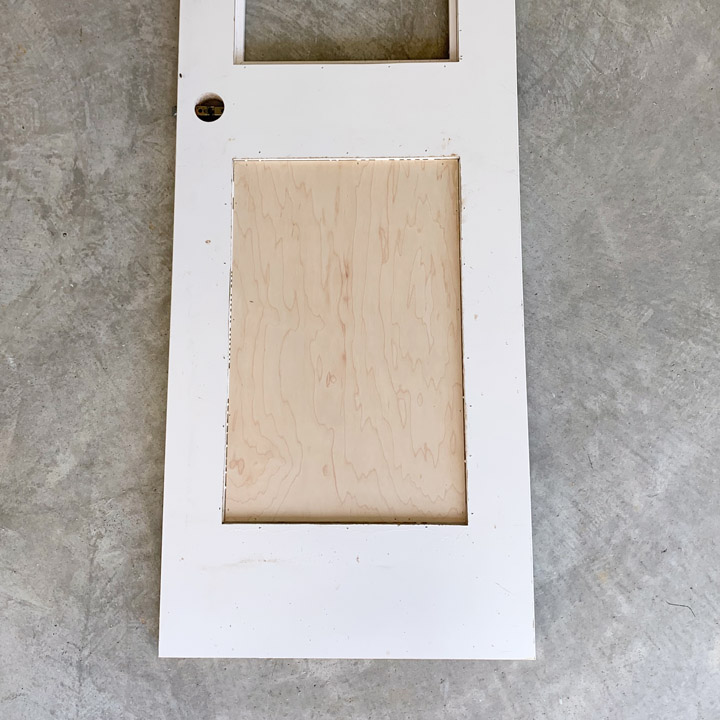
Then I sanded down both surfaces of the plywood with 120 grit sandpaper on my orbital sander. To install the panel I used wood glue and 3/4″ nails to tack it to the backside of the installed window stop molding. I then installed the frosted glass (call your local glass company with dimensions and ask for tempered frosted glass and they should be able to cut you a piece) in the top panel.
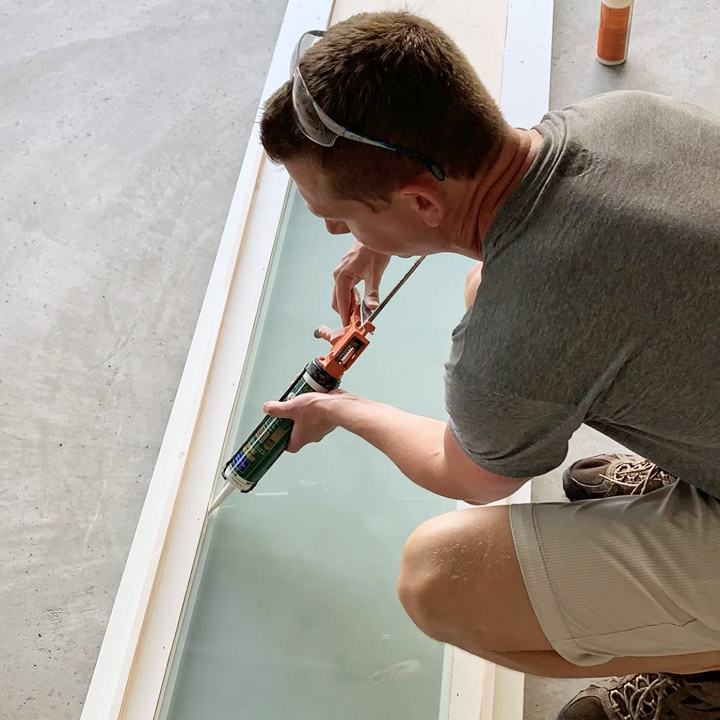
You can’t nail into glass, so the window stop molding will really be the only thing holding it in place. For a little extra good measure I added a bead of caulk around the gap around the outside of the glass in hopes that this bead would prevent the glass from wanting to shift and also reduce any window rattling. You have to be very careful with your nail gun around the glass. One nick from a nail and the whole panel would shatter (due to the tempering). As I installed the window stop on this side I made sure to angle my 3/4″ nails straight in and not towards the glass. Next were three main tasks to prepare for painting.
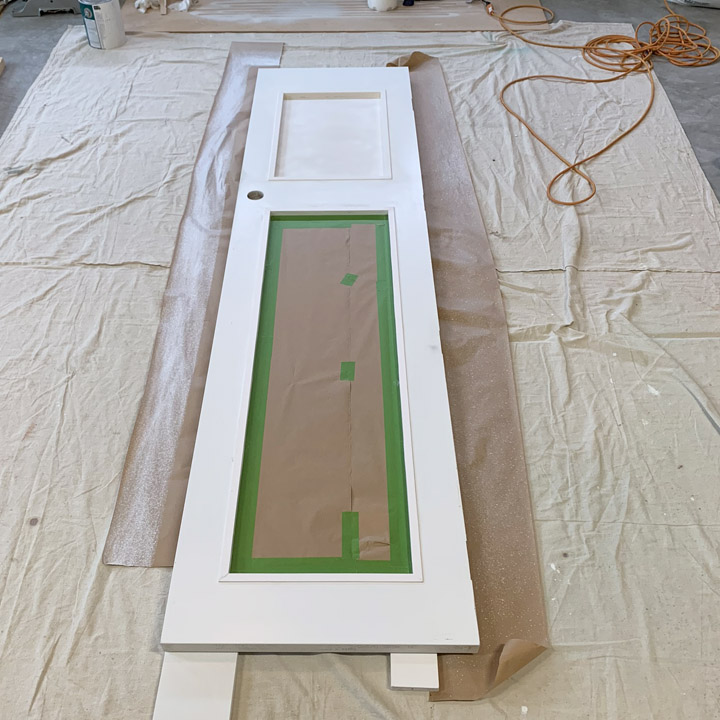
The first was I used DAP plastic wood filler (my favorite) to fill all the nail holes and the mitered corners. I always leave the filler a little high above the hole because it will shrink ever so slightly and when it does you still want the filler to be above the hole. After drying, I hand sanded until each spot was completely smooth. The second was to prime the bottom panel to make sure the door does not experience any bleed through of the resins from the wood. I used a can of B.I.N primer, which is shellac based and supposed to be the best primer around, to make two coats on each side of the bottom panel. Finally I taped off the glass on both sides using Frog Tape and used thick paper to cover the rest. To get the best finish on the door I decided to paint it by spraying.
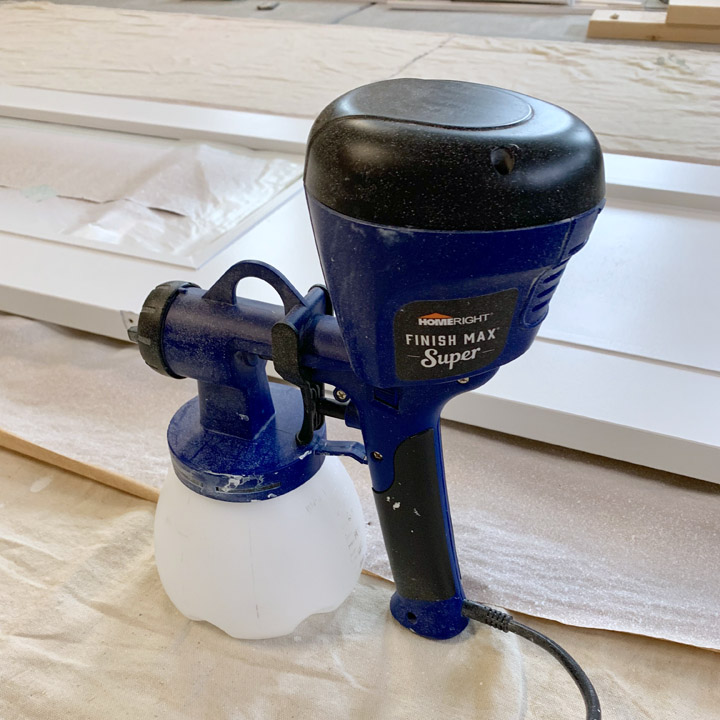
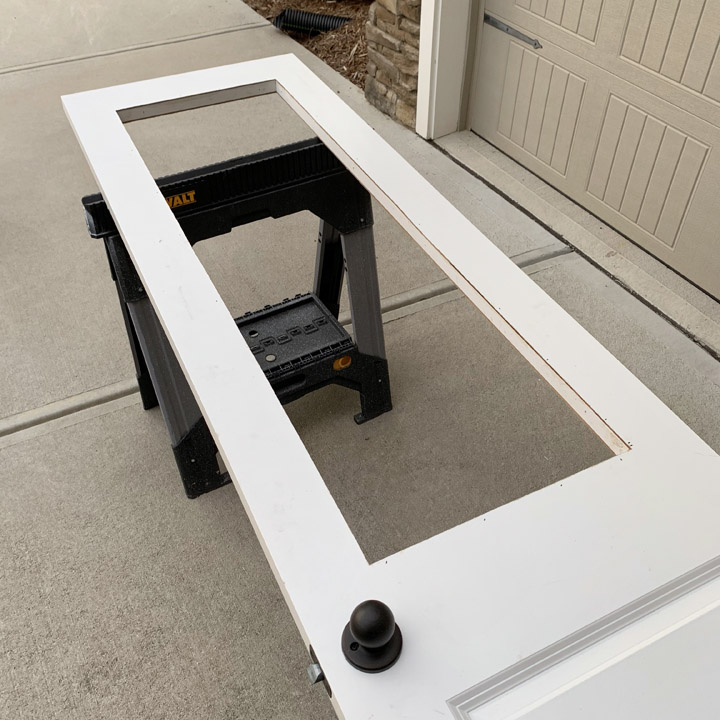
I have used my Homeright Super Finish Max sprayer on a lot of projects now and really like the results it provides in such an inexpensive sprayer. The key to using the sprayer is to thin the paint significantly with water before spraying. This is a bit of a trial and error process but once you find the right consistency, the paint will self level really well. The picture below shows the finish achieved with this sprayer.
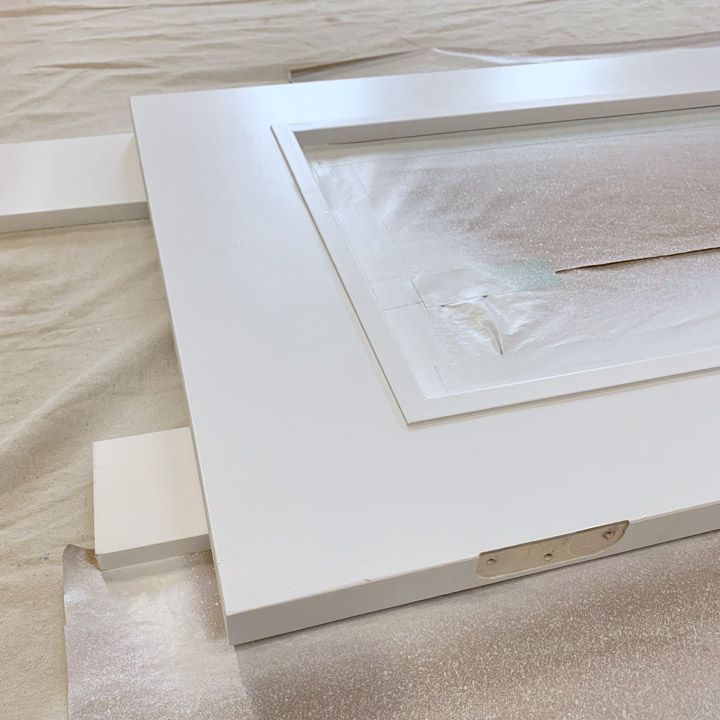
I did two coats of paint on both sides allowing for complete drying between each coat. After the paint was hard I removed the tape and paper masking, reinstalled the door hardware and put it back up. In one weekend I was able to completely transform this boring hollow core panel door with a piece of frosted glass. This simple DIY saved me hundreds of dollars and I think the design and finish turned out as nice as anything you could buy!