This post is sponsored by Valspar (but all opinions are my own) and will give you a summary of the process I went through in painting our owners bedroom!
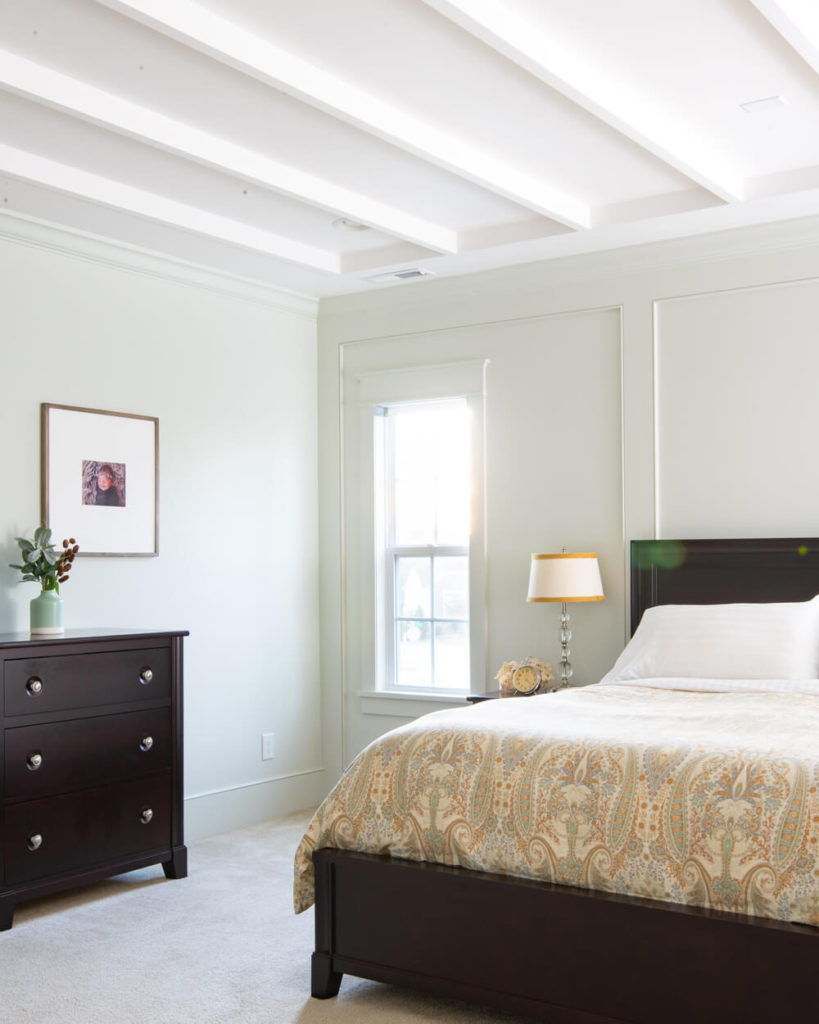
A new coat of paint is one of the easiest and least expensive DIY projects you can do to transform a room! I finally finished the ceiling beams, the trim work and the fireplace in our owner’s bedroom so naturally the next step was to get it all painted! The color that came with our house wasn’t what we had in mind for our dream bedroom, so I went to Lowe’s Home Improvement to pick up a bunch of Valspar color chips.
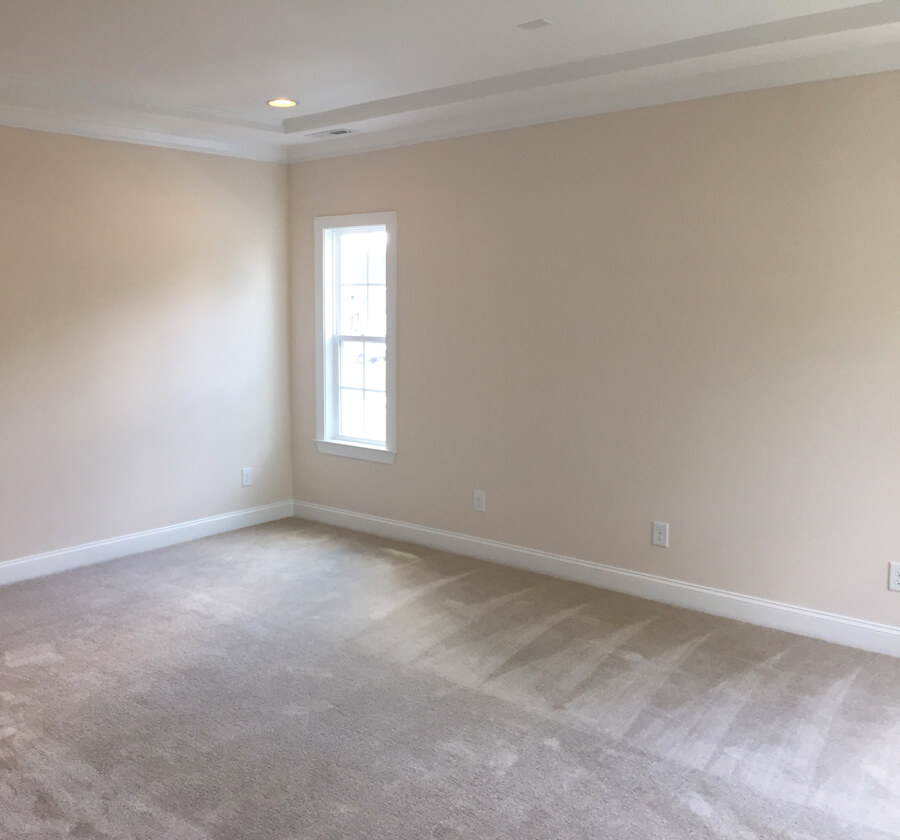
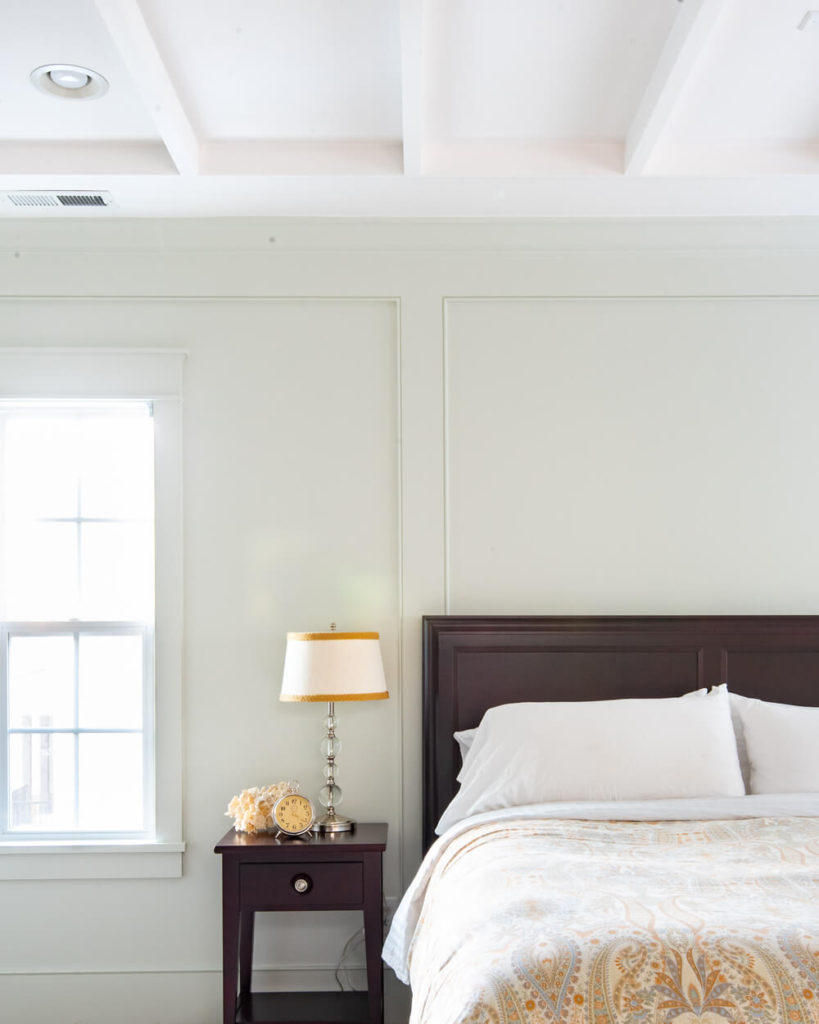
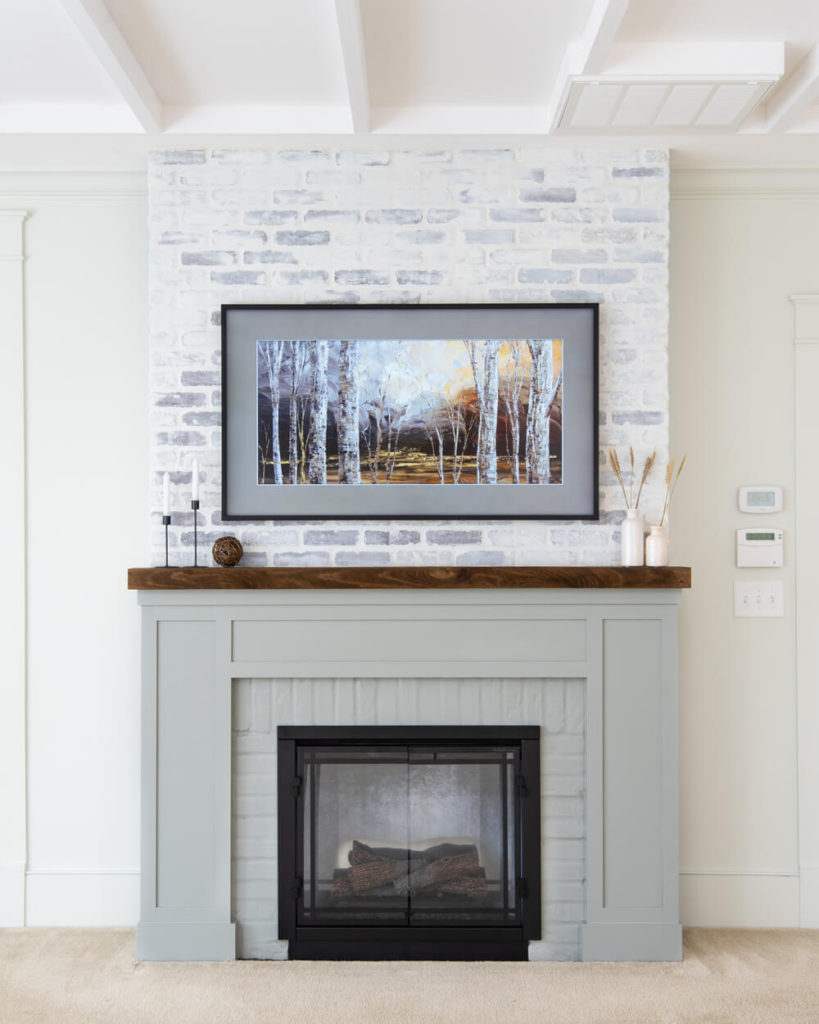
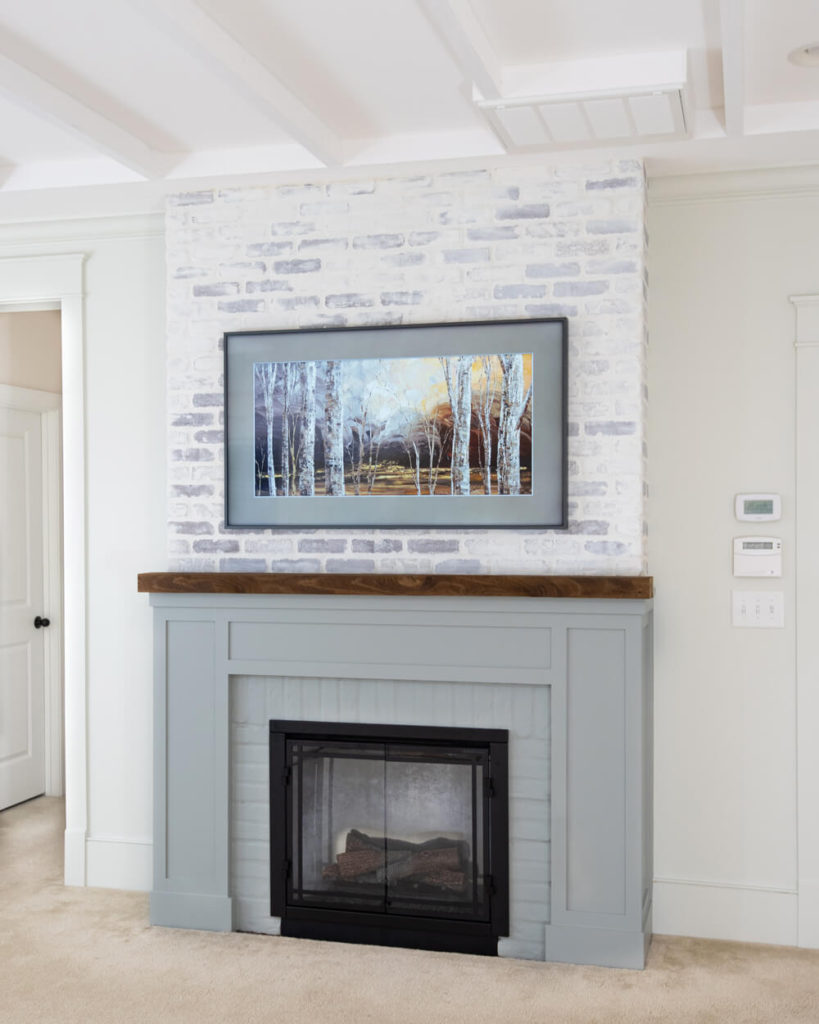
The color that we envisioned was a neutral gray tone with a little bit of color in it. We looked at the chips in both natural light and room lighting to see which ones met that criteria. I went back to purchase a sample of Valspar Stony Path (5007-1B) to put up on the wall and it was right on the money. It is a really pretty light gray with undertones of sage green. After installing the beams on the ceiling I also needed to re-paint there. I looked for a white color that was closest to the original ceiling color – and found that Valspar Bistro White (7006-4) was really close! For the fireplace we wanted a bolder color that really made a statement and coordinated with the wall color. We decided on Valspar Coastal Jetty (5007-1C) which will be the boldest color that we have in the house!
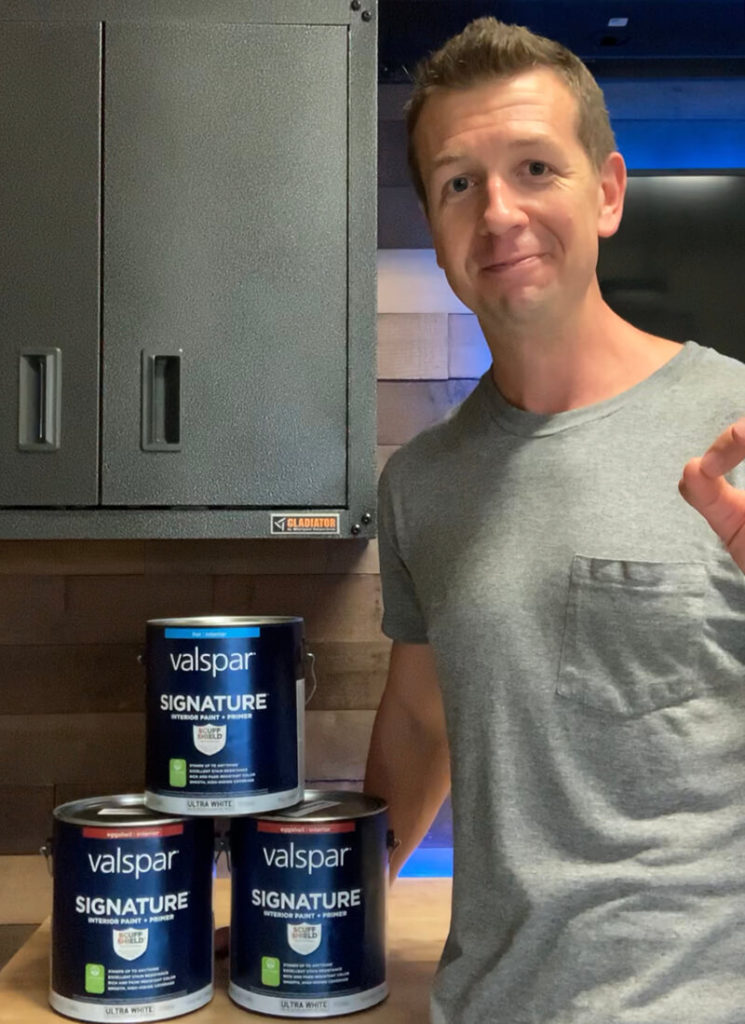
Valspar makes great paints and I have had great results using their Signature Paint + Primer in the past so that is the paint that I used for all three applications. For the walls and trim I used eggshell sheen and for the ceiling I used flat.
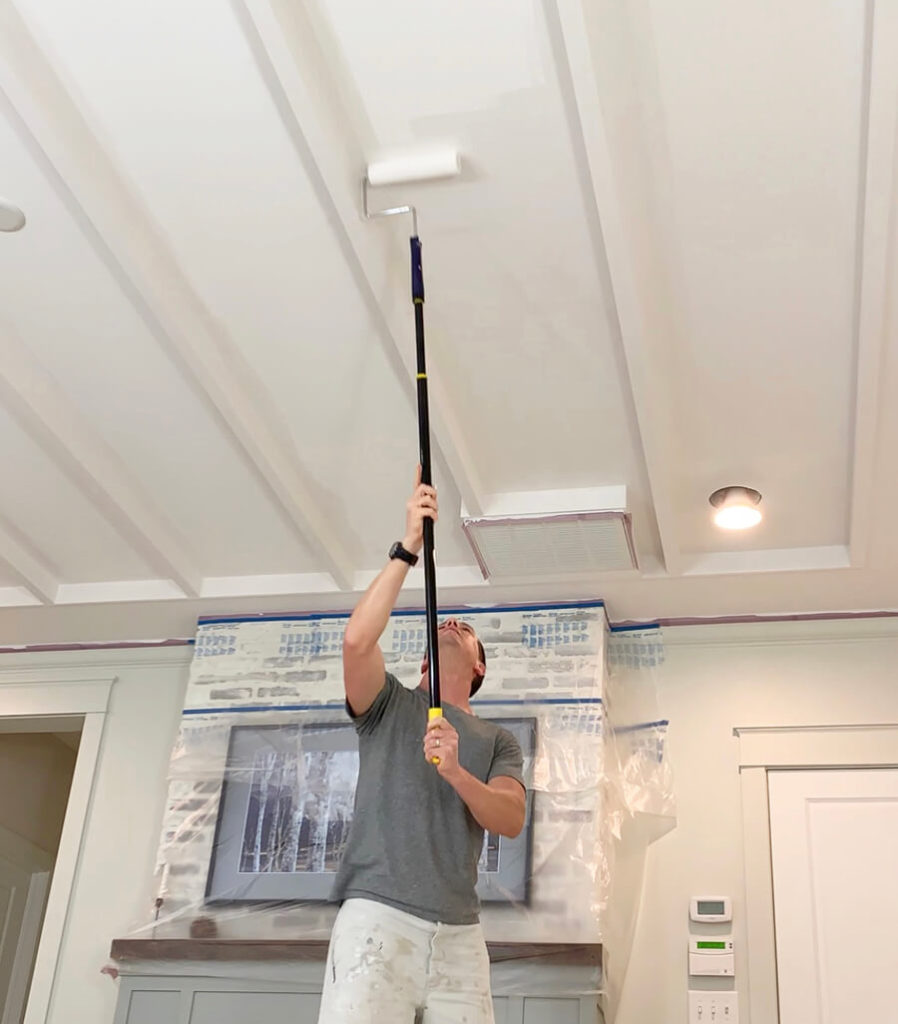
After thoroughly mixing the paint, I started with the ceiling. I painted the beams with a brush and cut in all the edges on the sides of the beams. With seven beams this took quite a while! When using a brush on the ceiling the paint tends to want to drip down the brush due to gravity. The best advice I can give is don’t overload the bush with paint and get it onto your surface quickly!
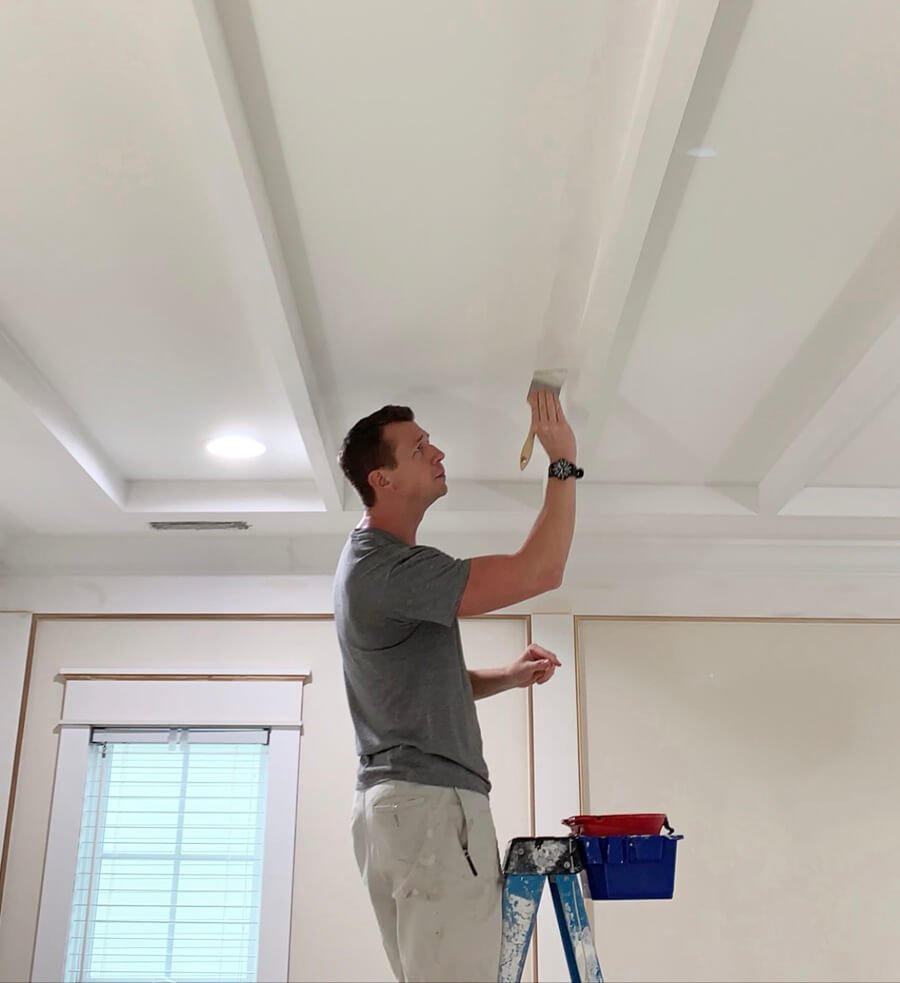
Next, I rolled the ceiling. Both my walls and my ceilings are smooth drywall so I used a Valspar woven roller with ⅜” nap for smooth surfaces. Rolling ceilings can often cause splatter but with the right technique you can really minimize it. To minimize it I suggest to: 1) not overload the roller, 2) keep the roller speed slow and 3) keep the roller pressure medium to light. When I finished I only had one speck of paint on my face!
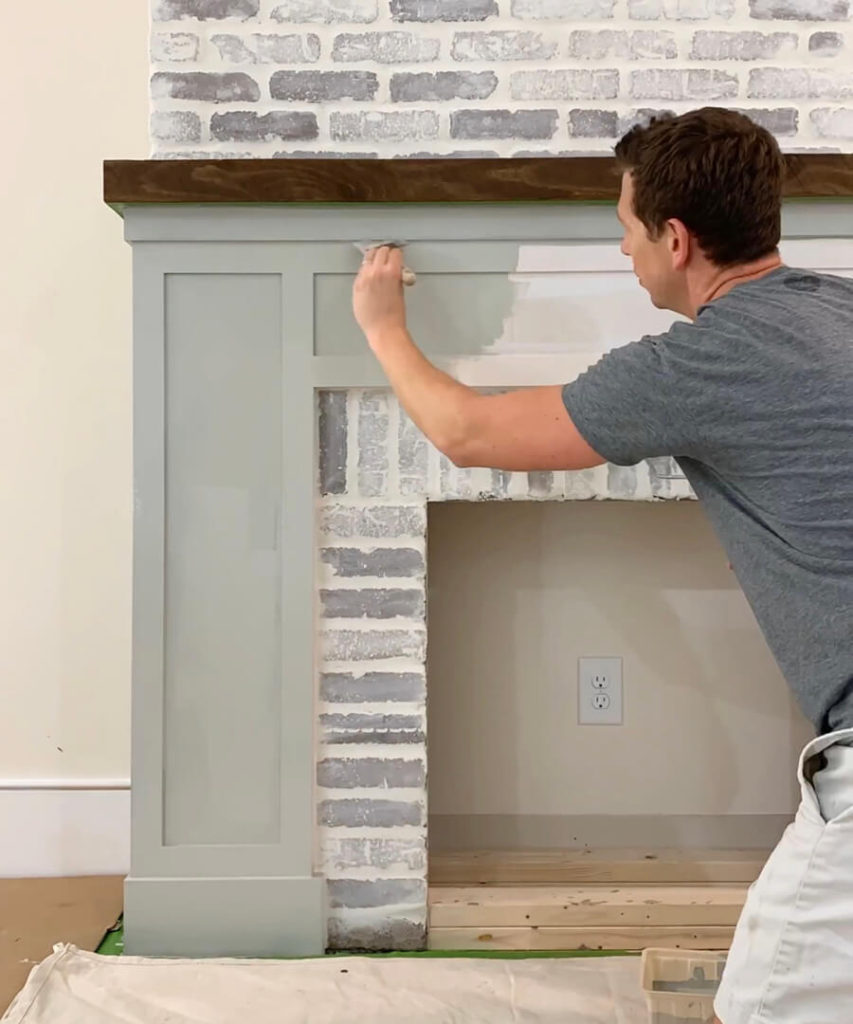
I painted the lower portion of the fireplace with both a brush and a Purdy 3/4” core roller. To get the best finish with the least amount of brush strokes you should paint the edges and corners in a small section and then quickly roll the same section. You should work the sections linearly so that you are always progressing with a “wet edge”. Keeping a wet edge allows the paint to self-level more effectively. If you run your brush back over half dried paint (that has a sticky consistency), there is a good chance that you will leave deeper and permanent brush marks on that surface!
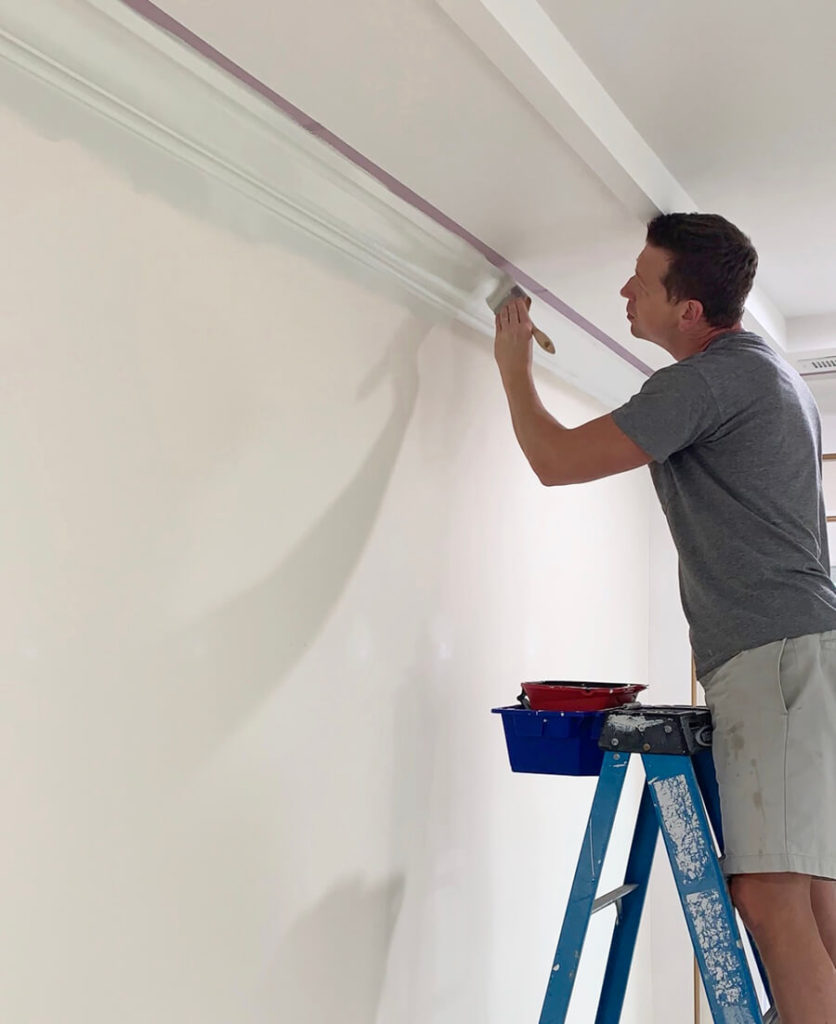
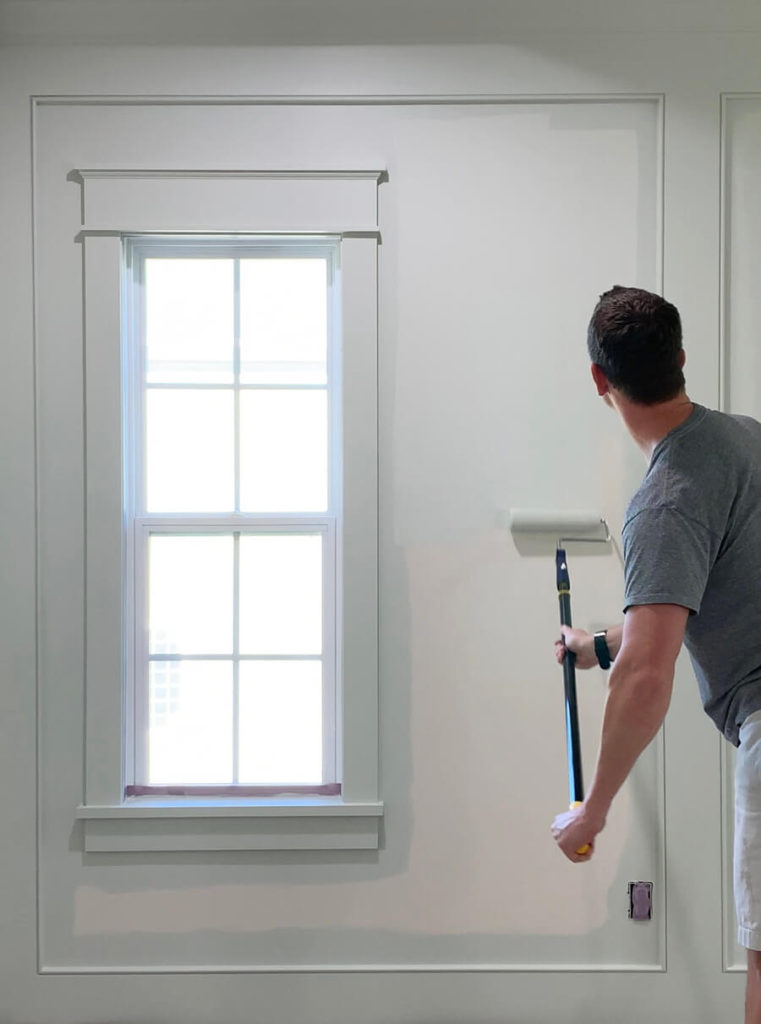
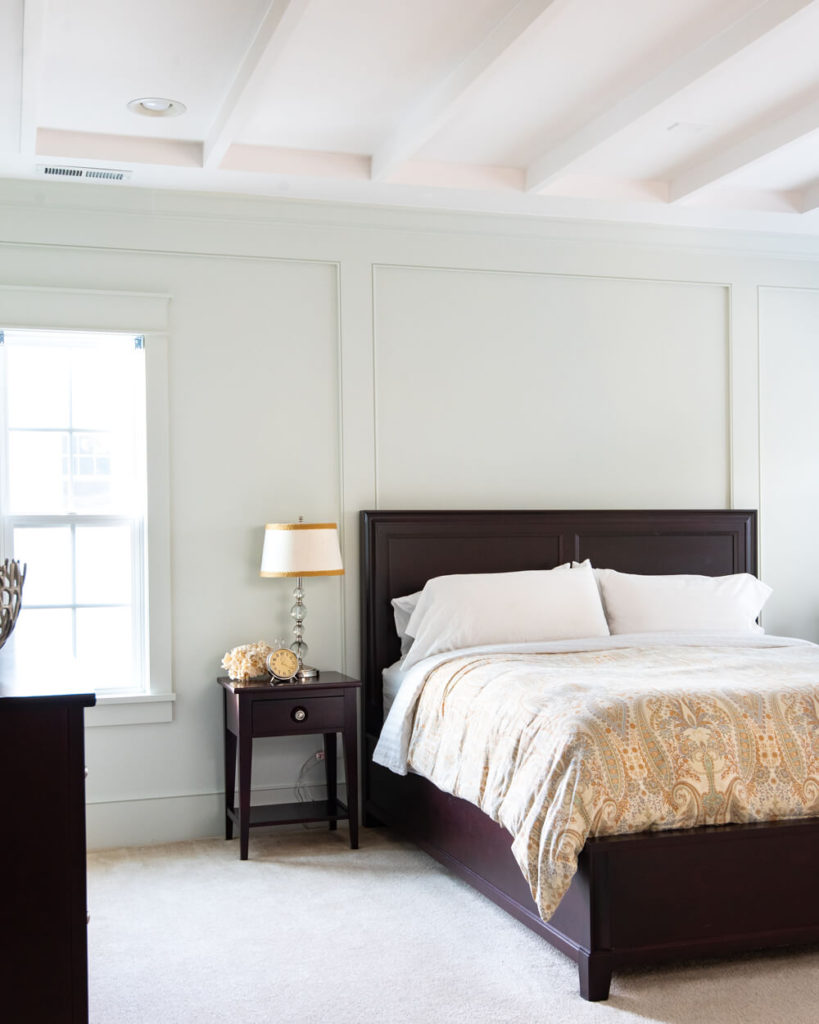
I typically love trim that really pops against the wall color but for this project we wanted to try something a little different and that was to paint the trim the same color as the walls. This sophisticated look has been trending recently and I think a bedroom is a great spot to embrace the coziness of this look. As a bonus, it is a little bit quicker because you don’t have to cut in or tape between the walls and the trim!
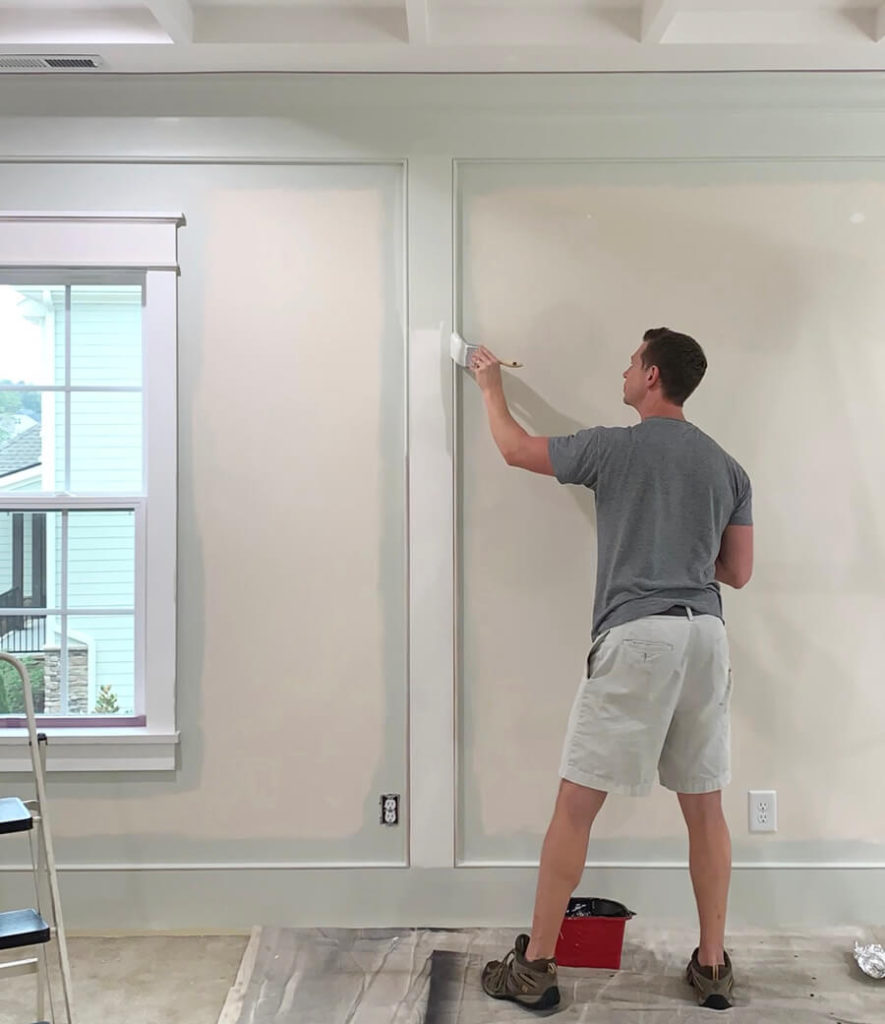
The last step was rolling the walls. I typically roll about a 2’x4’ section at a time making sure to blend each together as I go. For the most consistent finish you want to keep a wet edge here as well so I don’t take a break until I finish a whole wall! To make sure that you don’t have any permanent roller lines my secret tip is to do one last roll of each 2’x4’ section with almost zero pressure. When you do that it will pick up any roller lines, which are essentially thicker spots created by the edges of the roller when applying the paint! I was really happy with how smoothly the Valspar Signature paint went up and the finish was really rich!
When I finished up I moved the furniture back in (temporarily because we are going to do the floors soon!) so that I could get some shots with my nice camera in natural light to most accurately reflect the color of Valspar Stony Path as we see it on our walls!
In one weekend you can completely transform a space in your home as well. Valspar offers so many beautiful colors I am sure you can find one you love – head to Lowe’s to grab a few samples and get started on your next project!
If you want to see more paint tips and videos of the process, follow me on Instagram and find the story highlight Painting Tips!
The room looks great. Thank you for sharing your process with us. I do love the colors.
Thank you very much!
Love this! Your duvet is beautiful, too. Mind sharing the source?
Thank you! We got it from Pottery Barn about 7 years ago, still holding up well!
Where did you get your birch tree painting? Love it.
It is actually a digital image on our Samsung Frame TV!
I truly appreciate this post. I ave been looking everywhere for this! Thank goodness I found it on Google. You ave made my day! Thanks again.. Jamie Sig Mariska